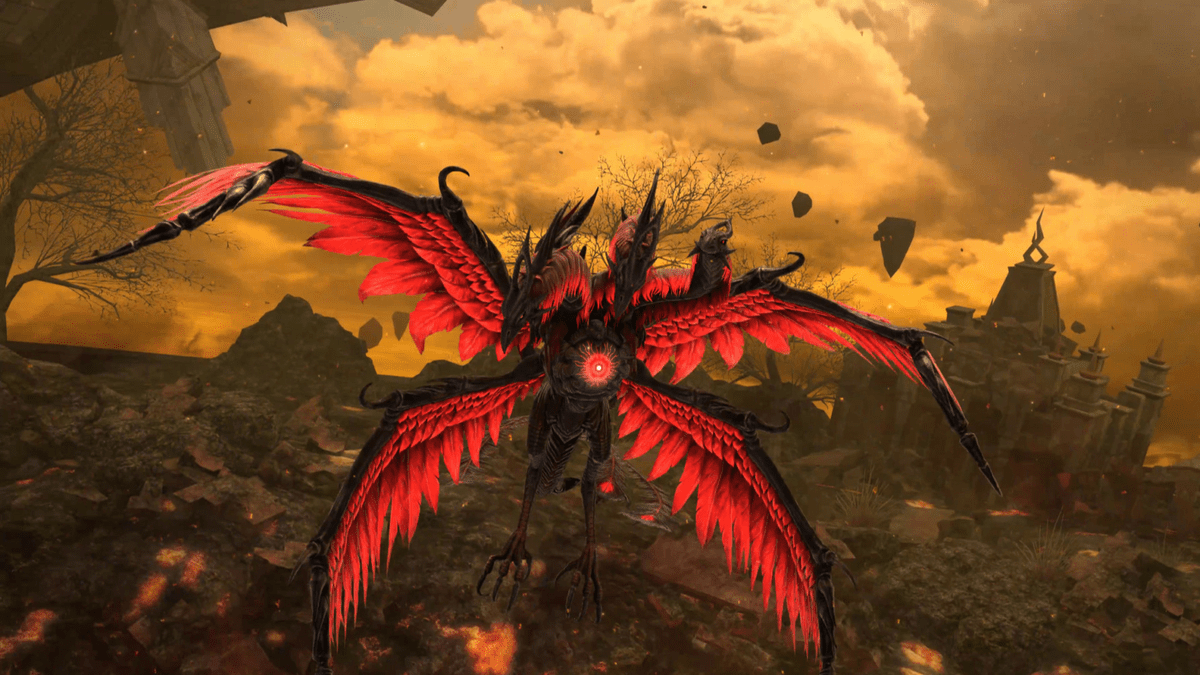
Who knew that we’d finally take on a raid that actually takes place in a circle? We guess it’s to be expected when you name your raid the Third Circle. We’re back at it with another raid guide that focuses on FFXIV Endwalker. Don’t be too intimidated by this three-headed bird because this raid has certain mechanics, just like the others, where once you get it down you’ll be a pro. Here’s how to beat the third circle in the Pandaemonium Abyssos Raid in Final Fantasy 14.
How to Beat The Third Circle in Pandaemonium Abyssos
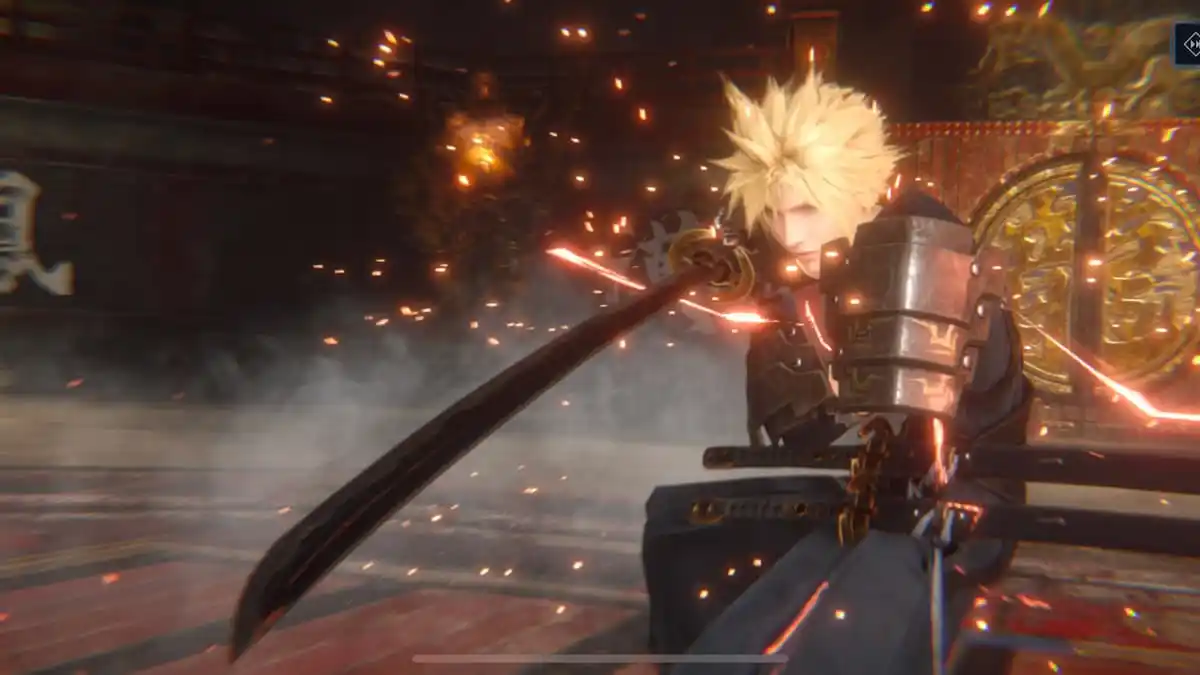
Similar to the other raid battles you’re going to want to gear up with your best armor. Endwalker was made for players who have earned the right to fight in this battle. Think about it. You’ve spent countless hours watching cutscenes, learning mechanics, and figuring out which class you want to main as. It’s time to use that knowledge in this fight. Whether you’re a tank taking all the damage, a healer becoming the mom of the group, or a DPS putting in enough damage as you can you have a purpose. Don’t worry, this fight won’t be challenging if you’re with a solid team. Here are the three phases broken down so you can beat the third circle in Pandaemonium Abyssos.
Getting Scorched Phase 1 in FFXIV Pandaemonium Abyssos Raid
See those flames around the perimeter? You’re going to want to avoid those or you’ll get burned. You have to watch for fire when you’re up against a Phoinix. The Phoinix has one goal in mind and that is to destroy you. Try to learn its moves so you can have an advantage. The moves you will be looking out for are:
- Experimental Fireplume – Keep an eye on the orbs! If you see a giant orb it will explode and your team will become affected by it. AoEs that are smaller will always have small orbs clustering together. Try to have your team stand in the center and then move into a safe space.
- Scorched Exaltation – Healers, your time to shine is here. AoE damage will occur.
- Heat of Condemnation – Tankbuster move that will require you to move away from one another
- Darkened Fire – This is a two-part attack. The first part places four Darkened Fires around the arena. The second part will mark raid members with numbered circle AoEs. Just have your player stand on top of one of the Darkened Fires, while the other players avoid them. Main goal is to have the boss attack the adds. Failure to do so will result in a lot of damage. Healer, please heal if you can.
- Cinderwing – Boss will attack from the side using a cleave method. Move away.
Sunbirds Phase 2 in FFXIV Pandaemonium Abyssos Raid
Bring in the birds! What’s new about this phase is introducing sunbirds and a fire gauge. The gauge will charge and you don’t want it to reach to the top. Once it hits the maximum it’s game over. Instant wipe. Here are other attacks Phoinix will do:
- Blazing Rain – Raid damage, healer do your thing, pretty straightforward.
- Sunbird – Two sunbirds will spawn with green circles underneath them. Tanks, this is where you’ll be needed. It’s your job to tear them apart. The rest of the team needs to kill them. Just keep killing the others that spawn. If the green circles under the Sunbird corpses overlap the Phoinix Fire gauge will raise.
- Fore/Rear Carve – Sunbird attack that creates a cone AoE. Just dodge it.
- Flames of Underneath – When four adds die your party will get AoE damage.
- Dead Rebirth – If the gauge is at 100 (hopefully, it isn’t) you will die. Game over. Instant wipe. If not, hallelujah, just stack up AND PUT A BARRIER UP!
Sparkfledged Phase 3 in FFXIV Pandaemonium Abyssos Raid
Babies, it’s time to attack! Phoinix is not happy and neither is the baby Spark fledglings. Your best bet is to keep dodging and keep attacking. They have to die sooner or later. In case you need some guidance to get past the last phase, here are the move sets to watch out for:
- Fledgling Flight: The four spark-fledged will position themselves and then they will fire a cone AoE towards the Phoinix. Stand outside of the first cone AoE and inside the last one. After the first explosion, try to find a safe spot.
- Experimental Charplume: Another repeat! Remember the orbs? Circle AoE markers will spawn on the entire raid. This is when you should spread far away from your team. This will come immediately after Fledgling Flight and randomly again.
- Devouring Brand: This attack will see lines of fire coming from the edge of the arena, toward the center. Once at the center they’ll expand into a cross-shaped AoE that will divide the arena. It’s safe to assume you shouldn’t walk through it. Unless you want to get burned.
- Searing Breeze: Large circle AoEs will form under every raid member. Just run.
- Flare of Condemnation: This attack will create circle AoE markers on every raid member. Spread out to avoid damage.
That was a lot to take in! If you’ve managed to get this far, great job! We’re sure you’ll take on another raid in the future. For more guides and news follow Gamer Journalist. We update you on upcoming gaming titles, provide tips & tricks, and teach you how to use codes in games.
Related: How to Beat the Second Circle in the Pandaemonium Abyssos Raid in Final Fantasy 14 (FFXIV)


Published: Aug 31, 2022 06:44 pm