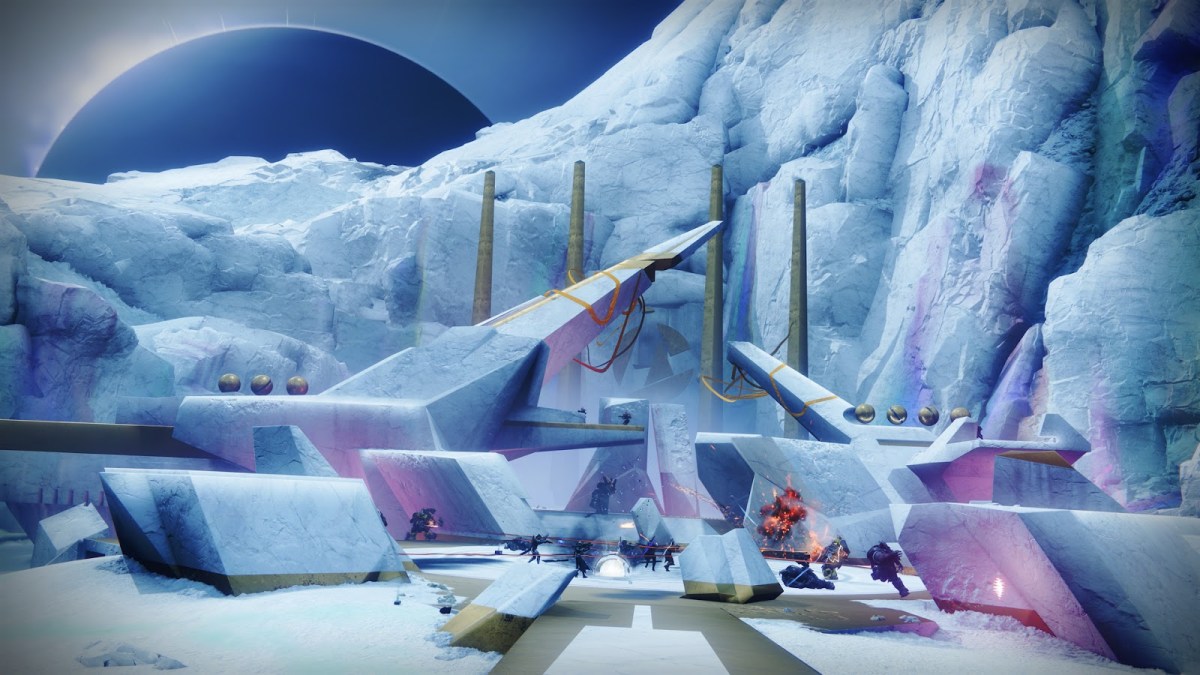
Dares of Eternity is the new six-player activity added to Destiny 2 in the 30th Anniversary event. It’s free to play for all players, unlike the new dungeon, and is jampacked with a bunch of new content.
It can feel overwhelming, but don’t sweat it. I’ve got you covered with this guide on how to complete Dares of Eternity in Destiny 2.
How to Complete Dares of Eternity – First Section
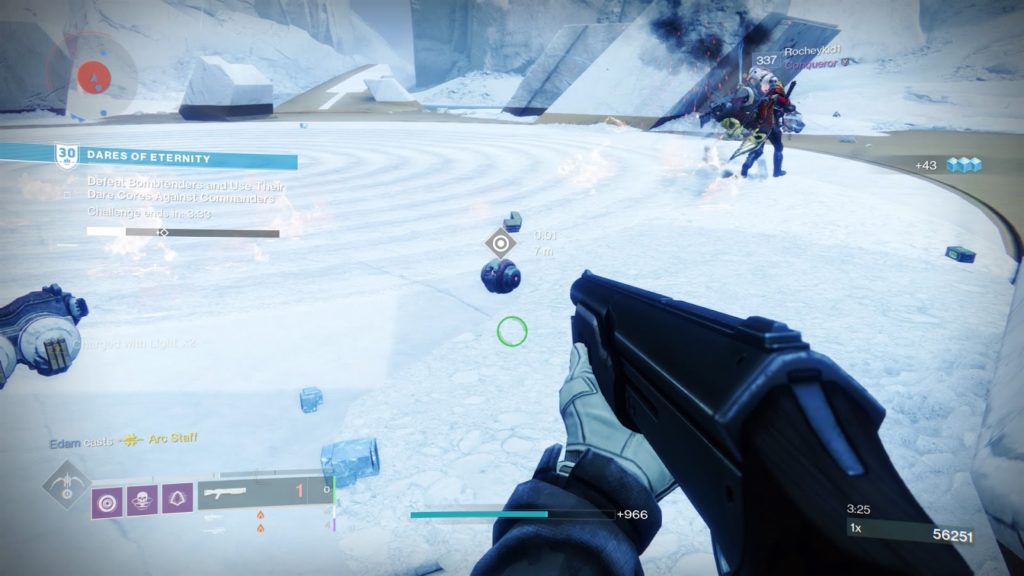
Round 1: Kill Challenge
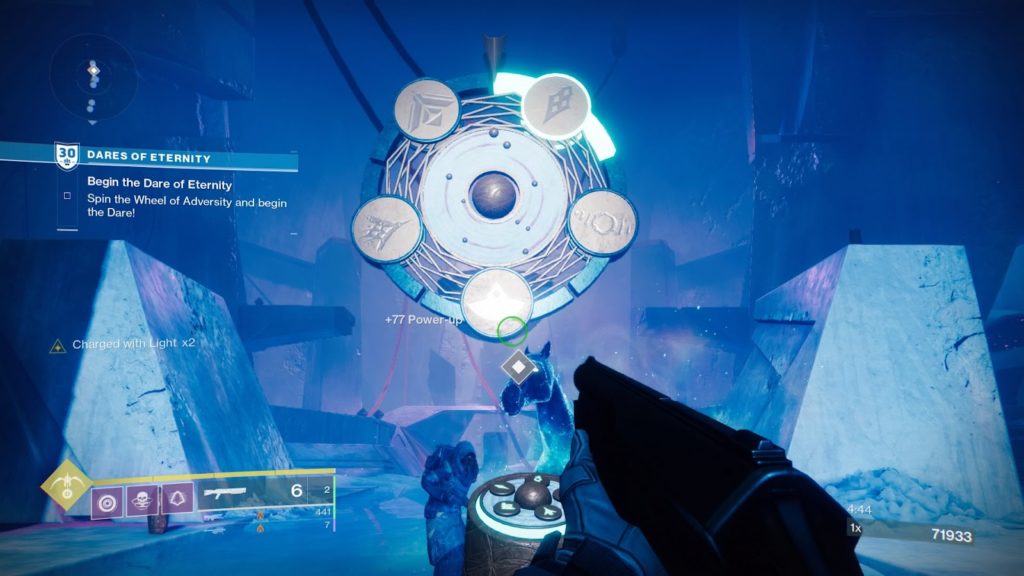
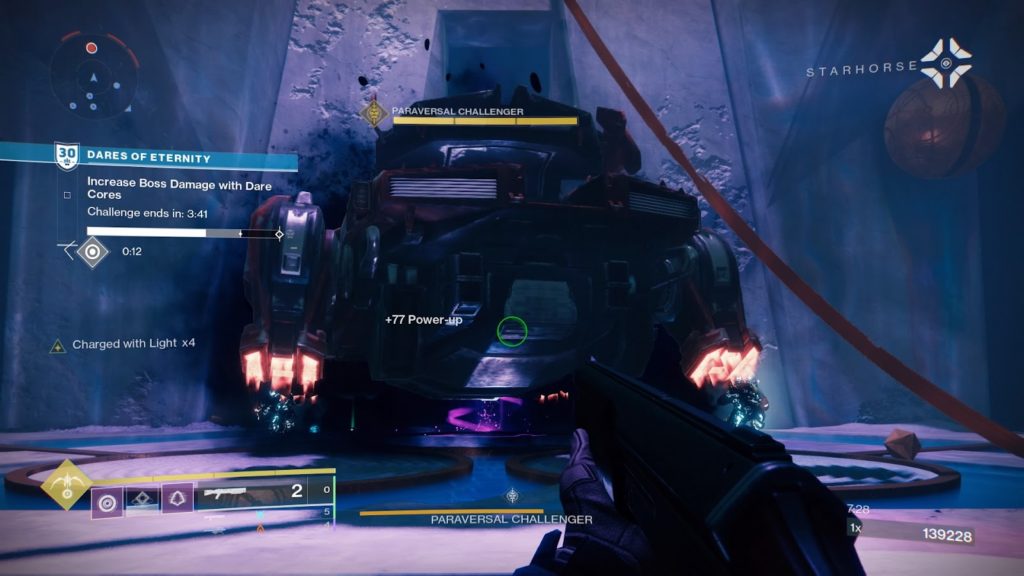
Dares of Eternity is made up of two sections, each with two identical rounds, a mini-boss, and a final boss. The first round, the one you’ll complete once you load in, is simply a slay challenge. Once you spin the wheel and get your enemy type, you will have five minutes to kill every ad that spawns in, plus a couple of Champions.
There are a lot of ads here, but you have six Guardians, so it shouldn’t take you any longer than two minutes to complete it.
This round is the same regardless of what result you get on your wheel spin. Just kill things until the encounter ends. That’s it.
Round 2: Special Mechanics
The second round in both the first and second sections actually involves some mechanics. These mechanics also change depending on what enemy faction you’re facing.
In general, it’s going to involve you killing a glowing enemy to get some sort of object or buff, then using that object or buff to destroy something else on the map, be that floating crystals, or the shields on yellow-bar Majors.
Here is an in-depth look at what mechanics each enemy type has:
- Hive: Giant Hive Knights will spawn around the arena, along with several floating crystals. Killing one of the Knights will drop a glowing green pool in its place. Moving through this green pool will grant you a buff for 10 seconds that allows you to shoot the crystals that are floating around the arena. Destroy all of the crystals to complete the encounter.
- Fallen: The Fallen encounter will be a rush of mines that you need to defuse, similar to Prison of Elders back in the day. You can defuse these mines simply by standing under them until the progress bar reaches 100%. Each mine spawns with a Fallen Brig, as well as a lot of Exploder Shanks, so caution is key. Defuse all of the mines in the time limit to beat the encounter.
- Taken: A giant Taken Vex will spawn in the middle of the arena, along with a Taken Blight. Upon death, the Vex will drop a bunch of Taken orbs. Pick up these orbs and throw them at the Blight to damage it. Once all the orbs have been thrown, another Taken Vex will spawn at the back of the arena. Rinse and repeat (normally two phases) until the Blight has been destroyed.
- Cabal: A number of shielded Centurions will spawn around the map, along with glowing Cabal Incinerators. Killing the Incinerators will drop a throwable charge. Throw the charge at the shielded Centurions to take down their shields, allowing you to damage them. Defeat all the Centurions to clear this encounter.
- Vex: Large Vex Majors will spawn across the arena with shields. Glowing Vex Goblins will also spawn. Killing the Goblins will drop Vex heads that you can pick up. These heads shoot a beam that can damage the Major’s shield. Fully taking down their shield will allow you to damage them. Destroy all the shielded Vex to clear the encounter.
Xur’s Funhouse
There is an intermission you have to run through before you make it to the second section while clearing Dares of Eternity.
By intermission, I mean a “wacky” funhouse, and that’s a direct quote from Xur. You’re going to be jumping through a few rooms with spinning pillars, moving walls, and very annoying floors.
When you’re getting ready to enter this area, you’ll notice that there is an entrance at the top, behind a big spinning plate. If you time your catapult right as the ball on the right side of the circle is lined up, you’ll make it into the top section of the Funhouse. Make it across the chasm in front of you without falling, and you’ll earn Starhorse’s Favor for the next section.
Starhorse’s Favor is a unique buff that grants you extra damage resistance, as well as infinitely regenerating heavy ammo. You can go into the next round and spam Gjallarhorn the entire time with this buff, so try to get it if you can.
How to Complete Dares of Eternity – Second Section
Round 1: Kill Challenge
This is exactly the same as the first round in the first section: you spin the wheel, get an enemy type, kill the ads and Champions, and move on with your life.
Round 2: Special Mechanics
Again, all five enemy special rounds are the same as they were for the first section of Dares of Eternity, just with different spawn locations. Refer to the list above to see what mechanics each faction uses.
Mini-Boss Fight
I said that there were two rounds per section. I lied.
There is a mini-boss after the second round in the second section before you go on to fight the actual final boss. This is the first round unique to the second section of DoE, and like the special mechanic rounds, it has different mechanics for each enemy faction:
- Hive: The Hive mini-boss is an Ogre with an invincible shield. To take down the shield, you need the buff that you used to destroy the crystals in the special mechanics round. The Ogre will spawn with the giant Knights that drop that buff, so kill them and melt the boss’ shield. Once the shield is down, you no longer need the buff to do damage.
- Fallen: The Fallen’s mini-boss of choice is a giant-ass Brig. That’s it. You’ll be able to kill this thing within seconds of it spawning.
- Taken: The Taken mini-boss is a Taken Knight with a, you guessed it, invincible shield! To take down the shield, you need to kill glowing enemies to get more Taken orbs, just like in the second round. Throw the orbs at the Knight, shoot the Knight, move on with your life.
- Cabal: The Cabal mini-boss is by far the easiest of the five. A tank will spawn in, and you have to kill it. That’s it. No special shields or requirements. It’s just the same kind of tank you’ve seen hundreds of times before. With a competent Fireteam, you’ll have this thing melted in less than a minute.
- Vex: The Vex mini-boss will likely take you longer than any of the other factions purely because you’re going to be forced into a two-phase fight. You’ll be fighting a Hydra that has an invincibility shield (original, I know). To take down that shield, you’ll be using the Vex heads that you utilized in the special mechanics round.
Pick Your Poison
After taking down the boss, your team will be given a choice of three plates/doors, each with an enemy faction symbol on them. These symbols are the possible final boss fights you’ll be facing.
What boss you get has nothing to do with the plates; you’re only using them to guess. If you guess right, you and any teammates standing on that plate will get Starhorse’s Favor for the final boss fight.
Boss Fight
Okay, final boss time. Just like every section of the activity before, you’re going to have a random enemy faction tossed at you to deal with. The catch, however, is that this particular encounter is on a weekly rotation. Only three of the five factions will be active at any given time.
Given that this is the first week that Dares of Eternity has been live, we only know about three of them. So, check back next Tuesday to see what the other two are.
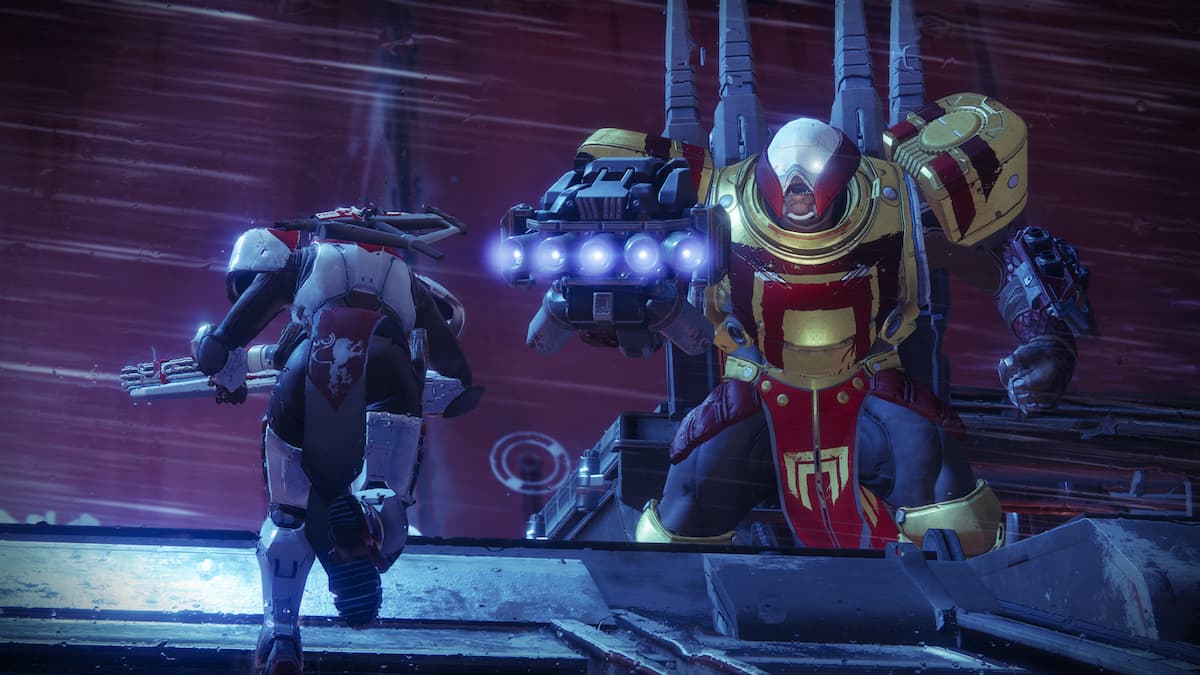
- Hive: The Hive boss for Dares of Eternity is Crota. Yup, we’re fighting that dude again. Just like before, you can only do damage to him with a special Hive sword. This shouldn’t be too hard for most players, though. Instead of being rushed by ads, you’ll have an abundance of red-bar knights to deal with. Eventually, special “Swordbearer Knights” will spawn out of the portals in the arena.
Killing these Knights will drop a sword that allows you to damage Crota. Do enough damage and he will spawn in two extra projections of himself, so your fireteam will need to split up to take them out.
During this encounter, special Acolytes will also spawn out of the back portal. Killing these will give your team a buff that increases the damage that they deal to Crota. It’s not necessary to get this buff, but it can make the encounter go by a little quicker.
- Fallen: TBD (It has to be Taniks again, right?)
- Taken: TBD
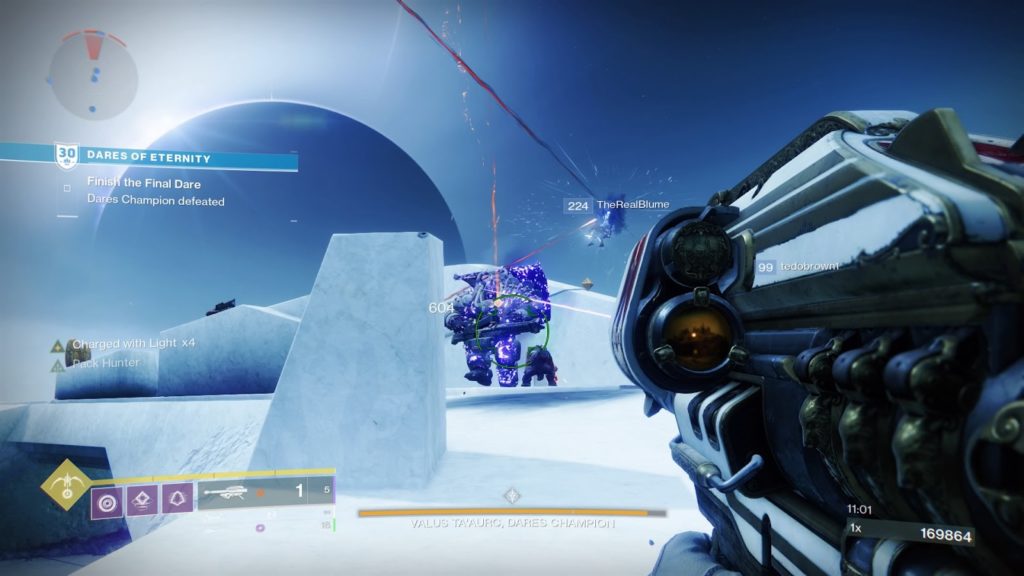
- Cabal: Whether we wanted it or not, we’ve stepped into war with the Cabal on… wherever Dares of Eternity takes place. Yup, Valus Ta’aurc is on the chopping block for the Cabal. For anyone newer to Destiny, this guy is an old strike boss and the reason we have that iconic Zavala quote.
The encounter will start with a short DPS phase. Don’t stress too much about it, though. You’ll hit a health-gate pretty quickly, at which point Ta’aurc will shield himself. Yeah, that’s something of a trend with this activity.
To break that shield, you’re first going to have to kill 12 Majors dotted around the map. These Majors are tagged as “Siegebreakers,” so finding them shouldn’t be too hard.
After that, you’ll need to destroy two Threshers (the flying ships) to spawn two of the orbs you’ve used before. Rather than throwing them at the boss’ shield, throw them at the generators next to him. Destroy both generators to bring his shield down, at which point you can DPS him until he’s dead.
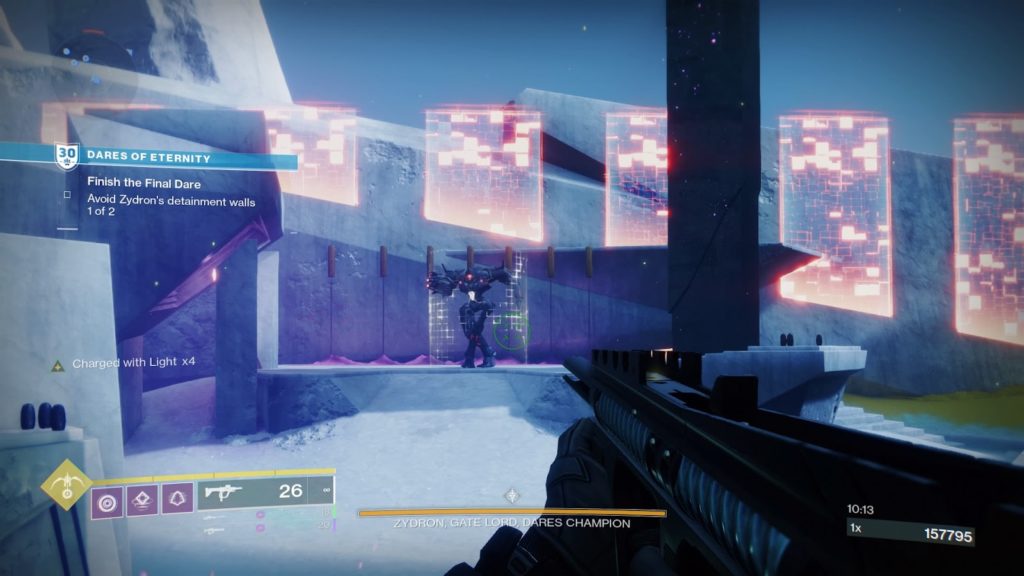
- Vex: Old-school D1 Veterans will remember this guy – Zydron, the Gatelord. If you don’t know who this is, don’t worry about it. He’s an old boss from the main campaign of Destiny 1. This dude predates the Vault of Glass raid.
Compared to the others, this boss fight is pretty simple. You’ll start by dodging two rounds of Vex gates. These are the same ones from Expunge in Season 14 if you played during that time. If not, don’t worry. They’re big, red, and are coming straight towards you. You’ll see them.
Getting hit by them isn’t the worst thing in the world. You won’t die, you’ll just be trapped in a detainment bubble that you can shoot yourself out of.
After dodging the second wave, ads will spawn on all three sides of the arena. After dealing with those, two Overload champions will spawn, one will be on the left, and the other will spawn on the right. Killing these will take down the boss’ shield and allow you to do damage.
At some point during the damage phase, you’ll have to dodge more gates. Four waves of them, to be exact. The boss will also be teleporting around, making standing in a Well a sub-optimal strategy.
This might take you two phases, but don’t sweat it. Getting through this fight is super easy. Just make sure you’re taking care of those ads.
Extra Lightning Round
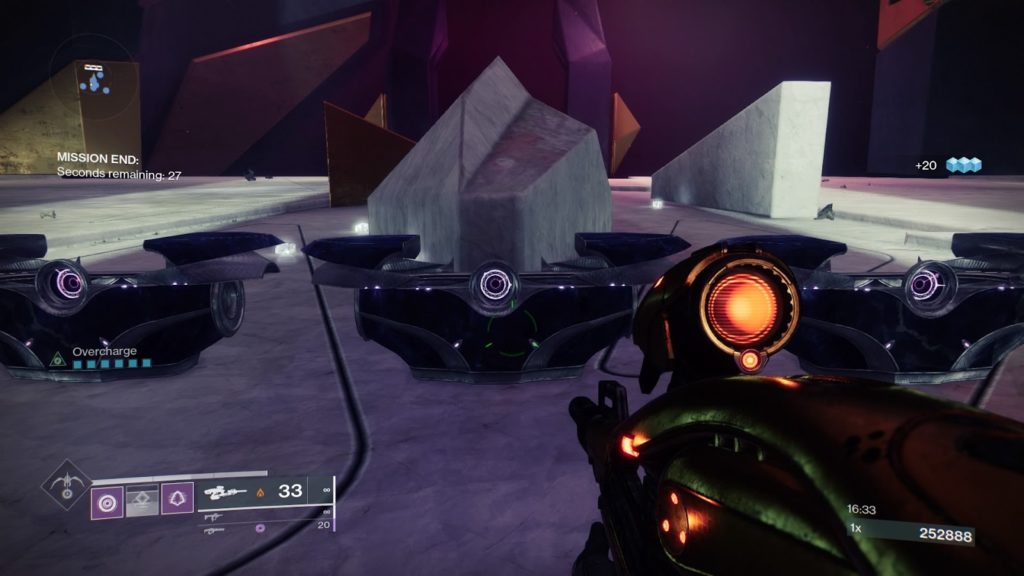
There is a small chance you’ll trigger an extra “lightning round” after the final boss fight. If you’re lucky enough to get one, you’ll get a chance to earn an additional three bonus chests, meaning more Treasure Keys and Strange Coins.
I’ve got over 30 clears of Dares of Eternity, including Legendary runs, and have only seen one lightning round (that I can’t even remember), so I can’t give you many tips from experience. From what other players have told me, though, it’s a round consisting of mine defusing (like with the Fallen) mixed with killing special enemies that spawn in during the round.
The race against the clock here seems to be a lot tighter than in previous rounds, so you’ll need to be on your A-game.


Published: Dec 10, 2021 05:10 am