Grasp of Avarice is one of the most inspired dungeons Bungie has crafted thus far. It’s a fitting homage to the Destiny of old, with genuine mechanics made out of the old loot cave, rather than just a cheap nostalgia pop. Having said that, it’s still quite a tricky dungeon to complete. Not to the level of Prophecy, perhaps, but there’s nothing wrong with looking for a little help when you need it.
That’s why I’ve put together a guide to help you figure out how to complete the Grasp of Avarice dungeon in Destiny 2. I go over what loadouts you should be using, as well as look at each encounter’s mechanics so that you don’t waste hours trying to figure things out.
Here’s how you can complete the Grasp of Avarice in Destiny 2.
What Are the Best Weapons for Grasp of Avarice in Destiny 2?
Season 15 is still Season of the Fusion Rifle even after the 30th Anniversary patch. So, if you’re trying to complete Grasp of Avarice before Witch Queen, these are the weapons to bring:
For Damage
- One Thousand Voices
- Threaded Needle
- Reed’s Regret
- Cartesian Coordinate
- Null Composure
For Ad Control
- Vex Mythoclast
- Trinity Ghoul
- Aeger’s Scepter
Your subclass and armor exotic isn’t too important here, but there is still some optimization that you should do. Specifically, I recommend bringing:
- An Omnioculous Hunter
- A Pheonix Protocol Warlock
Both of these will help keep your Fireteam alive and deal damage without needing to dodge around ads.
Puzzles, Puzzles, Puzzles
I wiped more times getting to the first boss on my first run than every other encounter in this entire dungeon combined. I was running it on Master difficulty, too, so do not take this section lightly.
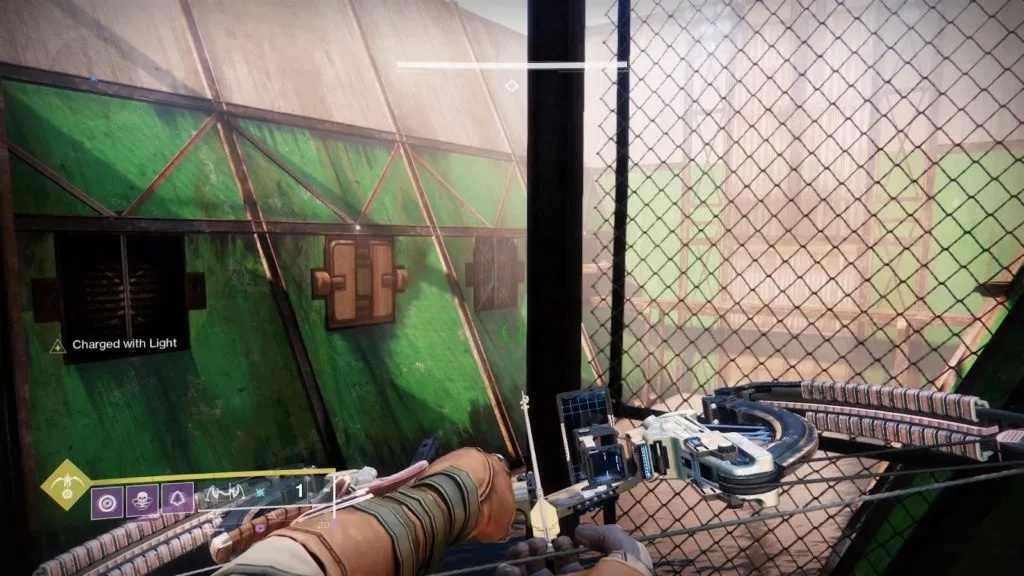
Before you get into the meat and bones, you’ve got a bit of busy-bodying to do. And by busy-bodying, I mean puzzles. Not just your traditional Destiny jumping puzzles (although there’s plenty of that). No, instead, you’re navigating a murderous makeshift funhouse full of traps that will instant-kill you.
If you’re running this part solo like I was (don’t), each death to a trap will be a full reset to the last checkpoint. This will cost you a bunch of time, so make sure you’re letting one of your teammates hang back while the rest actually attempt to make their way through the area.
Getting Into the Loot Cave
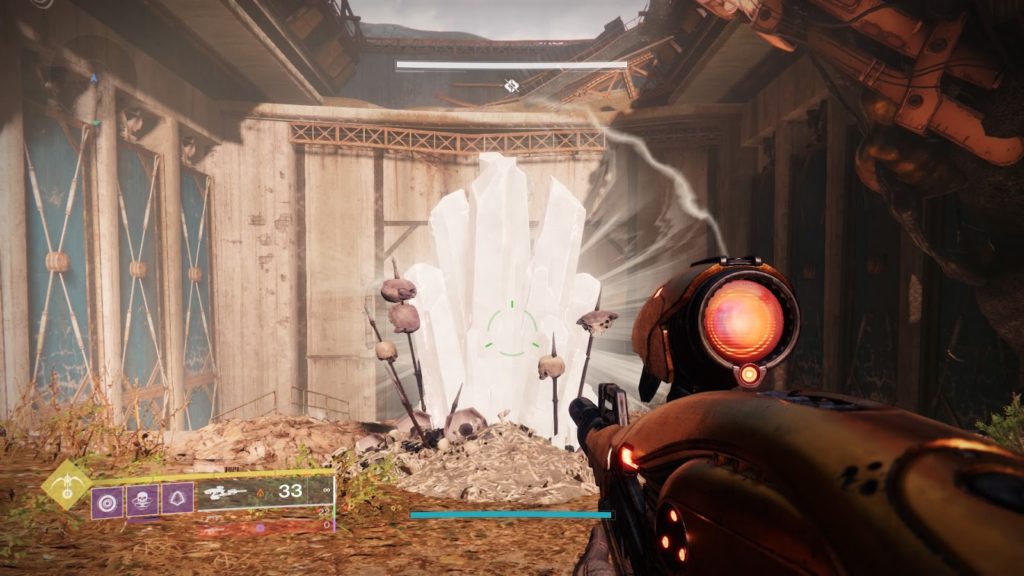
When you spawn up in the Cosmodrome, you’re going to be in the middle of some Hive hostilities. There will be an endless wave of Acolytes and Thralls spawning inside the old D1 loot cave. If you don’t know where that is, follow the ads, you’ll find it.
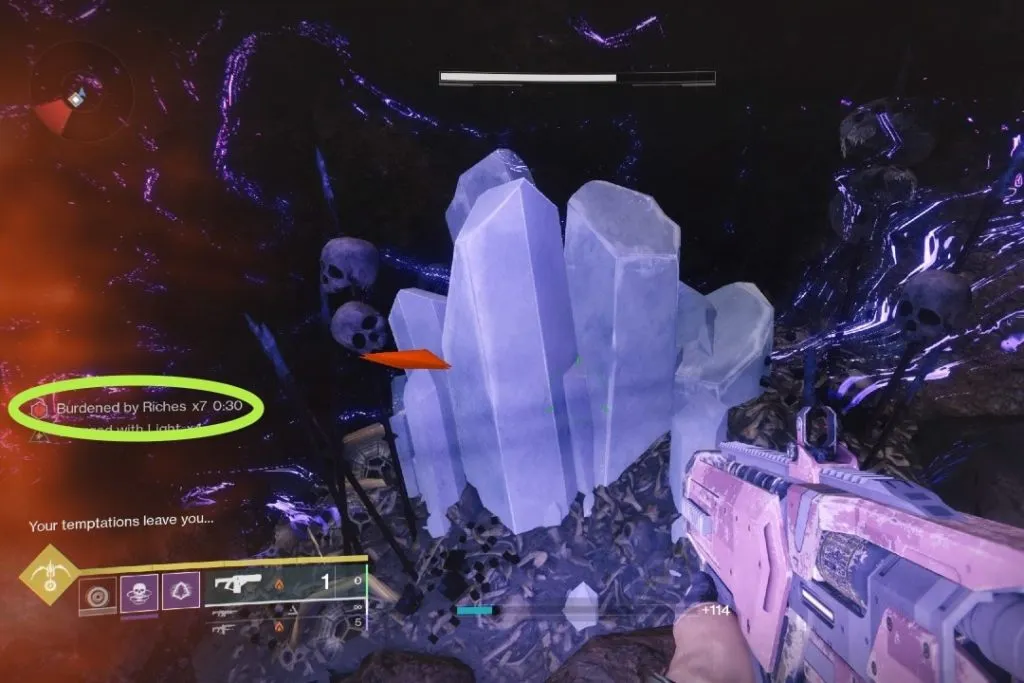
When you kill an ad, you’ll notice that it drops a bootleg Engram. Picking up these “Engrams” gives you a stack of a debuff called “Burdened by Riches,” along with a timer. If that timer hits zero, you will die. Picking up a new Engram will cause the timer to reset, and there’s no limit on how many you can stack, so don’t worry about that.
This “Burdened by Riches” is one of two key mechanics that will continue to come up throughout the raid.
Now, head inside the loot cave, and you’ll see a fancy-looking crystal growing out of the ground. Standing near that crystal will absorb your Burdened by Riches stacks until you have none left.
Your job is to keep killing ads to collect their Engrams, then bring your stacks of Burdend by Riches to the crystal. Eventually, after allowing the crystal to absorb a lot of stacks, the ground beneath you will open up, letting you continue.
Opening Up the Reservoir
What comes next is a very lengthy series of puzzles that you will find both frustrating and hilarious in equal measure. I’m going to give you the correct answer to the upcoming sequence puzzle which, being perfectly honest, will ruin a lot of the fun for you. If you don’t want to be spoiled, skip onto the next section where I talk about the first boss encounter.
With that out of the way, here’s a basic rundown:
- Inside the loot cave, stick to the left and follow the path. Defeat some Hive, and eventually, you’ll emerge in front of a giant pipe with a bunch of arrows pointing towards it.
- Turn right and you will be facing two doors. Open the left door with the switch on the wall.
- Avoid the pressure plate to activate the console at the back of the room. This will open the pipe.
- Enter into the pipe. The platforms you jump on to cross the chasm you’ll be facing will drop after a few seconds, so be careful.
- When you’re on the other side, rather than activating the console. Turn around and look to your left, there will be a hole in the wall. Jump inside it and activate the console.
- Back outside, six more pipes above you will have opened. Jump up to these pipes and go down the one to your left as you come back out of the bigger pipe.
- Stand on the pressure plate in the pipe to open a hatch above you. Jump up.
That might sound like a lot, but when you’re figuring it out for yourself, it’s a bit of a nightmare. You’re not done, though.
Head down the path in front of you, again being careful to look out for pressure plates and falling platforms. Eventually, you will come to another console. Activate it and it will open up a reservoir. You will need to hop from opening to opening, activating the console at the back of each reservoir room to open more doors. Eventually, you will open the two big doors at the front and back of the area, allowing you to continue.
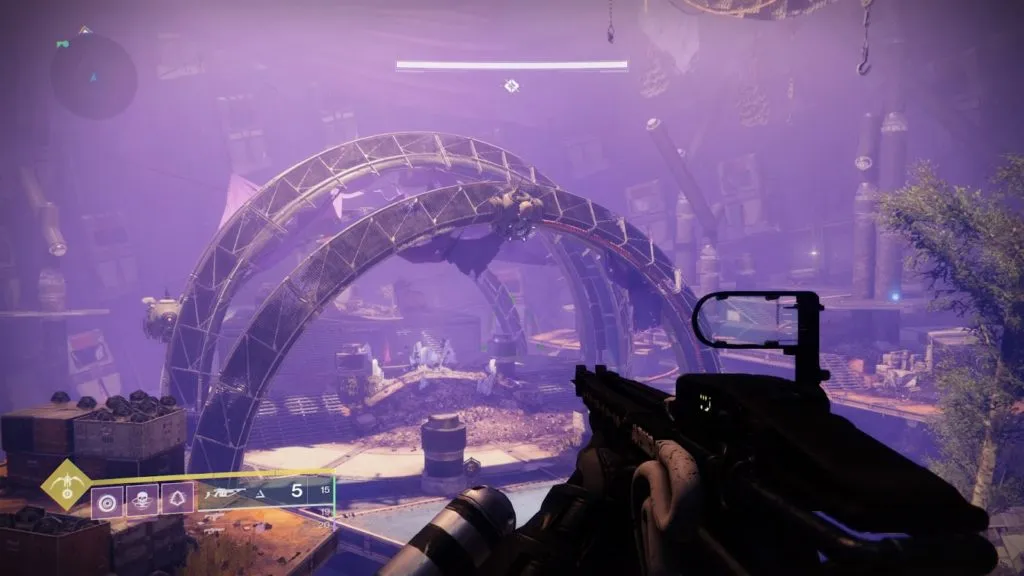
Ring-Around-a-Rosie
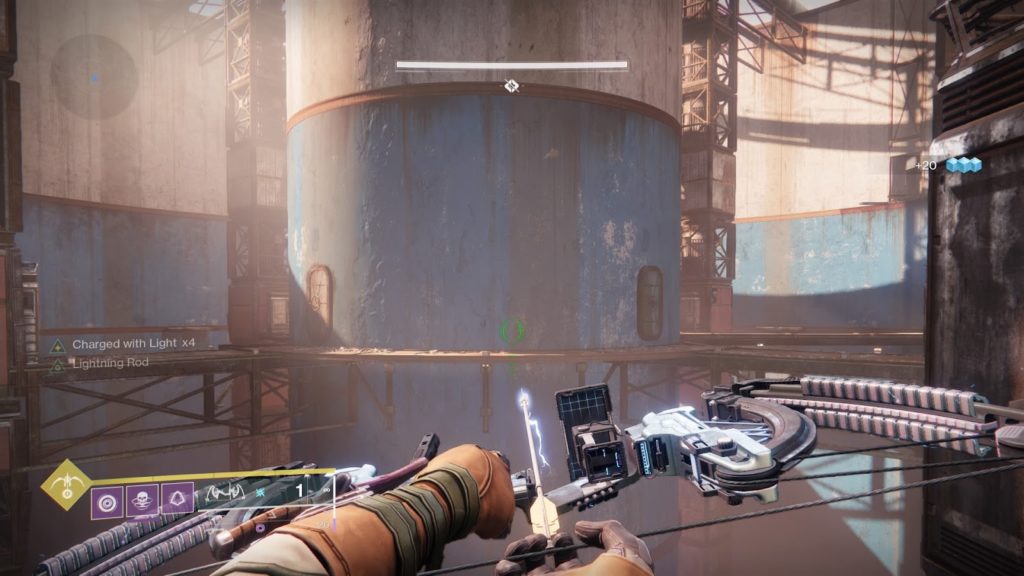
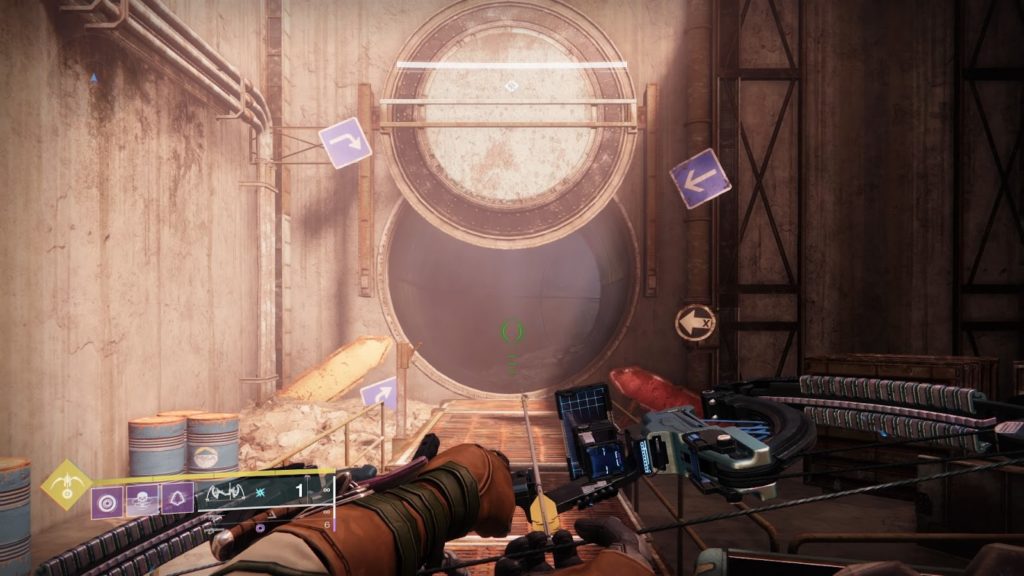
This next area is similar to the reservoir. You will be running around this cylindrical arena in a circle, activating a series of consoles. Eventually, you will activate all of them, prompting a Vandal with a Scorch Cannon to spawn.
Kill this Vandal and bring the Scorch Cannon to the other side of the arena. This is where we’re introduced to the Dungeon’s second major mechanic: Using Scorch Cannons to power up terminals.
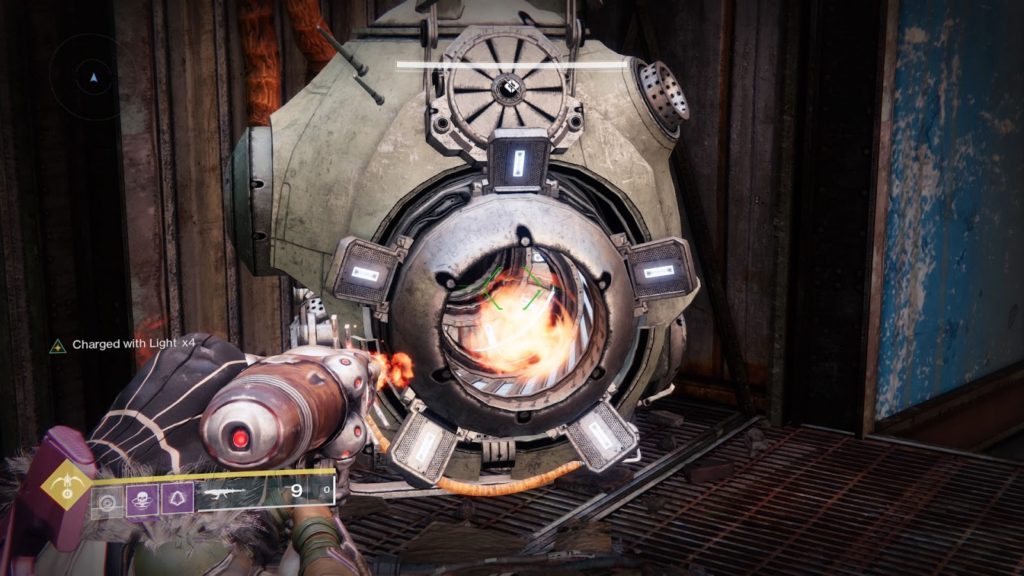
You will see a terminal (pictured above) next to a closed door. Shoot your Scorch Cannon at the door, and hold down the charge until you reach tier-2. Let go, and you will charge the terminal, opening up the door. Proceed up the stairs in front of you, complete a short jumping puzzle, and you will be looking at the first boss encounter.
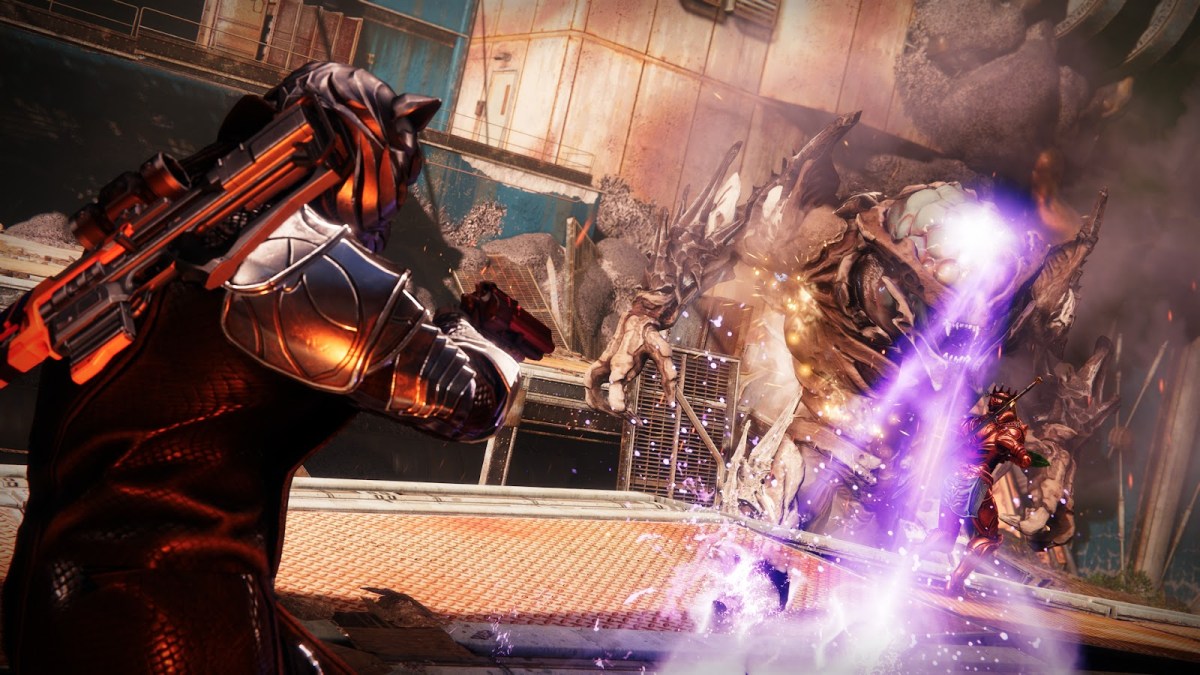
Phry’Zhia The Insatiable
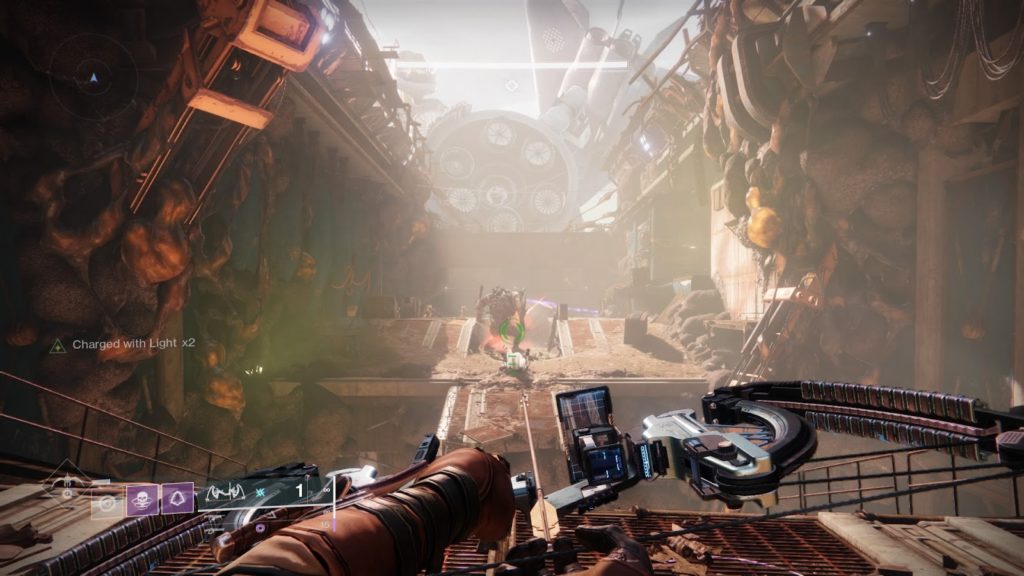
Phry’Zhia is already beefing with some Fallen when you arrive, so it’s up to you to intervene. As you make your way towards those fallen at the back of the arena, take note of the crystal you will have to pass at the center front of the area. This crystal is the same one as earlier.
Once the Fallen are defeated and you have your new Scorch Cannon in hand, you need to take note of the two terminals. There is one to the right, and one to the left. Both are above closed doors.
Similar to before, charging these terminals with a fully charged Cannon shot will open them. Inside, you will find Hive that spawn the Engrams that grant Burdened by Riches. Collect stacks of the debuff and drain them by the crystal at the front of the arena. Take a note of this process, because it’s a key part of how you beat Grasp of Avarice in Destiny 2.
You need 30 total stacks to start the DPS phase, and the Engrams disappear after a few seconds, so you might need to open one or both doors twice to get enough depending on your Fireteam.
Regardless, continue this loop until Phry’Zhia is dead, collect your loot, and move on to the next encounter.
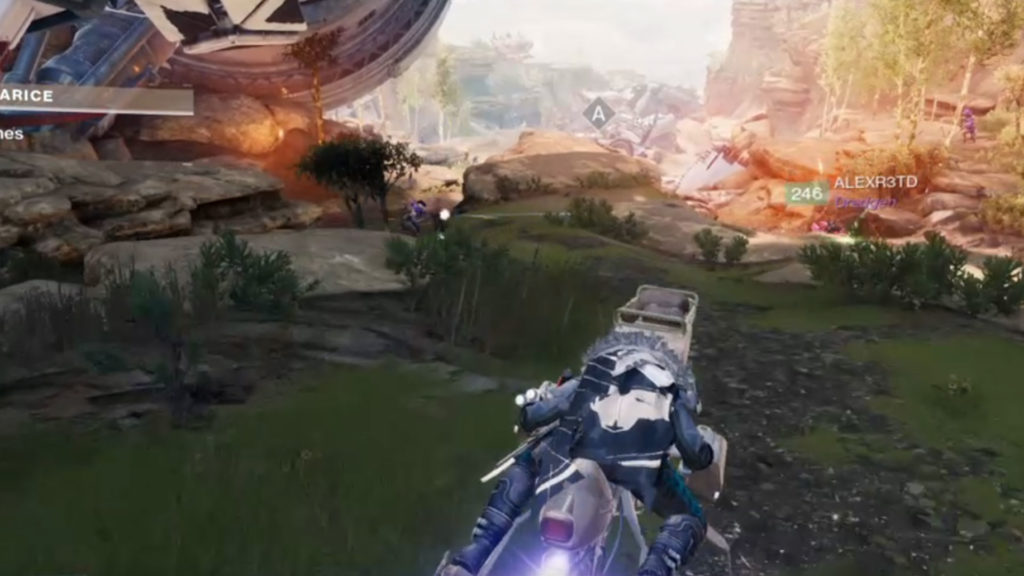
Sparrow Racing is Back!
Okay, not really, but we can dream.
This next encounter is a massive race against the clock. If you ever cleared Scourge of the Past, think of it as being similar to when you were chased by the giant Servitor. This time, though, we’re speeding to dismantle a series of mines. Each mine only has around 12 seconds from spawning before it blows, at which point it will wipe your team.
This might sound like a simple enough encounter, but it’s not. Between the lack of time and the ludicrous amount of ads shooting at you, you’re going to struggle here more than you think.
Thankfully, this isn’t just a mad dash. While you’re driving through the area, you’ll notice strange-looking silver devices on the ground. My Fireteam described them as “nipples”, so do with that information what you will.
These devices will actually add around five seconds onto the timer of the active mine when you go near them.
The arena is broken up into four sections. The first three contain mines, and the last leads to the next encounter. You’ll recognize the sections as you enter them.
From what I could tell, there are three devices in the first area, two in the second, and one in the third. They are placed on the left and right sides of the areas, so you should see them if you look around.
Rather than racing forward and hoping for the best, I suggest that you have one teammate stay in the first area, and another in the second. Your last teammate will drive on ahead to deactivate the mines (they deactivate instantly when you drive through them, so don’t stop).
It’s up to the teammate that has gone ahead to judge their distance to each mine and ask for extra time from the other two if needed. This will stop everybody from panicking and allow you to take control of the encounter pretty easily.
Deactivate the last mine and deal with some ads at the end to move on to the next “boss”.
Fallen Shield
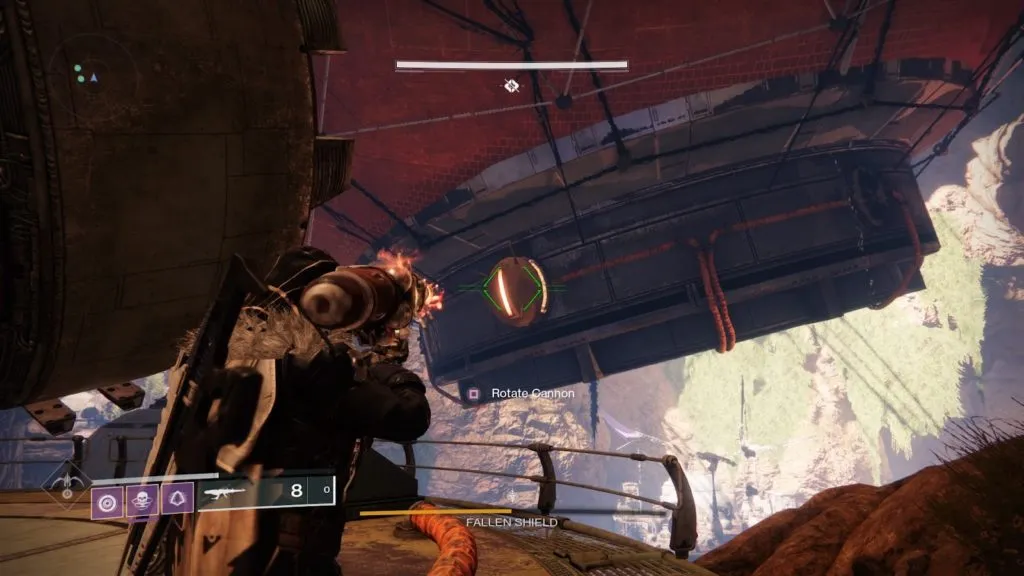
I use the term boss here loosely because the health bar you’ll be damaging is for an inanimate shield. Think of it like the Security encounter from Deep Stone Crypt.
Directly in front of you is a massive Fallen orb. Surrounding that orb is five different platforms. You’re going to be navigating these five platforms for this encounter. How, though? Well, you should see a cannon on the platform in front of you. These are launchers that we’ve seen in several strikes before. Powering one of these up, again using terminals and Scorch Cannons dropped by Vandals on each platform, will activate them and shoot you to the platform to your right or left.
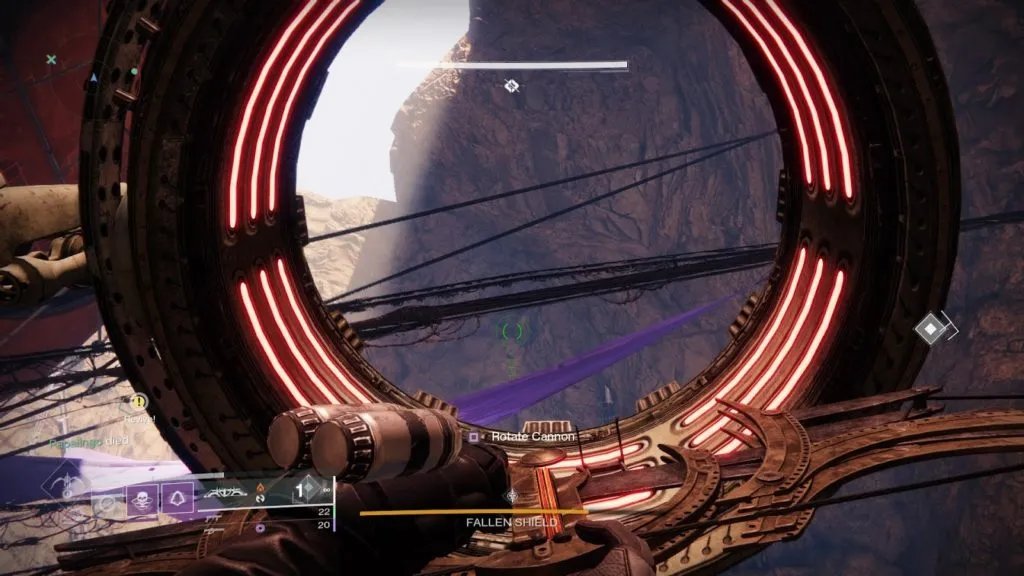
You can actually change the direction that the cannon is facing. There are three settings, with the middle one being reserved for dealing damage to the Fallen Shield.
On each of the five platforms, you will see a Fallen hut with one of those draining crystals inside. You will also notice a Servitor with an immune shield on one of the five platforms. Regular Fallen will also spawn on the platform with the Servitor. These Fallen spawn Engrams that debuff you with Burdened by Riches.
Just like before, you’re going to be collecting these stacks. This time you need 20 total to take down the Servitor’s shield.
Once you kill the Servitor, it will turn into a bomb with a 1:30 timer. Push this bomb over to the cannon, make sure it’s aimed at the big orb in the center, and activate the cannon using a Scorch Cannon on its terminal. This will shoot the bomb towards the orb, destroying a panel on the side of it and dealing damage to the Shield.
Once this is done, another Servitor will spawn on another platform. Navigate your way over there and repeat the process. Do this until you destroy the Fallen Shield, then make your way to the center platform and take the last cannon to the final boss fight.
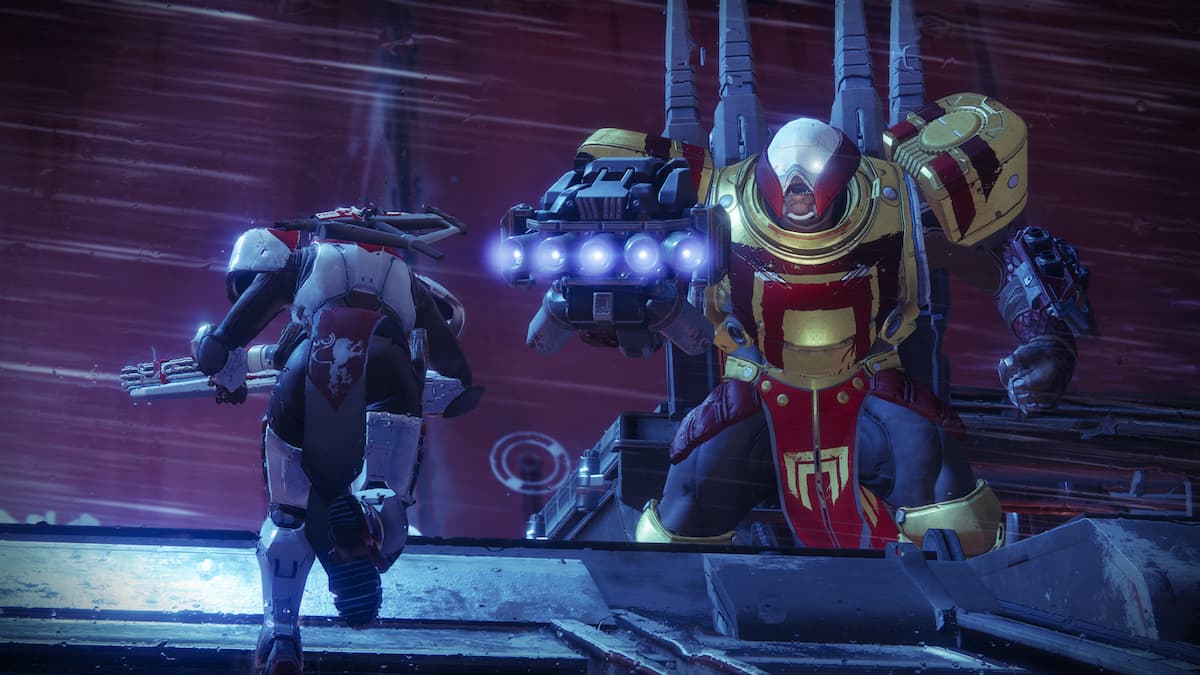
Captain Avarokk The Covetous
There are a few things to take notice of here. First, the location of the crystal, which is directly in the center of the room. Then, there are two terminals on the left and right sides of the rings that run over the middle platform. Scorch Cannon Vandals will also spawn on the left and right sides of the arena.
When you start the encounter, the boss will spawn in on the center platform and will stay there. He will spawn with two unique yellow-bar elites – a Vandal and a Tracer Shank. Both of these are damage sponges, but you should spend some time taking them out because they can dish out some serious damage. To save ammo, use Scorch Cannons to take them out.
You will have ads spawning in on three sides of the arena, a lowland area where you spawn in, on the left with one Scorch Cannon, and on the right with the other. Spend some time slaying out until Scorch Cannon Vandals spawn in. Kill them, and take the Cannons. Oh, and don’t touch any of the water. Even the smallest puddle will kill you.
When you’re ready to set up for DPS, take a second to look at the terminals. Only one of them will be open, so take your Scorch Cannon to whichever side that is and shoot it. This will spawn a total of 30 Engrams out of chutes around the arena. Collect these and drain them in the center crystal.
Draining 60 total stacks of Burdened by Riches will start DPS. The boss will teleport to the back of the room and give you a somewhat brief damage window to deal damage. My team managed to two-phase Avarokk on Master difficulty, so it should be an easy one-phase for a well-equipped fireteam on Legendary.
If you don’t kill him in one phase, you have to repeat the process you just completed, including killing the elites again.
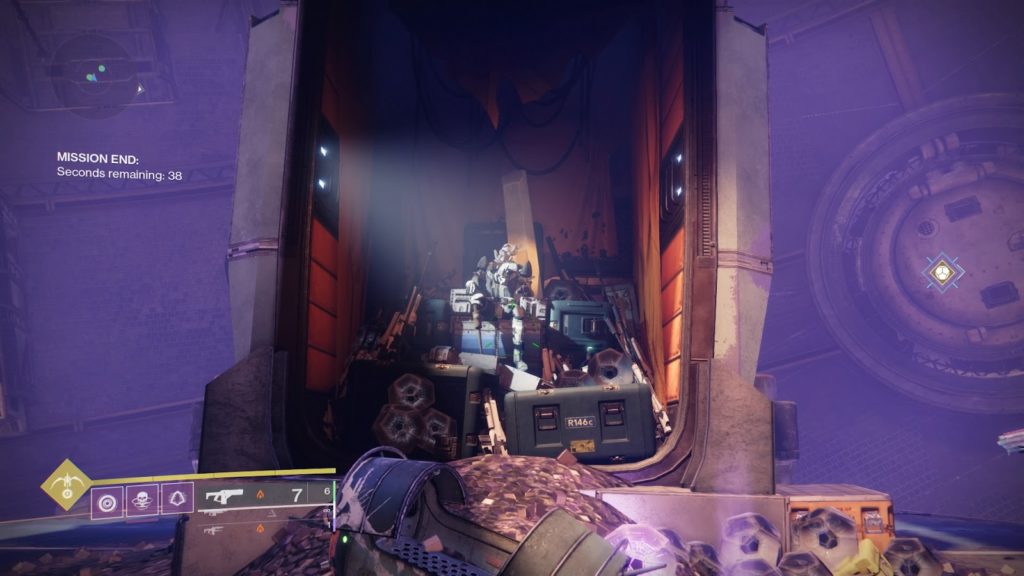
Once he falls, you get your final rewards chest and the satisfaction of figuring out how to complete Grasp of Avarice in Destiny 2! Now go and get that Gjallarhorn.


Published: Dec 8, 2021 12:45 am