The Intern Badge is a wearable trinket in Grounded, which increases the players’ Hauling Strength but also has a bit of a downside. Here is the guide on how to find and where to get the Intern Badge in Grounded, as well as all of its attributes.
Related: How to Defeat Wasp Queen in Grounded
Where Can You Find Intern Badge in Grounded?
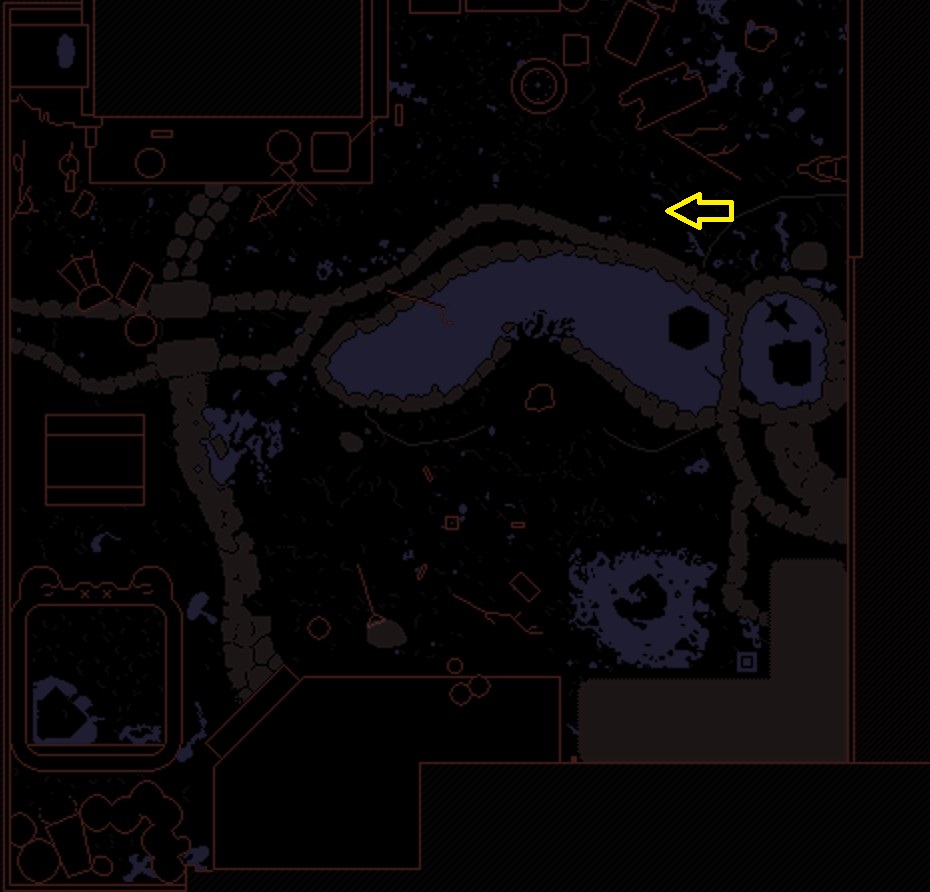
The Intern Badge is a Tier 2 trinket that you can equip in Grounded. It can be found in a skeleton in the Upper Grasslands, inside a small cave under the blue cap in the abandoned Milk Molar Bottle. The area is located in the southeastern part of the map, near a reversed-letter U-shaped lake.

Note that once you enter the cave, you will encounter some Dead Roots that are blocking the way. That means that you’ll need a Tier 3 chopping tool to cut through the roots and make way for yourself. And don’t forget to bring out your Torch and light it in order to make your surroundings visible.
Once you cut the Dead Roots, proceed a bit forward, and on the left side, you’ll see a skeleton lying on the ground. From it, you’ll find a notebook that is obviously some kind of a diary, as well as the Intern Badge.
Pros and Cons of Intern Badge
The badge comes from a prominent scientist and grants access to their specific department of work. When equipped, it increases the Hauling Strength of the player by 15 planks. Note that wearing the Intern Badge also has a downside because it reduces your character’s overall movement speed by 30 percent.
Once you acquire all of the items from the skeleton, go right from it and then proceed forward. You will find some Milk Molars to bust with your Tier 3 pickaxe. There are five Milk Molars in total in that location in the cave.
When you bust all of the molars, turn around and go back to the cave. Proceed forward until you reach the exit. The game will warn you with a “Treath Detected” warning as soon as you leave the cave. A Ladybird is lurking, so pay attention not to go any further until you’ve dealt with this aggressive bug, or otherwise, it will surely get you.
Proceed to the white cap with an ASL Terminal inside in order to analyze the resources you found. Once you’re inside the ASL, choose the Molar Infusion Upgrades tab. Then click on the GROUP Mega Milk Molar in order to increase your Max Arrow Stack Size. Under the YOU Milk Molar tab, increase Max Stamina, Max Health, and Healing.
We hope you found our article useful. For more Grounded content on Gamer Journalist, see How to Use Handy Gnat in Grounded or How to Duplicate Items in Grounded – Super Duper Guide.


Published: Nov 23, 2023 07:58 am