With DMZ Season 2 set to release February 15th, 2023, players have limited time left to complete the Faction Missions in DMZ. Whilst the Factions will remain a part of the DMZ Mode, the Missions of the three Factions will reset. For those trying to complete the final Tiers across the Factions: White Lotus, Legion and Black Mous before the time runs out, this guide will aid you in completing the Tier 5 Mission of White Lotus. Although this Faction has been known for having bugged Missions, this guide will help you in how to complete the White Lotus Tier 5 Mission ‘The Route Forward’ in Warzone 2.0 DMZ. Rewarding you with 40,000 XP and the Chisel (Marksman Rifle) upon completion.
‘The Route Forward’ Mission Summary
As the last Mission of White Lotus’ Tier 5, players are expected to complete 3 objectives. You must find 7 Tracking Devices which are located inside the Al-Sharim Pass Dead Drop. Next, take these Devices to the Sattiq Caves and plant them onto the AQ Trucks in this named location. This must be done in a single deployment. Finally, head to the Sattiq Caves Bunker to download the data inside the Server Rack.
Related: How to Complete Humanitarian Relief in Warzone 2.0 DMZ.
How to Complete ‘The Route Forward’
As the first objectives points you towards the Al-Sharim Pass Dead Drop you should head here first. We recommend using either a land vehicle or finding a helo (if you spawned close to one) to use throughout this Mission. Head to Al-Sharim Pass as pinpointed on the Al Mazrah Map when you open it. You need to head to the exact location in the screenshot below where the Dead Drop Dumpster is located. Approach and loot the contents. Remember that you will need space in your backpack to pick the Devices up. Luckily these stack so you only need 1 slot spare to carry the items.
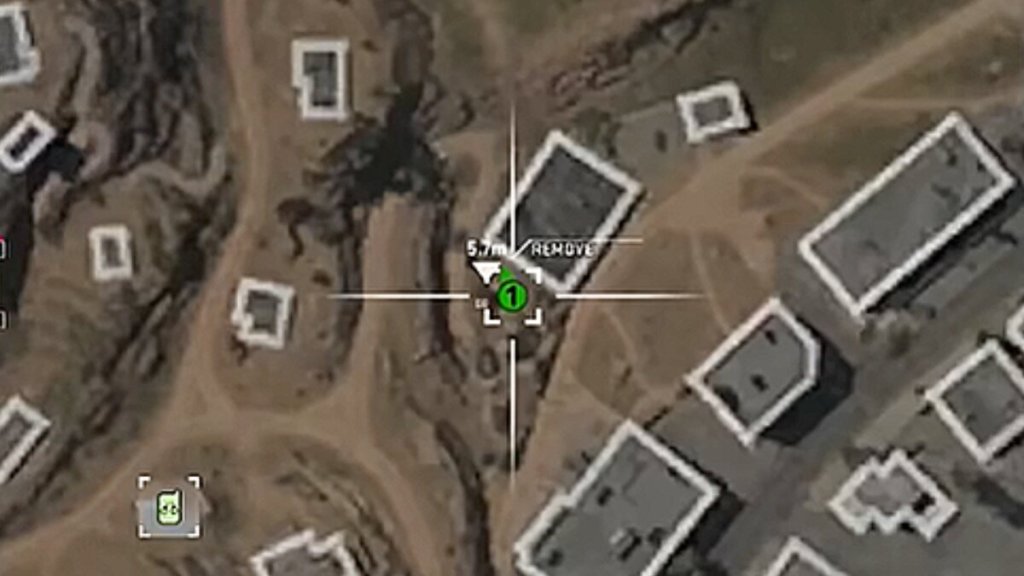
Before you head into the Sattiq Caves, make sure that you are well equipped. Make sure you have full armor plates and a self revive. Especially if you are trying to solo this Tier 5 Mission. Sattiq Caves has higher valued AI enemies in the area that have a longer time to kill than the standard AI you will meet in Al Mazrah. When you arrive at the Caves, you must located the Trucks. However, we recommend clearing the nearby area of the Trucks before attempting to plant the device otherwise you can get dropped quite quickly if you try running in.
Planting the Tracking Devices
The first Truck can be found atop the entrance into the Caves. You should overlook the inside of the Caves from above, taking down any enemies you see. We recommend bringing either a Assault or Sniper Rifle for longer distance picks off the enemies. The first Truck can be found in the exact location that the screenshot is highlighting below. Head to the player icon on the screenshot below, go up to the Truck and interact to plant the Device. Make sure you walk to the front right tire to plant the device.
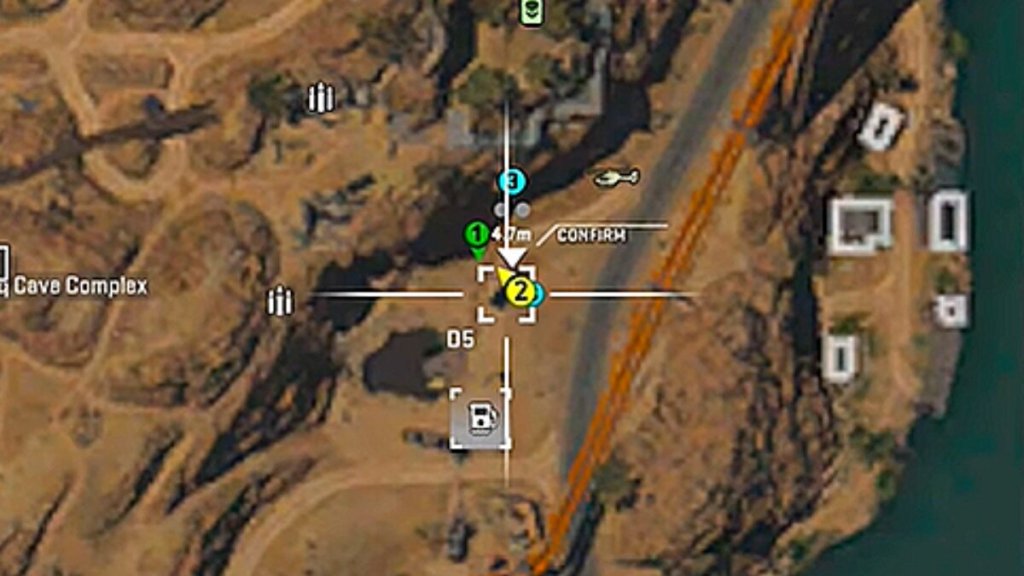
The next two Trucks are located directly underneath the hole to the Caves. Drop down and plant the Devices on the Trucks located inside the underground Cave system. After this, head back to the top of the Caves via the zipline. There is a lot of enemies in this location and it will be very hard to clear, especially as a solo player. You will need to play slowly and patiently, do not run around searching for the Trucks otherwise you will likely fail the Mission. It is best to play this as a full squad to complete ‘The Route Forward’ due to the higher levelled AI and the sheer amount which appear in the Complex.
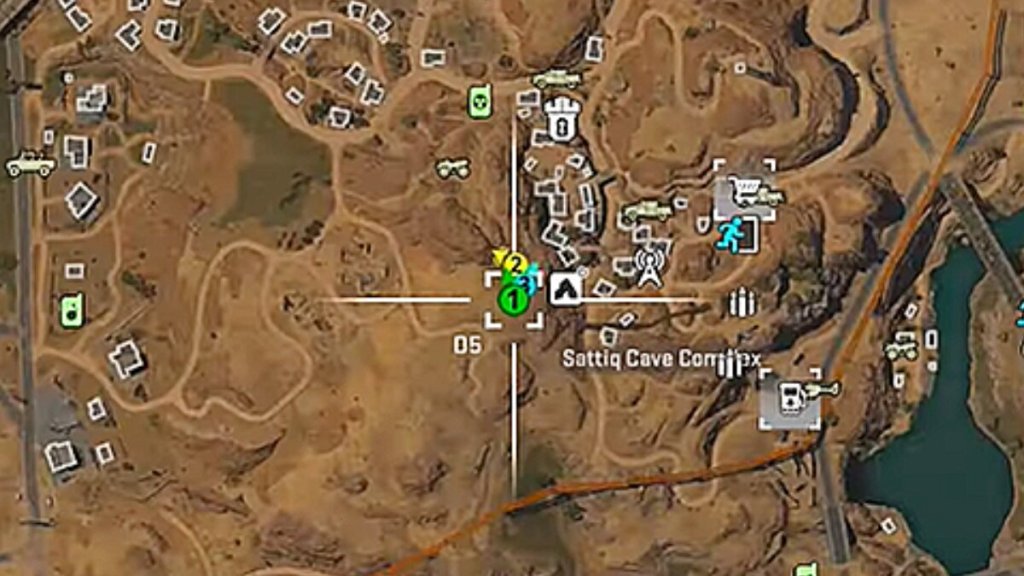
Two more Trucks are located at the entrance of the Sattiq Cave Complex – Upper Caverns. The sixth can be found at the back of the Upper Caverns denied area. The Upper Caverns is just west of the named location on the Al Mazrah Map. Refer to the screenshot below for the exact location where you can enter the Upper Caverns. Keep in mind that this is a restricted zone so be aware that you will be spotted relatively quickly if you try to use stealth. Be ready for a fight when you go in as the third Truck in the Cavern is located right at the back.
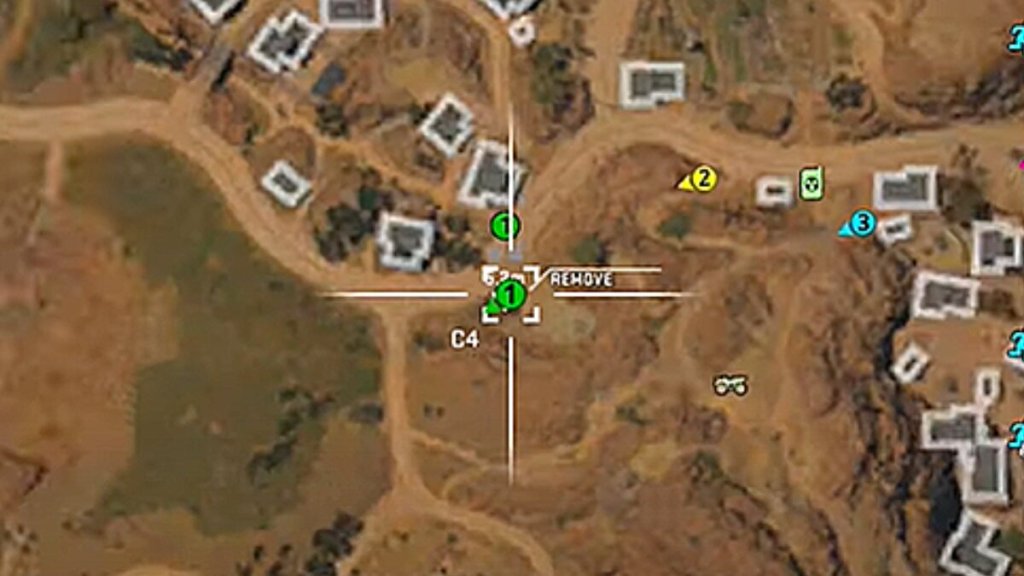
The final Truck is located outside of the Caves, far west of where you initially started. You will see the Stronghold flag behind the final AQ Truck. Once again, refer to the screenshot below of the exact location of the Truck.
Downloading the Server Data
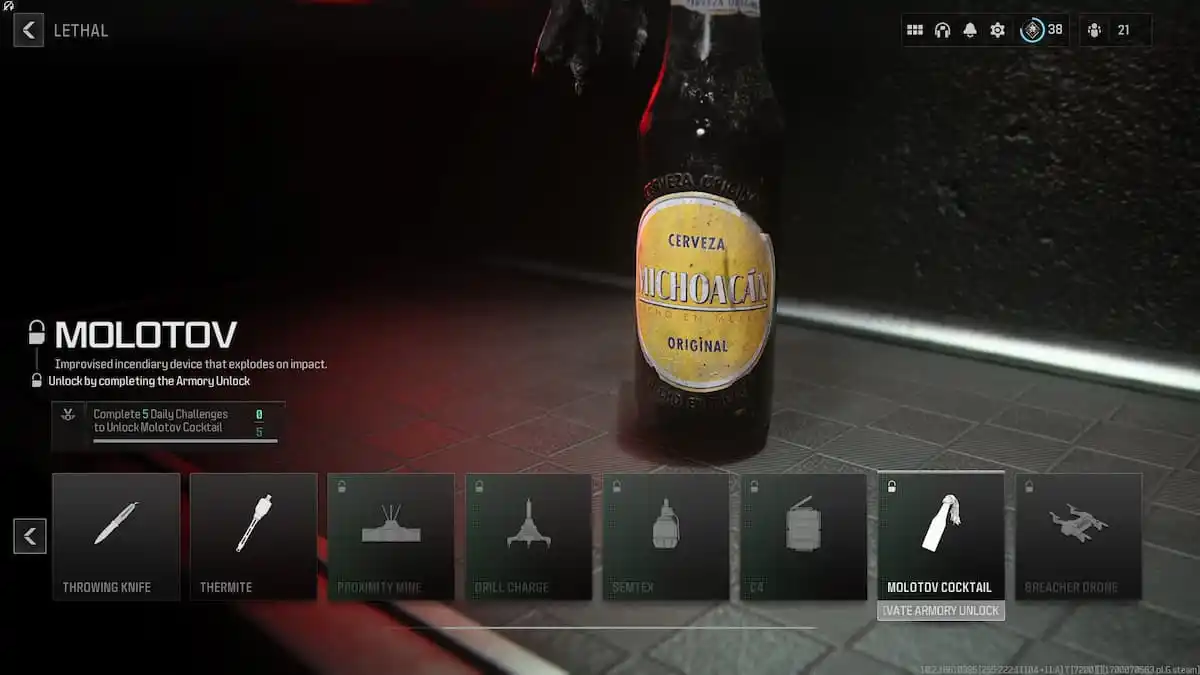
After you have planted the Tracking Devices on all 7 AQ Trucks, you need to go to the Bunkers. The Bunker you need is located directly in front of the Sattiq Caves Exfil. Once again, this area will be highly contested, you will need to stay in the Bunker to download the data. This is why we recommend you to play in a full squad as the Bunker will fill with enemies. A Self Revive may not be enough to help you if you are spotted in the area. We recommend having an AR here for getting through this tight situation. If you are trying to complete this alone, try and use lethal equipment such as Mines and Grenades. You may need to leave the area and gain height advantage against the enemies instead of trying to hold the Bunker on your own. The Bunker is located in the screenshot below.
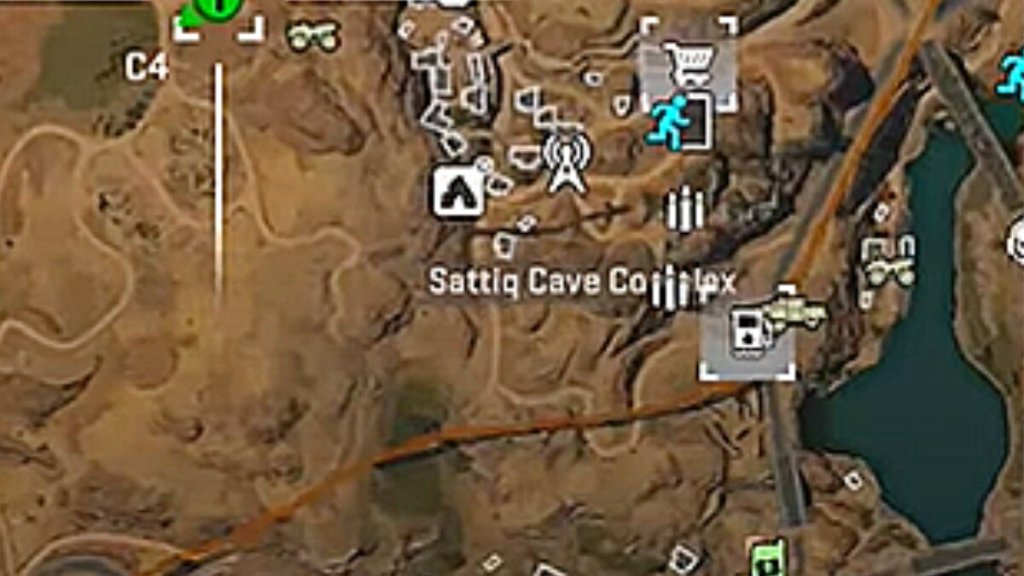
Head to the Buy Station as shown on the Map above, the Bunker to download the Server Data is in the room beside the Buy Station.
We hope this guide on how to complete Tier 5 White Lotus Mission ‘The Route Forward’ in DMZ proved of use to you. For more Faction Mission guides, feel free to look at our guide on Harmful Waves and Thirst for Knowledge. You can also follow us on Facebook if you are interested in reading more from us, here you can stay up to date on all of the latest articles including new DMZ Season 2 content.








Published: Feb 6, 2023 08:51 am