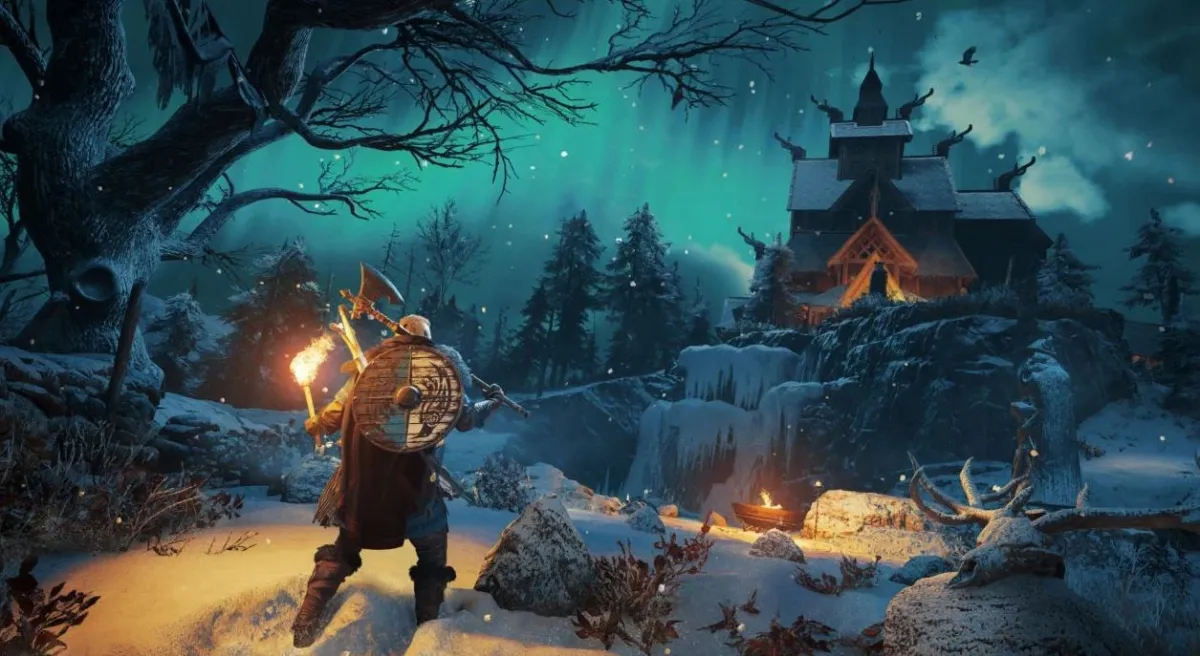
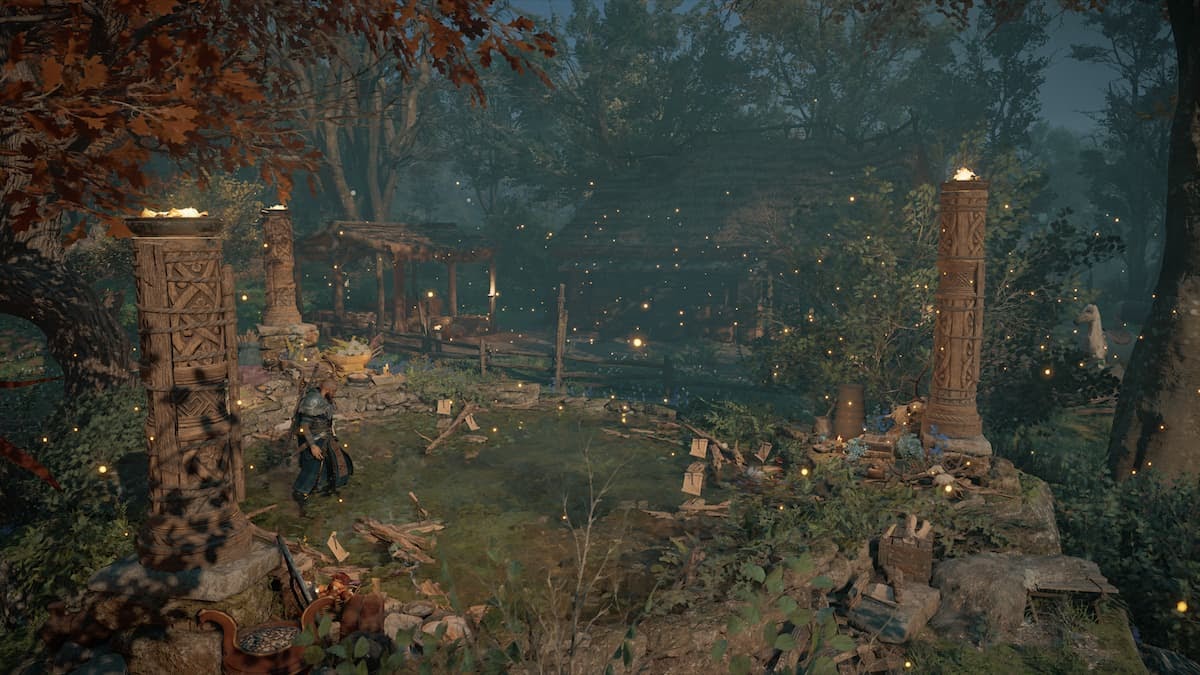
Assassin’s Creed Valhalla is by far the best looking game in the series, with some remarkably brilliant looking visuals. Ubisoft did a great job in the graphics department, and you can take advantage of that by showcasing some fantastic screenshots by using the in-game Photo Mode. Here’s how to use Photo Mode in Assassin’s Creed Valhalla.
How to use Photo Mode in Assassin’s Creed Valhalla
To access photo mode in Assassin’s Creed Valhalla, you must first enable it from the options. Head to the menu, open the options, and look under the gameplay tab. Make sure Photo Mode is on. You can then exit the menu and return to your game.
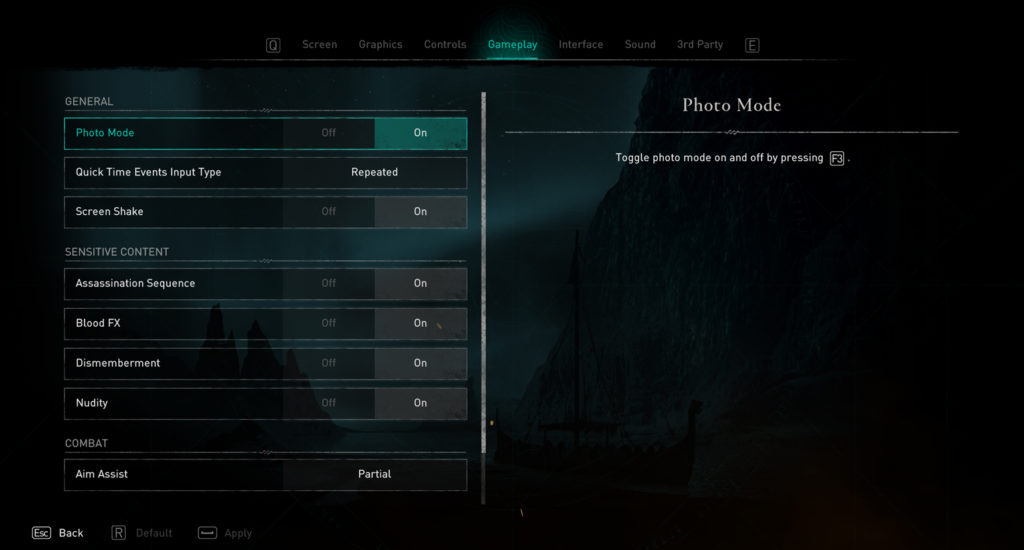
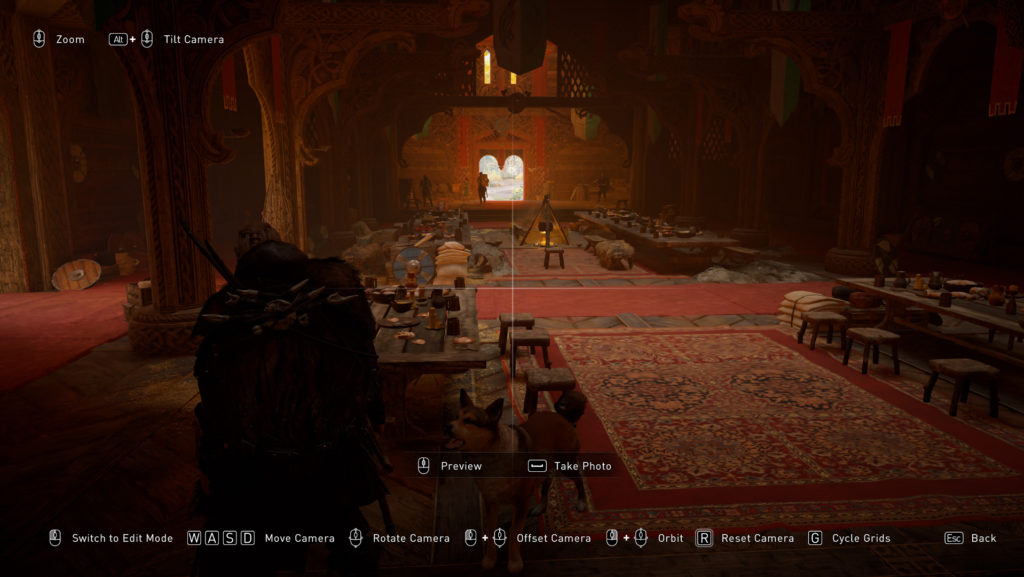
You can enter Photo Mode in Assassin’s Creed Valhalla by pressing F3 on PC or L3 + R3 on the controller. There are many options available while in Photo Mode, including Camera Offset, Grid Cycling, Edit Mode, and Camera Movement. You can also free-look in a small radius around your characters, allowing for some nice aerial shots or action screenshots.
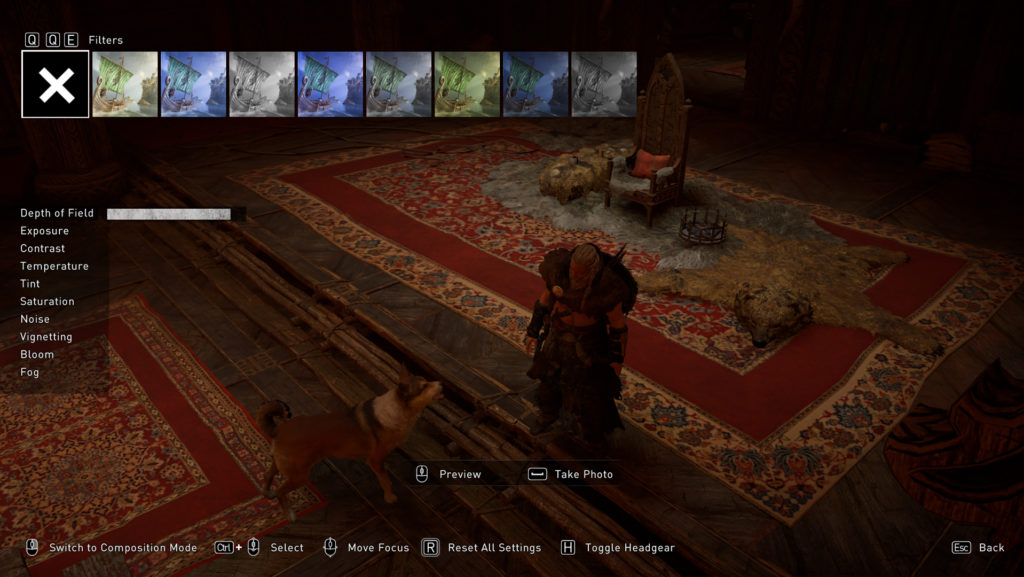
Left-click enters Edit Mode, which allows you to choose from eight different filters, or no filter at all. You can hold the left control key and mouse wheel down to view the other settings like Depth of Field, Exposure, Contrast, Temperature, Tint, Saturation, Noise, Vignetting, Bloom, and Fog. You cannot change these individually, though, as they are tied to the filters. Pressing in the middle mouse button allows you to preview your photo.
Once you have everything set up nicely for the perfect picture, you can press Spacebar on PC, or X/A on the controller, to snap the photo. The screenshots automatically save to the Assassin’s Creed directory into the Photos folder.
That’s how you use Photo Mode in AC Valhalla. There’s a wide range of options that allow you to take some lovely photos with customization features.





Published: Nov 10, 2020 07:00 pm