
If you clicked on this article hoping for a quick and easy method of defying the laws of Pokémon physics, you’re … in the wrong place. Don’t get me wrong — can you get an unlimited supply of shiny Mew and transfer them to Pokémon Scarlet & Violet? Yes. Well — theoretically, that is, as, at the time of writing, Pokemon Home has not updated to be compatible with Scarlet & Violet. It will also set you back hours.
If you’re still with me, then … well, that’s your prerogative. You will need to acquire a Nintendo 3DS, as well as a copy of either Pokémon Red or Pokémon Blue from the Virtual Console. It would seem this process is easier in Red, but … we’ll get to that a little later on. In any case, presuming you’re chomping at the bit to get started, let’s do this. Here’s how to get and transfer an unlimited amount of shiny Mew.
DISCLAIMER: Massive thanks to YouTuber AustinJohnPlays for the detailed (and pain-staking) outline on how to make this happen. If you decide to try this exploit, you do so on your own risk. Gamer Journalist holds no responsibility for deleted or formatted save files. Good luck!
How to Get Shiny Mew in the First Place
OK — so, first and foremost, we should emphasize that this process is not by any means legitimate. If you feel icky taking advantage of in-game exploits, this method is not for you. It will result in a legitimate Mew, but you’ll be working outside the confines of the game to acquire it. In fact, if you’re not careful, you could even lose your entire save file, which … I am guessing you don’t want to happen.
Step 1: Play the Game Like Normal Until You Reach Cerulean City
It would appear that you can’t really do much on this until you’ve defeated Brock and reached the road to Cerulean City. So, play the game like you normally would until this point, but don’t proceed into the battle with Misty, because this is where you’ll …
Step 2: … Catch Mew!
Oh — this is a lot earlier than expected, but let’s run with it. Head for Nugget Bridge, and do what you do. As soon as you’re able, run into the side of the leftmost mountain after passing the bridge. Walk down, taking care not to trigger the trainer who’s standing in this area.
Your priority here is not to catch Mew — but rather, Abra. Specifically, an Abra with Teleport. In order to catch it, you’re going to have to get lucky and capture it in one turn. Thankfully, if you’re not lucky, you can repeat this process as much as you’d like so long as you don’t trigger the nearby trainer.
Now — save your game. You’re going to be doing this a lot, so … get used to it. Remember how I said you weren’t going to trigger the nearby trainer? Well, now you are. But, you aren’t going to battle him. If you’re still in the area where you (probably) caught Abra, walk up so that you’re approximately five spaces from the trainer, then take one step toward them while spamming the ‘X’ button. If you did it right, you’ll pull up the game menu, at which point you should select Abra and use Teleport. Presuming everything is as it should be, you should see an exclamation point above the trainer’s head as you teleport away.
This is the point where you should notice that the game is … kind of bugged. From here, you won’t be able to access the game menu. This is intentional, and you’ll get this function back eventually, so don’t worry too much. Now — from where you teleported, go back across Nugget Bridge and, in the area just past the bridge, you’re going to battle the Youngster. But, don’t initiate the battle by walking up to him. No — make sure there is at least one empty space in front of them, so they walk up to you to initiate it.
Following your obliteration of the Youngster’s hopes and dreams, use Abra to teleport one more time. If you then proceed back up and cross Nugget Bridge, your menu should be triggered. Cancel out of it, and the battle with Mew will begin. Don’t ask me how this works, because I would never be able to tell you.
Step 3: Catch ANOTHER Mew!
If you noticed, the Mew you just caught … wasn’t shiny. Shock & awe! I’d hate to tell you this, but the next one you’re gonna catch isn’t shiny either. But, there’s a method to this madness. Repeat the last step up until you’ve teleported using Abra, but instead of robbing the Youngster of their aspirations (and money), you’re going to head into Cerulean City’s gym. Initiate the battle with the swimmer on the far right. Your victory will trigger another Mew to be spawned in the exact same spot as before, on Nugget Bridge.
Step 4: Play the Game Like Normal Until You Reach Cinnabar Island

It’s now time to catch the infamous MissingNo ‘mon. But first, head into the Pokémon Center on Cinnabar and clean up your team. It is probably enough to limit your team to a ‘mon who has learned Fly and one who has learned Surf. Aside from that, you can deposit the remainder into a box and leave them for now.
In speaking of Fly, use it and head back to Viridian City. Find and speak with the old man who’s now had his coffee, and he’ll teach you how to catch pokémon. You probably don’t need to be instructed at this point, but … just do it. Then, fly back to Cinnabar Island and get ready to catch a glitched pokémon!
Save the game … again. I promise you, we’re not just telling you to save for our health. It’s for your health. In any case, use your surfing ‘mon to surf up and down the coast on the far right until you initiate a battle with MissingNo. As soon as you encounter this glitched ‘mon, check your inventory, because whatever item that was in your sixth inventory slot will have approximately 128 of it, in addition to however many you already possessed.
Because the game was not designed to display three-digit numbers, however, you will see an arbitrary symbol, followed by the last numeral. An easy way of knowing for sure how many of a given item you have is going to a shop and seeing how much you could get for selling one, and seeing how much you could get for selling all of them, and using those two numbers in a magical math machine.
So, knowing this item duplication trick, ensure that you have a Rare Candy in the sixth slot, encounter MissingNo, and use your newfound 128+ Rare Candies to level one of your Mews all the way to 99. In order to make one (or both) of these Mew shiny, you will need to catch a MissingNo here and give it a Rare Candy. It should then “evolve” into a Kangaskhan, which you will need later, so deposit it for now.
Step 5: Achieve a Laundry List of SPECIFIC Pokémon (8F Glitch)
It’s here where we’re going to perform what is called the 8F Glitch. In so doing, you’ll need to collect a specific list of ‘mons, or it won’t work:
- Mew
- Pidgey with a current HP of 233.
- Parasect
- Onix
- Tentacool
- Arbok (only available in PKMN Red, will need to be glitched or acquired via trading if you’re playing PKMN Blue)
It should be noted that you need a Pidgey with a current HP of 233, but it can’t evolve. In order to do this, you’ll need to use a lot of Rare Candies using the duplication glitch, but every single time it wants to evolve, you need to cancel it out. And notice I said current HP of 233, not max HP. It doesn’t matter what its max HP is, so long as its current HP is 233.
Step 6: Achieve a Laundry List of SPECIFIC Items (8F Glitch)
In addition, you’ll need a specific list of items — and a specific number of each:
- 8F (will explain later)
- Any Item x89
- Dire Hit x58
- Iron x37
- X Accuracy x119
- Water Stone x62
- Burn Heal x50
- Poké Ball x43
- Antidote x43
- Protein x62
- PP Up x60
- Ice Heal x50
- Lemonade x133 (buy at least five, to save you some trouble)
- Great Ball x50
- Fresh Water x34
- TM01 x(any number)
You might be thinking that you’ll need a lot of Poké Dollars to make this happen. Don’t get me wrong — if you have the excess capital, feel free to buy the quantity that you need (so long as it’s under x99, for the items that you need more than x99, you’ll be using the item duplication glitch). In any case, be sure to buy at least one of each item you’ll need from Celadon City so that you can use the item duplication glitch.
So, return to Cinnabar Island and use the MissingNo item duplication glitch until you have enough of every single item on this list in excess. Return to the Pokémon Shop and sell off any excess items until you have the exact number given in the above list. No more, no less. Exactly the amount in the above list.
Step 7: Performing the 8F Glitch and Acquiring the 8F Item
OK — the time has come. It’s nearly finished. Hey — have you saved your game yet? Take the time to save your game. Not that it’ll matter if you don’t follow these steps exactly. Because your save file can just go poof if you do anything aside from what we outline in this guide. You have been warned multiple times.
So, first things first, take all of those items you worked so hard to acquire … and deposit them into your PC box. In fact, you will need exactly seven items in your immediate inventory; one of them should be a Master Ball, and another should be an X Special. Put the Master Ball into the seventh space, and the X Special into the sixth. I imagine you can tell what’s next — fly back to Viridian and speak with the old man, then return to Cinnabar. It’s time to perform the item duplication glitch one more time!
In doing the MissingNo glitch for the final time, your goal is to acquire x255 X Specials. In the battle, use two of the X Specials, then use a Master Ball to … *gasp* … catch MissingNo? Yes! Catch MissingNo! If all is as it should be, then you should have at least x255 X Specials, which will manifest as a thick gray line with a thin black line and the number 5 where your quantity should be.
In doing the 8F Glitch, you’ll need to start a process known as Item Underflow. Take your X Specials and move them from the sixth space in your inventory to the third space. Presuming you didn’t put anything crucial in any of the other slots, you need to toss whatever was in the first space.
If successful, you will notice that the X Specials in the third slot have been duplicated so that they occupy the second and third spaces. Repeat this step, tossing whatever was in the first space so that X Special occupies the first three spaces in your inventory. Now, start tossing the X Special. It won’t appear to be doing anything special — heh, get it? — but trust me … it’s working. If you try scrolling down in your inventory, you should notice that your inventory is … getting lighter? To be clear, even though you can see items in your inventory, the cursor won’t move past 2-3 spaces. You want to keep tossing X Specials until your cursor won’t move past two spaces. Now, repeat this step … but only toss 253 of the 255 X Specials.
Step 8: Breaking the Game

OK — get ready for things to get WEIRD, because … with any luck, you will be in Item Underflow with this next step. Replace the first X Special with the second X Special in your inventory. Do it again. If you currently have exactly x0 X Specials in your inventory … now we’re ready to make some magic happen.
Fly to Celadon City. From the Pokémon Center, take exactly one step down, and take exactly eight steps to the right, so that you’re on the edge of the brick tiling and grass tiling. Open your inventory, and scroll down until you bypass the ‘cancel’ option. In due time, the blinking arrow that represents your cursor should stop blinking, at which point you should press the ‘A’ button and the down arrow interchangeably.
If you do this enough times, you’ll enter a very glitched inventory screen and you’ll be able to scroll. Don’t interact with ANY of the items you find in this screen except for the Nugget. Take the Nugget and return to the top of your inventory, pressing the up arrow and the ‘B’ button interchangeably. As soon as you’ve reached the top of your inventory, swap the Nugget with the X Special. Exit your inventory.
So, from here, you are going to need to move five steps to the right, five steps down, then take another 20 steps to the right. If you’re on the right path, you’ll notice the surrounding area … doesn’t look right. This is what you get for breaking the game — the environment looks … eerie. In any case, open the menu again and return to your inventory. Repeat the steps needed to reach the glitched inventory screen one more time, where you’re looking for an item called … 8F. Return to the top of your inventory and replace the Nugget with the 8F item. DO NOT USE THE 8F ITEM. Fly back to literally any Pokémon Center.
It’s time to deposit 8F into your box. Save the game. It’s time to reverse Item Underflow, so go to the any Poké Shop and buy a few items. It doesn’t matter what items you buy, just … buy some stuff.
Step 9: Finally Performing the 8F Glitch
It’s finally time to perform the 8F Glitch, so toss the items you purchased to reverse Item Underflow. Return to the Pokémon Center and get ready to pull out some ‘mons and some items. First, though — you might want to deposit MissingNo and release them. Just a reminder, here are the pokémon you’ll need to withdraw:
- Mew
- Pidgey with 233 CURRENT HP
- Parasect
- Onix
- Tentacool
- Arbok
And, here are the items you’ll need to pull out from your box into your inventory:
- 8F (will explain later)
- Any Item x89
- Dire Hit x58
- Iron x37
- X Accuracy x119
- Water Stone x62
- Burn Heal x50
- Poké Ball x43
- Antidote x43
- Protein x62
- PP Up x60
- Ice Heal x50
- Lemonade x133 (buy at least five, to save you some trouble)
- Great Ball x50
- Fresh Water x34
- TM01 x(any number)
Save the game once again. It’s — at long last — time to use the 8F item. If everything is as it should be, you shouldn’t notice a difference, but when you inspect your Mew, you’ll notice that the Original Trainer is now Game Freak, or, GF. In performing the 8F Glitch, you took a Mew that was obtained through shady means and transformed it into a Mew that’ll be recognized as legal when you transfer it into Pokémon Home. Put this Mew back into your box and get ready to transfer it.
Step 10: Making a Shiny Mew
Take one of your Mew and deposit it into a separate box unto itself. Deposit your Arbok, then withdraw the Kangaskhan from earlier, so that your team consists of:
- Mew (in its own separate box)
- Pidgey (with 233 current HP)
- Parasect
- Onix
- Tentacool
- Kangaskhan
You will also need a new slate of items for this process. Here is the list of items you’ll need:
- Any Item x(any number)
- 8F
- Lemonade x170
- X Accuracy x178
- Carbos x218
- Poké Ball x119
- Fresh Water x201
You are then going to perform the MissingNo item duplication glitch until you’ve received the exact amount of these items that you need. Return to the Pokémon Center and SAVE YOUR GAME. Now — use the 8F item again, then toss x1 X Accuracy so that you have approximately x177. Use 8F again. After this, you should notice that your Mew is now shiny. If you made it this far, CONGRATULATIONS, you didn’t erase your save file, and you managed to craft a shiny Mew from practically nothing!
Step 11: Genetic Engineering FTW!
If you are feeling particularly avaricious, you can take advantage of a side glitch that will allow you to duplicate any given ‘mon (in this case, Mew). To do this, save the game, and when it asks you to confirm that you’d like to save, hit the ‘A’ button and then IMMEDIATELY RESET THE GAME. If successful, when you load the save file again, you should notice that the Mew you put into its own box is still there, but you also have that same ‘mon in your party still. So … theoretically, you could spam this glitch to craft an army of genetic Mew aberrations to take down the corrupt Pokémon government! I mean … yeah …
Step 12: Time to Transfer
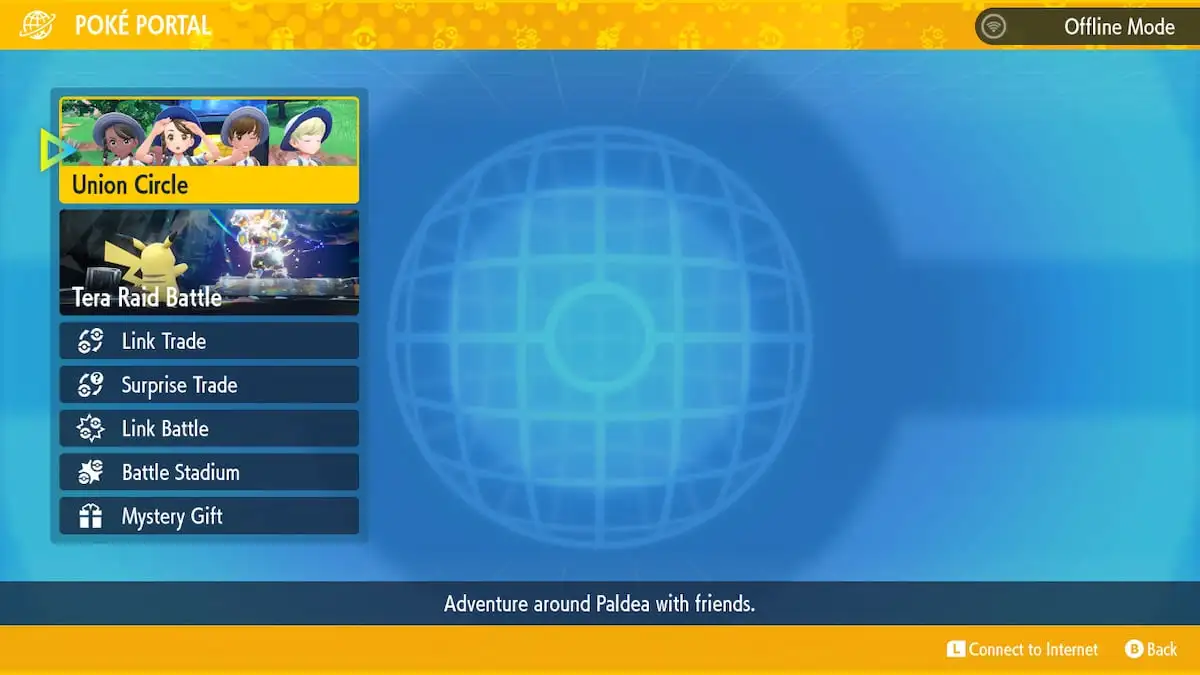
Open Poké Transporter. Move the Mew from Pokémon Red into Poké Transporter. Then, you can move them from there into Pokémon Home. It should be said, as we wrap this behemoth of a process up, that there’s still no guarantee that this will work with Pokémon Scarlet & Violet. We will only know for sure if and when someone tries it when Pokémon Home is made compatible with Scarlet & Violet. Until then, you may have to settle with moving your newly crafted Mew into Pokemon Sword & Shield.
For more content just like this, and to engage with other like-minded fans, consider liking Gamer Journalist on Facebook! And, in the meantime, check out our other content, such as How to use feathers in Pokemon Scarlet and Violet and How to Get Malicious Armor in Pokémon Scarlet and Violet!


Published: Mar 16, 2023 03:15 pm