
Trying to complete the Headlong mission in Destiny 2 Lightfall on Legendary was one of the most painful experiences I’ve had in nine years of playing Destiny. Soloing this reminded me of the original Nightfalls, way back at the start of Destiny 1. It’s brutal, not because of good design – though. No, it’s because you’re stuck using a crappy Strand build for the entirety of it.
If you’re struggling to complete the Headlong mission in Destiny 2 Lightfall like I was – chin up. I’ve got an entire breakdown of this mission here, as well as a sneaky strategy for the final boss.
Destiny 2 Lightfall – How to Complete Headlong
Part 1 – Strand and the Harpy Puzzles
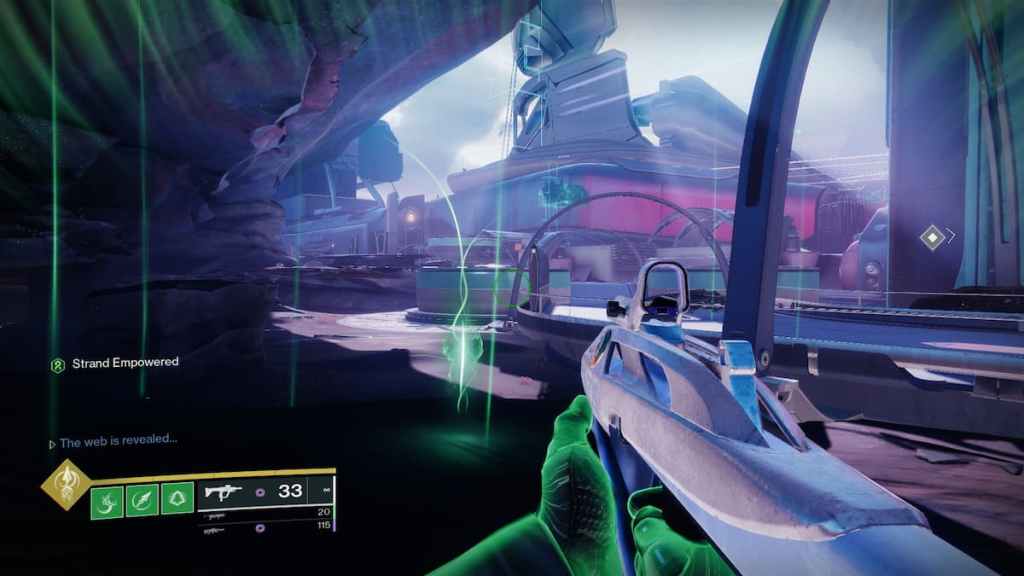
The first part of Headlong is fairly simple. You’re going to travel around Neomuna, using sources of Strand to take out waves of enemies.
Your first stop is Liming Harbor, so hop on your Sparrow and follow your quest objective marker to it. You’ll have a little bit of platforming to do before you get there – you’re trying to avoid fighting a detachment of Shadow Legion.
When you finish the jumping section and arrive in Liming Harbor, you’ll notice the Strand source right next to you. Hop off your Sparrow, and interact with it.
Your quest objective will then point you to a spot around the corner. Follow it, and clear all of the Vex.
Take a second to have a look at the Vex gate blocking your progress. On top of it, you’ll see a series of crystals – three in this case. Some of the crystals are lit up, some are dark.
In front of the gate, a series of Harpies will spawn constantly. There are two types of Harpies that spawn:
- The glowing Harpies are called Cation Harpies.
- The non-glowing Harpies are called Axion Harpies.
You need to kill the correct Harpies in order to unlock this gate, and any other gates using this mechanic in the Headlong mission.
The Cation Harpies correspond to lit-up crystals, and the Axion Harpies correspond to the dark ones. So, simply kill the correct Harpies, in order of the crystals. So, a “light, dark, light” crystal combination would mean you kill a Cation, Axion, and Cation in that order.
Do that, and you’ll be able to proceed.
This process of going forward, getting Strand, killing enemies, and solving a Harpy puzzle repeats several times. Just keep going forward, and you’ll progress with the mission fairly handily.
Related: Best Solar Titan Build in Destiny 2 Lightfall
Part 2 – Osiris’s Vex Training
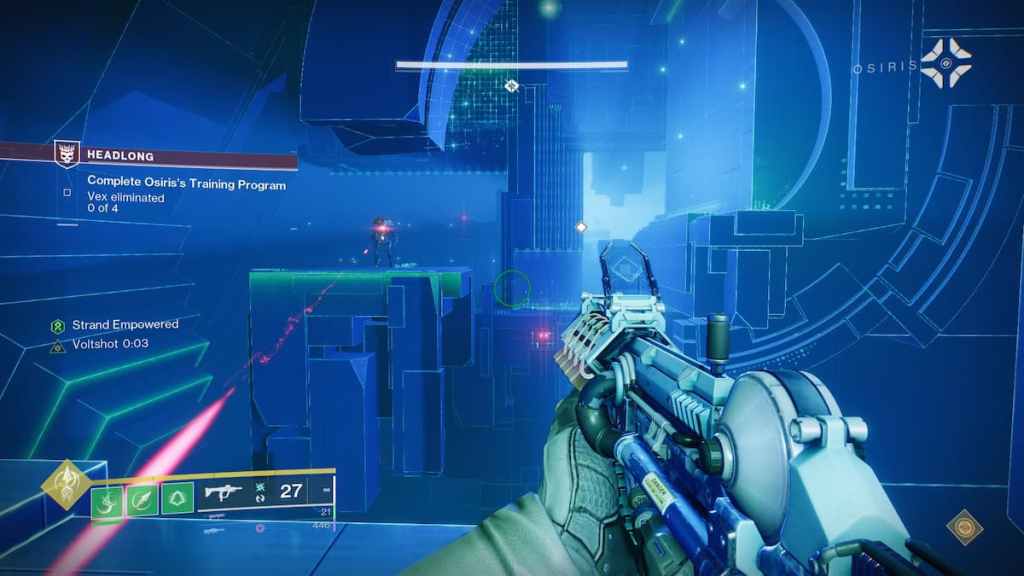
After running through enough Vex with Strand, Osiris will tell you to report for some training. It’s a short jog from the last Strand location, so follow your objective marker to it. At the end, you’ll end up in the Vex network.
The first part of this training is simple – you’ll have a handful of Vex enemies to kill on various platforms, and when you kill them all the gate at the end opens. Easy stuff.
What really isn’t easy, though, is the final boss at the end. Not only is this the hardest part of the Headlong mission in Destiny 2 Lightfall, but playing it on Legendary was one of the hardest solo experiences I’ve ever had. This fight alone is more difficult than the entirety of a solo Spire of the Watcher run, in my opinion.
The boss room is one big cylinder, with a central pillar. A red Vex gate is going to be attached to that central pillar and runs the entire width of the room. That barrier will constantly rotate around the room, meaning you have to keep moving in the same direction, or you’ll die.
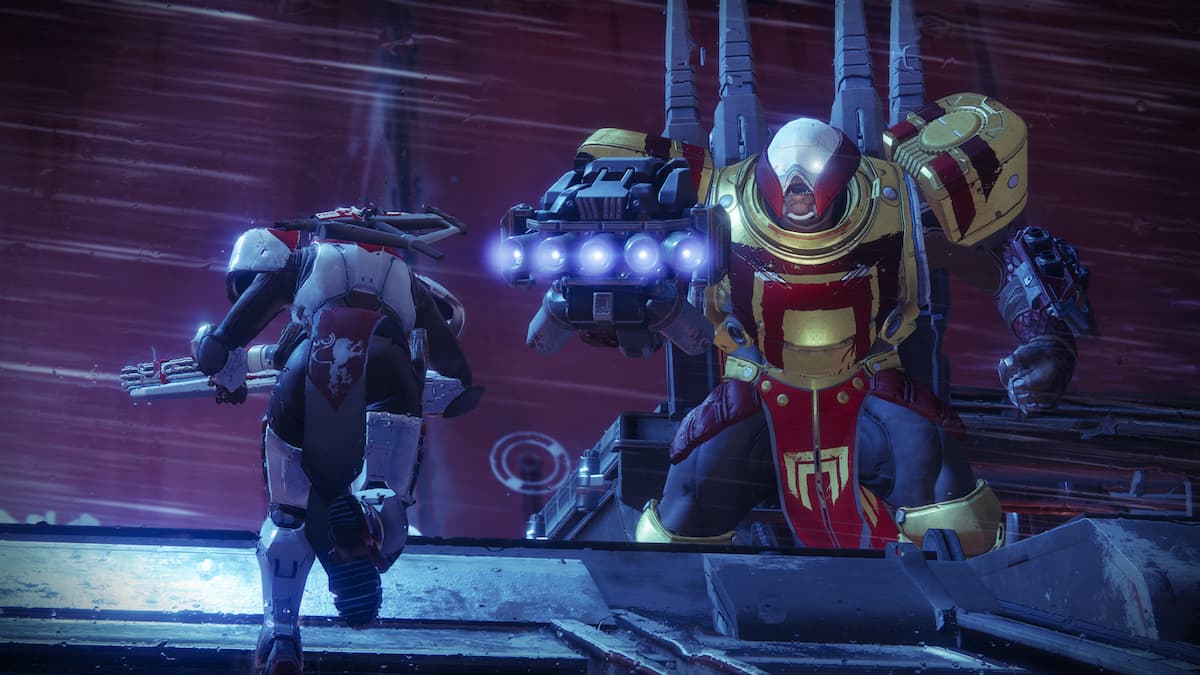
That’s fine for the first part of this fight – where you’re just killing waves of Adds. Use your Grapple to quickly navigate the room and avoid the gate, and you’ll be fine. The boss spawns after three waves. His name is Ioneion, System Control Flow, and he’s one of the most infuriating bosses I’ve ever fought.
Not only does he have a metric ton of health, but there will be infinitely spawning adds in this fight. That, combined with your total lack of movement options from the gate prevents you from doing anything but praying to the Traveller that you survive.
If you’re playing Headlong on Legendary, good luck going this legitimately. You won’t have the patience for it – so when you run out, come back here for this Destiny 2 Headlong mission cheese.
Destiny 2 Lightfall – Headlong Final Boss Cheese
I don’t have hours on hours to spend trying to beat Headlong legitimately. The final boss room is more frustrating than challenging, so the less time I spend there, the better. To that end, I used a cheese during the boss fight that essentially makes it free.
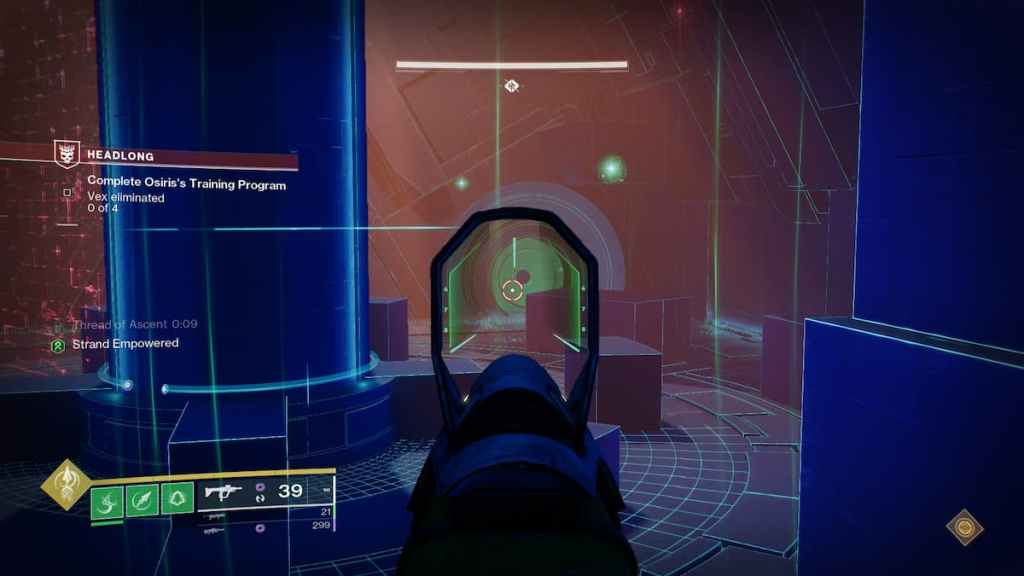
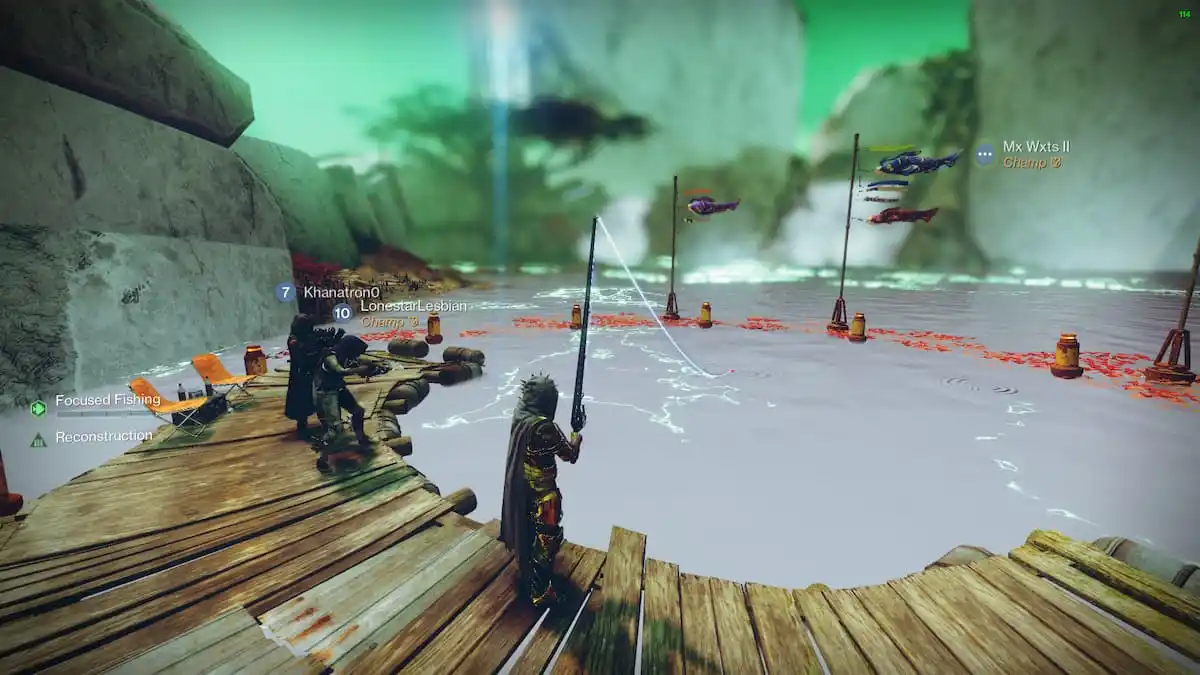
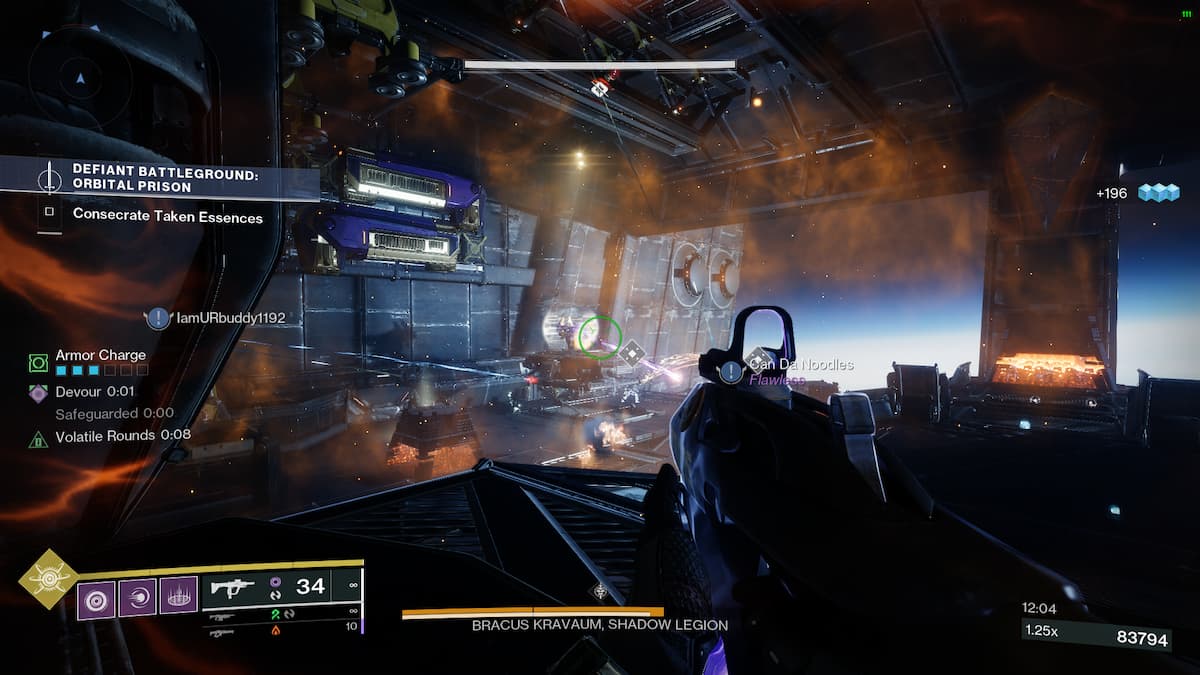
In the image above, you’ll notice I’m aiming at a Vex portal. Well, you can get behind that portal, giving you all the cover you could want, and avoiding the big red barrier of death in the process.
It’s actually really easy to get behind it – just jump on top of it, then crouch underneath the gap between it and the rest of the environment.
Once you’re safe and sound behind the gate, all you have to watch out for are Fanatics and the boss’ fire-stomp attacks. You can still die back here, so don’t get overly ambitious.
Witherhoard is a godsend if you’re doing this Headlong cheese because it lets you get some passive damage out without needing to expose yourself. You don’t need it by any means, though.
Either way, this spot will carry you through this fight – just kill the boss in your own time, and you’ll be done with Headlong.
That’s it for this Destiny 2 Lightfall Headlong mission guide. The Lightfall campaign doesn’t pull any punches, and this mission is an example of that. Follow Gamer Journalist on Facebook for all the help you need with difficult Destiny 2 content like this.


Published: Mar 6, 2023 10:00 am