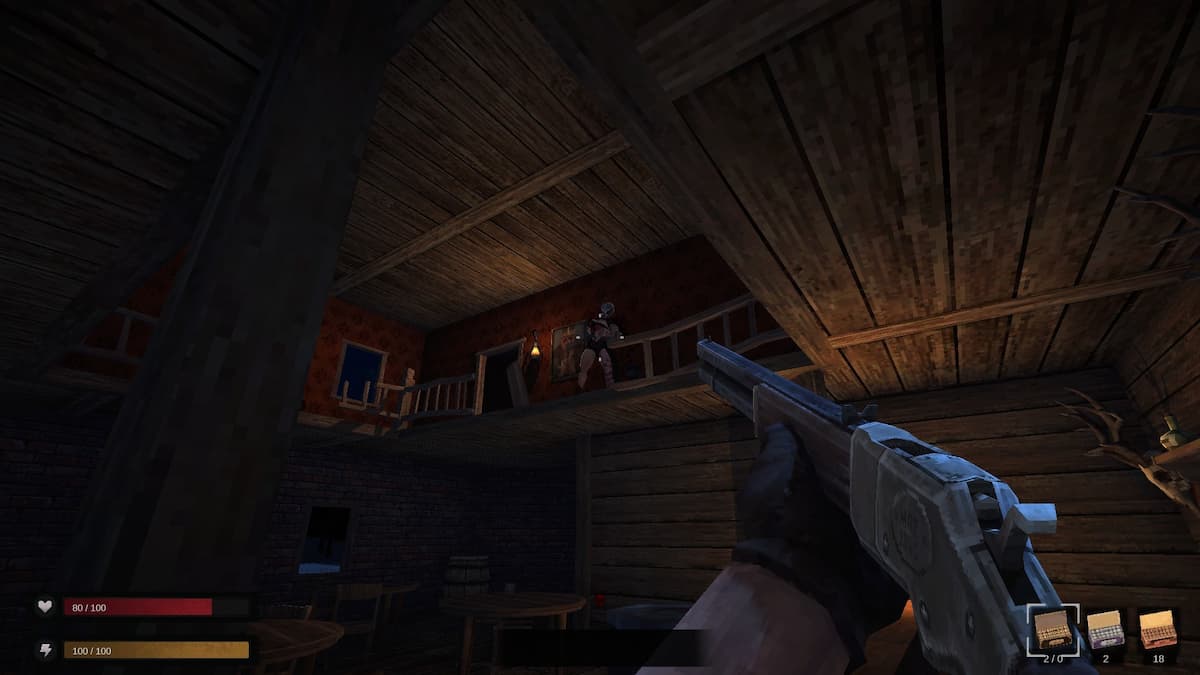
Playing Blood West will get you caught up in plenty of action. Whether you are massacring the undead with your axe, shotgun, or another weapon, you’ll need all the perks and boosts you can get.
In Blood West, perks are given with things called Artifacts that are hidden all over the map (in all 3 chapters). However, be very cautious when using these. Some Artifacts come with both pros and cons, so you want to consider carefully whether you’ll consume an Artifact before you or save it for another time.
Nevertheless, before you can consider anything, you need to find the Artifacts! Keep reading to find out where these odd-looking items are.
Related: Is Blood West on Steam Deck?
Where Can You Find All the Artifacts in Blood West?
Before we dive into the full list of Artifacts’ whereabouts, we must note that some of these items can be found in multiple locations, and some will even change locations with different patches and versions of the game. We will update our article with the best information we have at the moment of writing.
Onto the Artifacts locations.
Chapter 1 (Canyon)
Feather and Golden Coin
Feather and Golden Coin are some of the first Artifacts you can grab in Blood West.
You can find Feather Artifact in a couple of places. First, you can grab it as soon as you start the game on a rock right next to the candle. Secondly, you can get them as loot from Birdmen that you kill in the Burial Grounds (northeast corner of the map).
Feather increases your Stamina regen by +25% while reducing your max Stamina by 10%. Multiple Feathers don’t stack.
Golden Coins (2 of them) will be on top of a raised bed, right next to you when you first wake up. They can also be acquired by looting random enemies and can be bought from Jim Hooper.
Golden Coin protects you from getting a new Soul Flaw upon death.
Acid Gland
Acid Glands can be found as loot from Humanpedes. Simply search each one after you kill them and see if they dropped this Artifact. Keep in mind that these enemies tend to run away if you get too close to them.
Acid Gland gives you a +50% increase in Acid Resistance while reducing your HP by 15.
Dead Man’s Hand and Shot-Through Coin
Dead Man’s Hand and Shot-Through Coin can be found in the same location, in a destroyed tower in the eastern part of the map.
Keep moving to the East, and as soon as you notice the half-collapsed tower, jump right in and find your way to the second floor. Look for a big wooden part of the tower that has collapsed and has a candle next to it. Approach the candle, and you will find the Shot-Through Coin.
You can keep the Shot-Through Coin Artifact to get the $3 per kill, or if you’re in dire need of cash, you can give it to Jim Hooper for an instant reward of $200.
To find the Dead Man’s Hand, all you need to do is turn around and take a look at that broken, thin wall. Jump on top of the broken wall, and you’ll see a cliff outside the tower with a skeleton. You need to jump the gap, and once you arrive at the skeleton, you’ll be able to pick up the Dead Man’s Hand.
Equipping Dead Man’s Hand will allow you to be tougher with +15 HP but will simultaneously give you a -25% decrease to Sneaking.
Glove
To get the Glove, you need to head to the Town in the center of the map and walk to the south. You should be able to see a small camp with some enemies in it. After you kill them, search the tents, and in one of them, you should be able to find the Glove Artifact.
The Glove gives you a +15% Reload Speed Increase.
Eyeballs
Finding the Eyeballs won’t be too difficult. You need to head over to the northeastern part of the map until you see a broken fence and a house. Enter the house, eliminate the two monsters within, and look into the bucket in front of the fireplace, and you’ll find Eyeballs.
The Eyeballs Artifact grants a +5 meter range on all your ranged weapons with no drawbacks, so it’s always good to have.
Ectoplasm
If you want to get the Ectoplasm, you need to go northwest from the Town in the map’s center. You will soon find a church that you need to enter and climb its tower/steeple. You will need to jump over fallen wooden beams (a bit of Super Mario action), but eventually, when you get to the top, you will find Ectoplasm alongside some other goodies.
Ectoplasm will give you a +20% Dodge Chance. Note that Ectoplasm can also be acquired as a drop from dead enemies.
Soul Catcher, Mystical Scalp, and Vendigo Heart
To get the Soul Catcher, you need to head north from the Town. Go all the way up until you come to the canyon pass and the area called the Burial Grounds. You need to head to the eastern part of the Burial Grounds, and when you reach an area filled with stone pillars, hug the left wall and walk forward.
Keep walking forward until you encounter something that looks like a destroyed bed with skeleton pieces thrown all around. Next to the skeleton, you’ll find the Soul Catcher. This Artifact is another one that only gives you benefits with no cons, so feel free to equip it.
Soul Catcher gives you a +50% Stamina increase, and you can also buy this item from Jim Hooper, but the effects of the two Soul Catchers won’t stack (sorry, you won’t trick the game and get a +100% stamina increase with this one).
Mystical Scalp is located nearby, so you can kill two birds with one stone here. After you’ve collected the Soul Catcher (or just visited the nearby area), head over further north in the Burial Grounds and look for a really big pillar that will have rocks leading to it that look like stairs.
Climb the big pillar, and on top of it, you’ll see a skeleton and the Mystical Scalp next to it. This mystical Artifact will have its advantages and disadvantages as it will provide you with a +30% HP Increase, a +25% chance of bleeding, and a +25% time of bleeding. Tread lightly with this one.
Vendigo Heart can be obtained in the south part of Burial Grounds. Look for a decayed skeleton, and inside it, you’ll see a Vendigo Heart. This Artifact can also be found as loot from, yes, you guessed it, Vendigos.
Vendigo Heart regens 1HP per 8 Seconds while reducing your Max HP by 10%.
Necklace with Fangs and Playing Card
From the central Town, head southeast until you find the Fort. That’s where you will find these 2 items.
As soon as you enter the Fort, turn right and enter the tower in front of you. Instead of climbing it, you need to jump into the underground entrance and follow the tunnel until you reach some wooden platforms. Kill the enemies you encounter, jump all the way down, and look for a crate. On top of it, you’ll see the Necklace with Fangs.
The Necklace with Fangs gives you a +50% increase to Stamina and a +25% increase to Sneak (can level the playing field for you if you have the Dead Man’s Hand equipped).
To get your hands on the Playing Card, you need to enter the Fort and head all the way to the back until you find the last tower. Climb into the tower (as always) and reach the second floor, where you will find a table with drinks and the Playing Card (alongside the Prodigal Daughter that guards it).
Playing Card will give you an Increased Chance of Loot on Monster Kill.
Watch and Calumet
The Watch and Calumet can be acquired in the area southeast of the Town, near Jim Hooper.
You can acquire the Watch by buying it from Jim Hooper directly for $600 or trying to find it in the Fort. When you visit the Fort, go to the outside wall of the southeastern tower and look for a fissure in the wall near the canyon edge.
The Watch Artifact gives you the permanent ability to slow time by 35% for 1 second while aiming down sights.
The Calument will be acquired when you give all 5 cursed gold items to the Totem of Souls, just north of Jim Hooper. This Artifact gives you a +50% chance that spirit attacks will miss you.
We will update this article when we have info on the Chapter 2 and the Chapter 3 Artifact locations.
Chapter 2 (Swamps)
Music Box
You can find Music Box as soon as you start the game since it’s going to spawn in your cave. However, you need to think twice about using it.
Music Box will give you an instant Heal of 200HP but will, at the same time, spawn a Death Stalker somewhere on the map. It can be used 15 times.
Old Faithful, Glove of Wyrdness, and Second Skin
All 3 of these Artifacts can be bought from Annabelle in your starting area.
Old Faithful costs $5000 and gives the following bonuses when you use your Revolver: refill 5 HP for every headshot, when aiming your weapon sway is reduced by 100%, damage increased by 20%, and range increased by 5m.
Glove of Wyrdness costs $2250. It increases your accuracy by +50% while giving you a 10% chance of an instant kill with ranged weapons. On the downside, Ethereal enemies deal +200% damage to you.
Second Skin costs $3500 and increases your max Stamina by 50, gives you a bonus of +50% increased Stamina regen, and increases your Sneaking by 25%.
Death Stalker’s Heart
Grabbin Death Stalker’s Heart is easy if you know what to do. Leave your safe zone cave to the west and kill a Cultist. After that, move a bit further to the west and look for a small shrine next to a wooden tent, and you’ll find your Artifact.
Death Stalker’s Heart gives you 1HP regen per 5 seconds, increases your Acid Resistance by 30%, and increases your Max HP by 15. It’s a great starting item that doesn’t have any drawbacks and is really easy to get.
Alvaro’s Rib, and Snuff Box (+ Black Raven Skull)
I decided to group these three Artifacts together because they are connected and can all be picked up in a single run.
First of all, you need to find the Black Raven Skull that isn’t actually an Artifact but is a valuable tool that will get you to the other 2 Artifacts. Near your safe zone cave, in the middle of the map, you need to look for an array of broken tree stumps and look inside. One of them should contain the Black Raven Skull.
I say “should” because there have been numerous reports from other players that they have found this item in another place or that it isn’t spawning in the tree stumps for them. If you don’t find it in the tree stumps or randomly at a nearby place, you can buy it from the Shaman.
When you get the Black Raven Skull, you need to activate it, and it will teleport you to the top of the Lighthouse, where you will meet Alvaro and have a dialogue with him. After the dialogue ends, he will disappear, leaving Alvaro’s Rib behind him.
Alvaro’s Rib grants you +69 Max HP and +69 Max Stamina. It is probably one of the best Artifacts in the game, as it gives you great bonuses and has no drawbacks.
After you are done getting the rib, proceed to go to the bottom of the tower, where you will find the Snuff Box. But this Artifact is a tricky one due to its permanent bonuses and can be removed only by dying or drinking a Purple Revive Potion.
Snuff Box gives you +20% better prices in Shops and increases your Max HP by 25.
Chicken Feet Necklace
Exit your safe zone cave to the south and continue walking towards the water until you see a tree house. Find a rope on one of the trees and climb up. Once you are on the first platform, look for a small bridge leading to the second platform. Once there, you will see Chicken Feet Necklace on a crate next to some bottles.
Chicken Feet Necklace gives you a buff that stops Ethereal enemies from attacking you unprovoked. If you do attack them, you get +200% more XP per Ethereal enemy kill, but Ethereal enemies will also do +50% increased damage to you.
Coin Necklace
To get the Coin Necklace, you need to head southeast from your central spawn point. You need to pass through the graveyard and locate the grave keeper’s shop. The Artifact will be either in a coffin in the basement or on a red couch on the second floor of the house.
Coin Necklace increases your Max HP by 10 for each coin you have slotted, with a limit of 10.
Corrupted Liver
You can go and grab the Corrupted Liver just north of your safe zone cave. As soon as you cross the water, you should be able to see a couple of buildings. Go inside and search them to find the Corrupted Liver. This Artifact has different spawning points within this set of buildings, so you’ll probably find it on a different spot each time.
Corrupted Liver will give bonuses true to its name. When in a Drunk state, your HP, Stamina, and Stamina regen get increased by +40%; however, it also applies a bleed effect on you, and you can’t unequip it while Drunk.
Heart Medallion
Hear Medallion is a bit tough to find. You need to head over to the eastern side of the map from your starting cave and find a Fort. Walk around the Fort until you see a cave entrance. Hop in and follow the path till you reach the first ladder. Climb the ladder, and while on the second level of the cave, find another ladder that will take you to the inside courtyard of the Fort.
Once in the Fort’s courtyard, take the stairs that lead upstairs on your left and then move forward into a room. On your right side, you should see the Heart Medallion sitting on a counter.
Heart Medallion gives you +50% increased Healing, but to remove it, you either have to die or use the Purple Revival Potion.
Medallion of Life and Scrap of Red Fang
Getting the Medallion of Life will take you northwest from your original position in the safe zone cave. Pass through the buildings on the north, turn west, and locate a bridge, but don’t cross it. Instead, drop down and turn right until you see a cave entrance. Go deep into the cave, search it, and you’ll find the Medallion of Life.
The Medallion of Life increases your HP by 40, but to remove it, you need to (yes, again) use the Purple Revival.
Scrap of Red Fang can be found in the same cave, look around, and you should be able to find it on one of the shelves. This Artifact increases Stamina regen by +15% and increases max Stamina by 15 while giving you 10% worse prices in shops. To remove it, you must die or drink the good old Purple Revival.
Scrap of Eager Flagellant
Scrap of Eager Flagellant is northwest of your starting zone cave. Head over to the area above Town and head to its easternmost part. Find an abandoned and broken carriage and continue forward until you see a couple of skinned bodies. Right next to them, you should be able to pick up the Scrap of Eager Flagellant.
Scrap of Eager Flagellant gives you a +20% increase in earning XP while giving you 10% worse prices at the shops. Drink Purple Revival or die to remove this item.
Scrap of Scorching Sun
Scrap of Scorching Sun is found in the western part of your spawning area. Just leave your cave and head to the westernmost part of the island until you reach the Town. Search the buildings inside the town, and you should be able to locate this Artifact in one of them.
Scrap of Scorching Sun increases your Max HP by 20 while regening you for 1HP per 8 seconds. You get 10% worse prices in shops and need to either die or drink a Purple Revival to remove the effect.
Odd Skull
To get the Odd Skull, head southeast from your spawning safe zone cave. You need to reach the area called the Cultist Cave. The Skull Artifact can be found anywhere in the area, so make sure you search it well.
Odd Skull will give your XP gain, HP, and Stamina a 10% boost, but if you die while you have it equipped, it will apply a curse on you.
Perforated Heart
Perforated Heart will be west of your initial location in the safe zone cave. Head west, and just before you reach the Town, you will see a Boathouse. Enter the boathouse, go to its lower level, and look for the Perforated Heart there.
Perforated Heart Artifact increases your Max HP by 20, gives you an HP regen of 5HP per 20 seconds, and stops your bleeding instantly if your Stamina is full. On the downside, when your Stamina drops below 15%, you immediately start bleeding.
Raven-Skull Necklace
Raven-Skull Necklace is in the area north of your spawning cave area. Head over to the north, cross the bridge, and keep going forward until you see a wrecked wooden Fort or a base. Go in and walk around the courtyard until you see a big hole in the ground. Clear the enemies in the hole and go in to pick up your precious Artifact.
Raven-Skull Necklace teleports you to the safe zone on use, but it has a 50% chance of breaking when you do use it.
Corrupted Brain and Tentacle Cyst
These two Artifacts are right next to each other, so you can grab them in one run.
To get the Tentacle Cyst, head to the northwestern part of the map, jump in the water, and head over to the dock just below the Seamill area. Search the boats found there, and in one of them, you should be able to see Tentacle Cyst. This Artifact gives you a +15% movement speed, gives you 1 HP per 10 seconds regen, and increases your Stamina Regeneration by 25%. However, these bonuses are active only while you are in the water.
You can find Corrupted Brain not far from the Tentacle Cyst. While at the Seamill dock, climb to the mainland, head right, and look for a small opening in the rocks. Enter that cave and follow its path to the right until you find an improvised surgery room. On the metal table, you will find the Corrupted Brain.
Corrupted Brain gives you a +25% XP gain, but to remove it, you need to die or take the Purple Revival.
Spider Medallion
Spider Medallion is located in the northern area of the swamp, called Alligator Farm. You can arrive there by traveling through a couple of routes, so I’ll leave the choice to you. But when you arrive there, you need to walk into the shop building and search around for Spider Medallion. It will be somewhere in the area.
Spider Medallion gives you a 25% chance to stagger an enemy and an Acid Resistance increase of +50% with no downsides.
Crimson Brooch
This Artifact can be found, well, everywhere. There isn’t a fixed area where more of these spawn, and you should be able to get them throughout the whole map.
Crimson Brooch doesn’t give you any character bonuses. Instead, it increases in value as you kill enemies. This means that its base sell value is $40, and with every kill you make, while having it equipped, you increase its value by $5. If you die, the value resets to $40.
Chapter 3 (Mountains)
We will give guidance for Artifacts in Chapter 3 we have more information!
We hope you found our guide helpful. For more similar content, see our coverage of All Achievements in Evil West and How to Unlock Them and Roblox: How Long is a Day in The Wild West.


Published: Dec 8, 2023 09:12 am