The Legend of Zelda: Tears of the Kingdom has somehow usurped Breath of the Wild in sheer scale. If you’re a fan of those infamous shots that pan out over the horizon, Tears of the Kingdom accomplishes this and so much more. As you finish up the tutorial island the game places you own, you’ll be thrust back onto the ground of Hyrule. Here is where the real journey begins, as players are now free to roam wherever they please. But before you go trying to fuse a car made out of apples, there is a few things that you might want to prioritize. Namely, completing a shrine that is very close to your location can fast track you to raising your heart containers. So let’s fuse some logs and figure out where to find and how to complete Tajikats Shrine in Zelda Tears of the Kingdom.
Where to Find and How to Complete Tajikats Shrine in Zelda Tears of the Kingdom
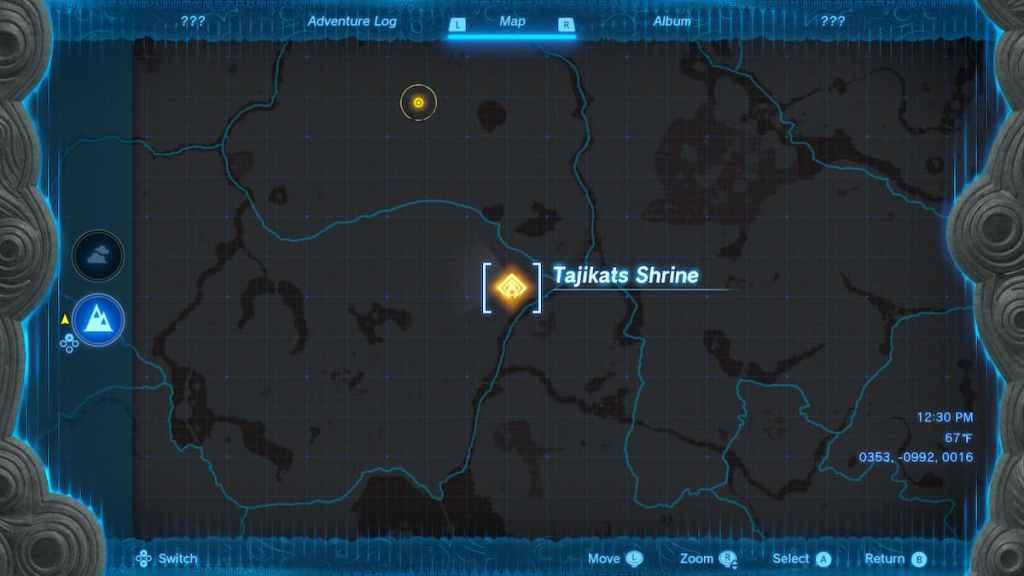
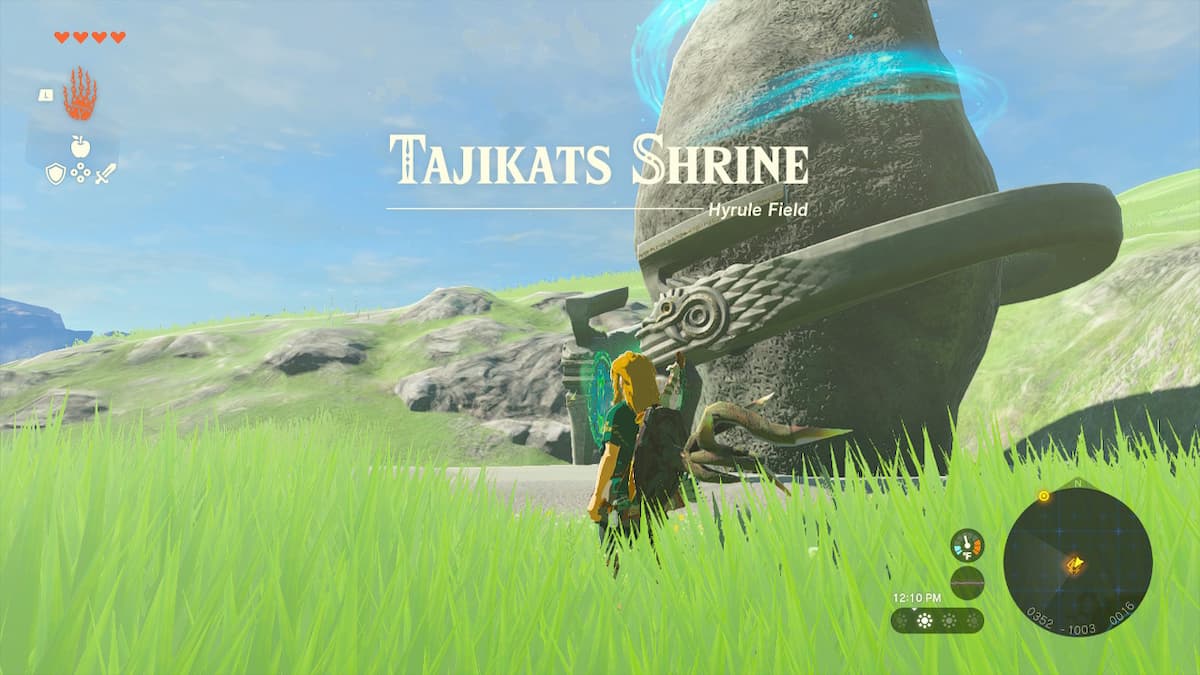
Before learning what you need to do in the shrine, it’ll probably be good to know where exactly this shrine is. After gain your first heart container and relinquish the Master Sword, the game will want you to travel down to the ground for the first time in the game. Additionally, your next main objective tasks you with finding clues as to the whereabouts for Princess Zelda. This should be directly in front of you as you dive off the platform in the sky. However as you’re falling, if you look south, you’ll see a shrine very close to your landing spot.
Related: How to find Riju in Tears of the Kingdom
Once you splashed down, make your way south over to this shrine. It’s close enough that you can see the glow from it without having to mark it on the map. This is the Tajikats Shrine, and right next to it should be a stable. Now onto the actual shrine challenge.
How to Complete Tajikats Shrine in Zelda Tears of the Kingdom
Building with Logs Challenge #1
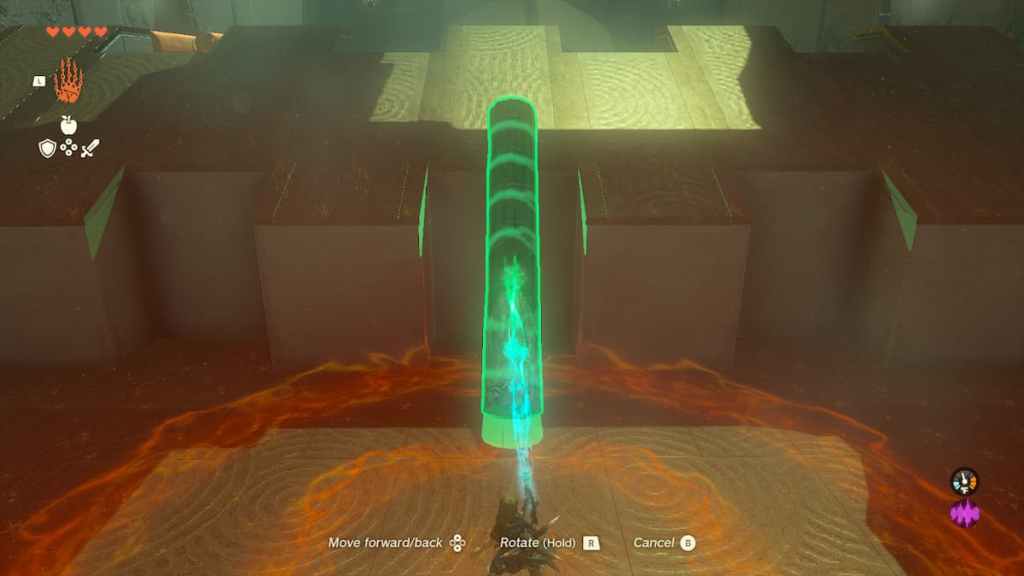
The Tajikats Shrine is going to be a building with logs challenge. You’ll need to take advantage of the Ultrahand ability, particularly the ability to fuse things together. When you first enter the shrine, you’ll be met with a unclimbable wall. And the only thing that you have at your disposal is a lone log of wood. You can overcome this obstacle by grabbing the log, and rotating it to make a ramp in between the walls.
Building with Logs Challenge #2
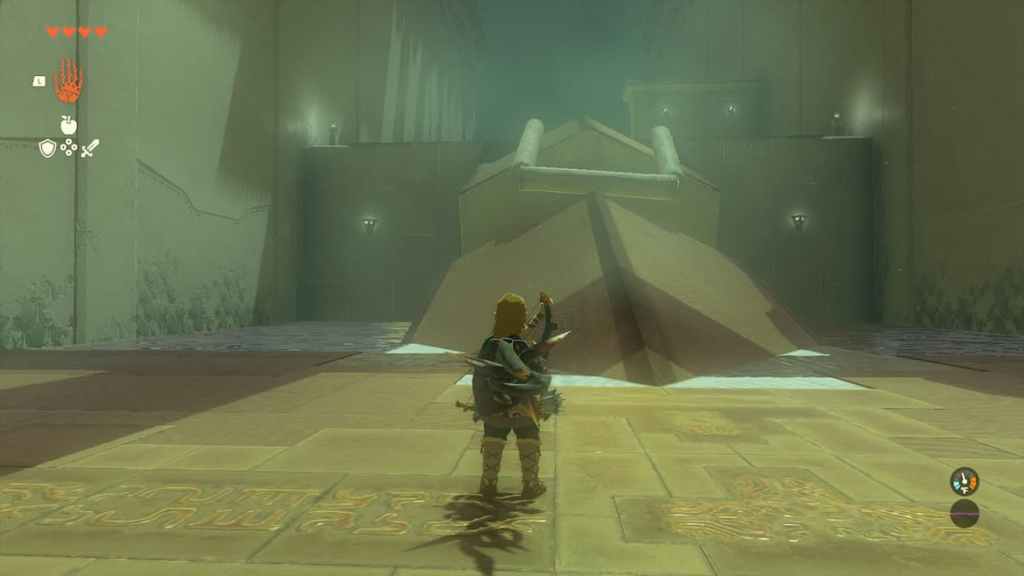
Walking up the log and onto the next level, you’ll see things have already ramped up a bit (I’m ashamed of that joke too). This new area will have a much more complex structure in between you and the next area, which is out of your reach. You’ll also have 2 extra logs to help you cross these slippery ramps. Since there is a gap in between these two square shaped ramps, placing logs normally will have them roll down the side. There are a few way you can create a bridge in between the ramps, but we ended up grabbing the first log from the beginning and combining it with the other two logs to make a staple looking shape.
Building with Logs Challenge #3
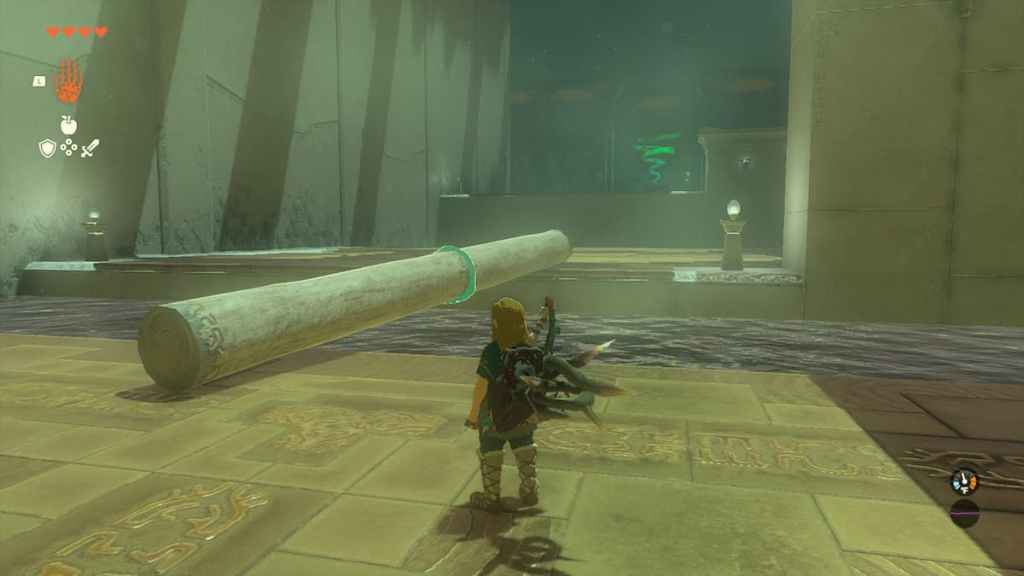
Once you have passed the previous log challenge, this next one could technically be challenge 3 and 4. But since the first section of this challenge is fairly easy, combining them into one section will help you with the second part of the challenge. The first part will just require that you combine two logs vertically to make what is essentially a really long log bridge. Use it to cross to the next area, and you will now be at the true test of challenge 3.
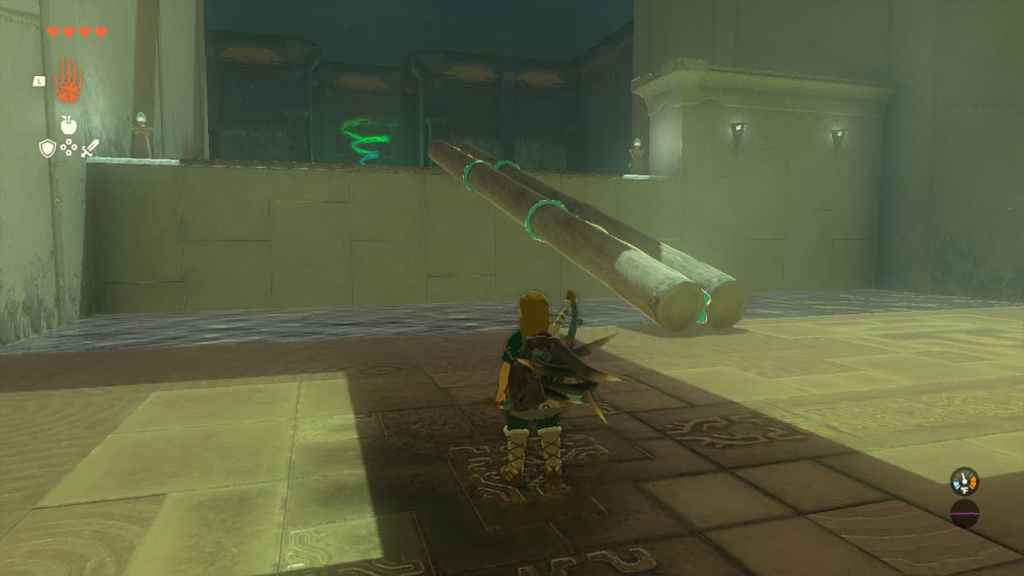
In order to make it slightly up and across this section to the last part of the shrine, its time to put all the knowledge of log-building you’ve attained so far into this part. This is arguably the trickiest part of the shrine, due to the length in between the platform you’re on and the one you’re trying to reach. We’re going to do what we did on challenge 2, and borrow the logs from the previous section. In this case, take the 2 logs you combined vertically and bring them over to the platform you’re currently on. With the extra logs provided, combine them into a 2W x 3L bridge. Place it in the gap, and you should be able to walk across with no issues.
Building with Logs Challenge #4
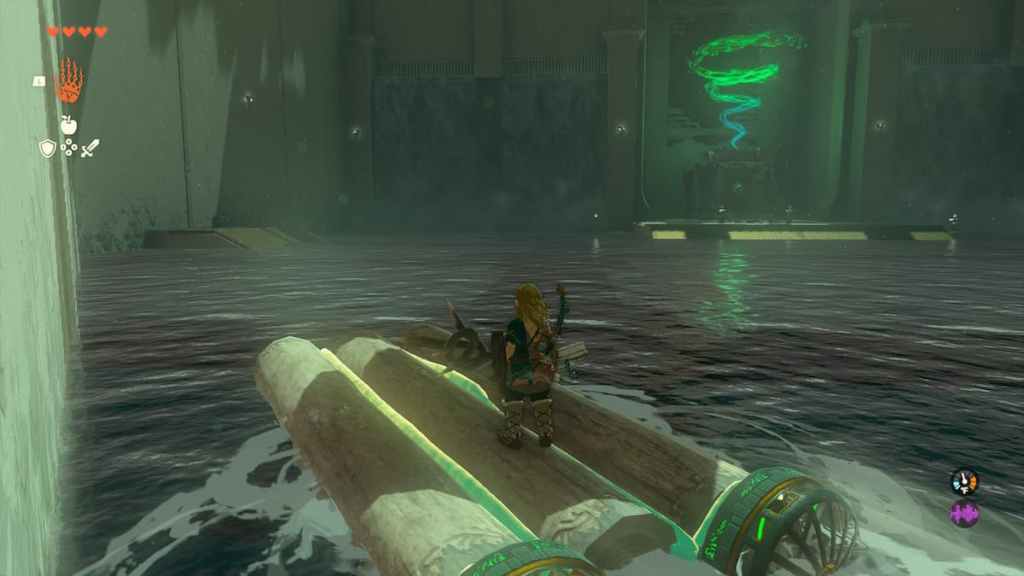
Reaching the last part of the shrine, the end will be within sight. Unfortunately, there is a large pool of running water standing in between you and victory. And to the right of you, you’ll see all the tools you need in order to make a raft. The shrine provides you with more than enough wood to make any kind of raft you can think of, along with a few fans to make it move. We just made a simple raft out of 3 logs and 2 fans.
Players wanting to grab some extra loot should place their raft towards the left before heading straight across to finish the shrine. Activate the fans to navigate over to the chest on the left side of the pool. Make sure you keep your raft within jumping distance, or else you’ll have to swim back to beginning of this section. After opening the chest, turn your raft towards the end of the shrine, jump on, and turn on the fans. You’ll now have sucessfuly completed the Tajikats Shrine and can claim your Light of Blessing.
Be sure to follow our Facebook page for the most up to date news in gaming. Players wanting to find out more about Tears of the Kingdom can check out our other articles and guides, right here, on Gamer Journalist.






Published: May 12, 2023 08:28 pm