They say if you noclip out of reality in just the right way, you’ll enter The Backrooms. It sounds fun, maybe even exciting … until you realize you’re defenseless against a horde of otherworldly entities. In the Roblox experience Apeirophobia, players can explore the infinite liminal spaces attributed to The Backrooms.
If you’re up to the challenge, here’s how to make it through the last six levels. It looks like developer Polaroid Studios is definitely working on more, so bookmark this page for updates! Until then, let’s jump right into the thick of it, starting — naturally — with level 7.
How to Survive Level 7 in Apeirophobia
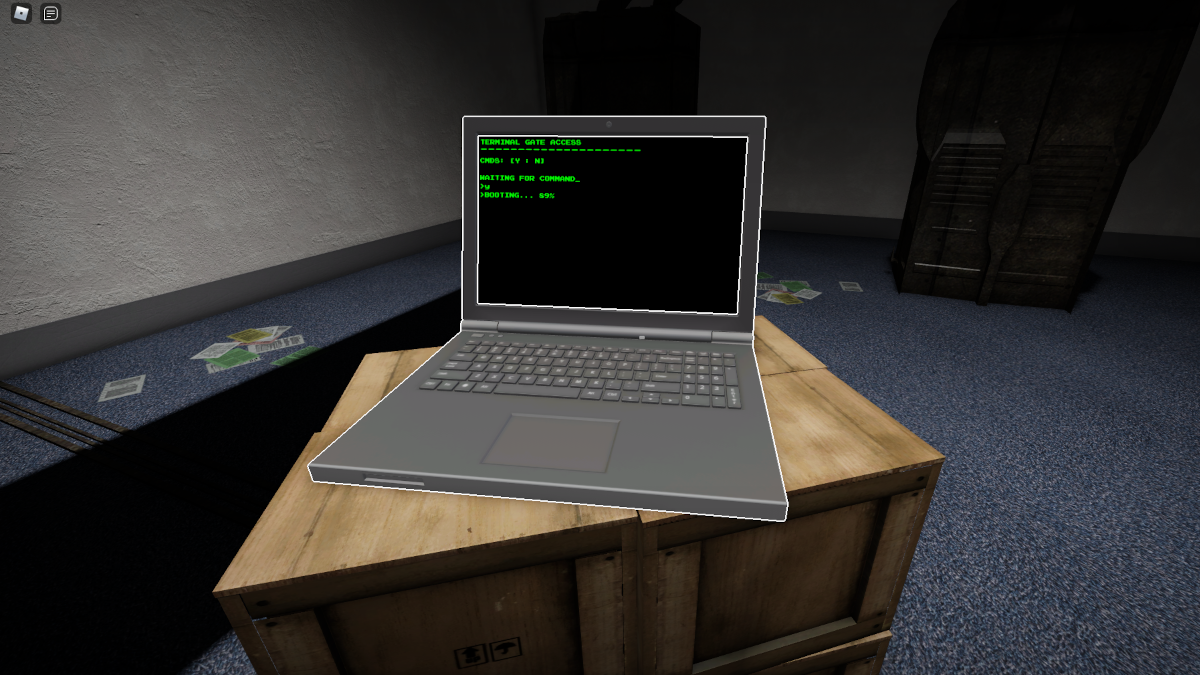
I explained this one in depth here, but in summary: there are no entities on this level, and your goal is to find all of the colored orbs and input the sequence into the computer. I admit, this one was pure luck for me. It only worked out because I input 3 purple orbs instead of 2, but even then … this was a headache.
If you get the correct combination, the computer will output a four-digit code. Take this code and input it into the door at the back-left of the library. You’ll eventually find yourself navigating a vent system, which leads to a room with another locked door. Near the door, you’ll find a book filled with numerical codes. I just copied the first column of codes into a separate program, then tried each until the door opened. It’s a lot of busywork, but ideally you can save yourself a lot of effort with this trial.
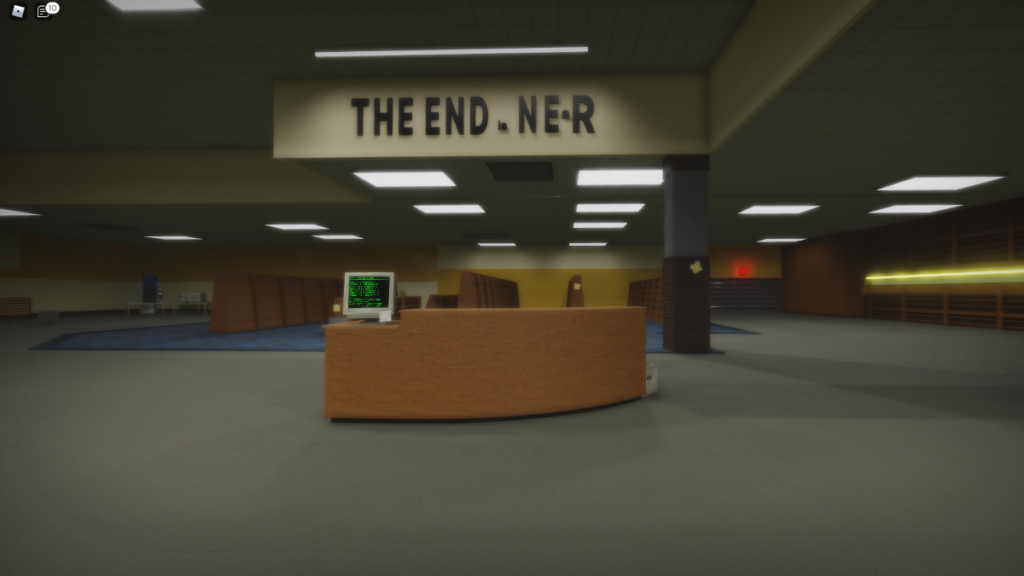
Through this new door, you’ll find yourself in yet another vent system. At the end, you’ll drop down into a new room with another computer. Interact with it, and type Y into the text box. Click CONFIRM. You’ll notice another vent has opened, leading back into the library’s main room. Head to the back-right of the library, where the level’s exit should now be opened. Head through to level 8, which I spent way too much time on for my own good.
How to Survive Level 8 in Apeirophobia

I despise this level. The entity here, known as the Skin Stealer, is completely deaf. It’s the opposite of the Hound, which means it’s infinitely more annoying. The Skin Stealer can practically see you through walls, so you’ll have to take advantage of the lockers and use them to hide if you have any doubts whatsoever.
Here’s how I made it through this level. It might help to loosely follow these directions, improvising where it makes sense. The Skin Stealer likes to throw a wrench into our well-laid plans. Just make sure to use the lockers if and when you need to!!
- At the start, when facing the branching hallway, take a right.
- Go straight until you see a dead end.
- Take a left, then take another left. Immediately take a right.
- Continue forward until you reach a dead end, then take a right.
- If all is well by this point, you should have arrived at a room filled with chairs.
- Take a right, and continue forward in the chair room until you see an exit to the left. It should be located near a locker, to give you an idea if you’re in the right place or not. Take the exit to the left.
- Immediately take a right, then another left. Go straight down this hallway. If all is well, you’ll see another locker at the end of this stretch. Use it if necessary, and take the hallway to the left when you can.
- SPRINT DOWN THIS HALLWAY. You should see a green light. TAKE A RIGHT. TAKE A LEFT.
- If you’re in the right place, you’ll see a red light, followed by the exit.
How to Survive Level 9 in Apeirophobia
OK — take another breather. Like with level 2, this is a pool-based level with no entities. In order to progress, you must locate a series of colorful slides and approach them. That’s all.
How to Survive Level 10 in Apeirophobia
So, this level can be very annoying. But, it’s doable as long as you know what you’re doing. First things first, the goal here is to find a key and use it on one of the doors in the four corners of the rooftop. But, you’re being targeted by 3 entities — two Titan Smilers and a Phantom Smiler. If you can get a good start, you might be able to dodge the Titan Smilers. I was able to, but only because I stuck to the level’s perimeter. I had a run-in with the Phantom Smiler, but it only scared me half to death.
It’s important to note here that if you have a key, but a door doesn’t work — that’s by design. Some of the doors are fake, so you’ll have to try your key on each until one of them works, while dodging the entities.
How to Survive Level 11 in Apeirophobia
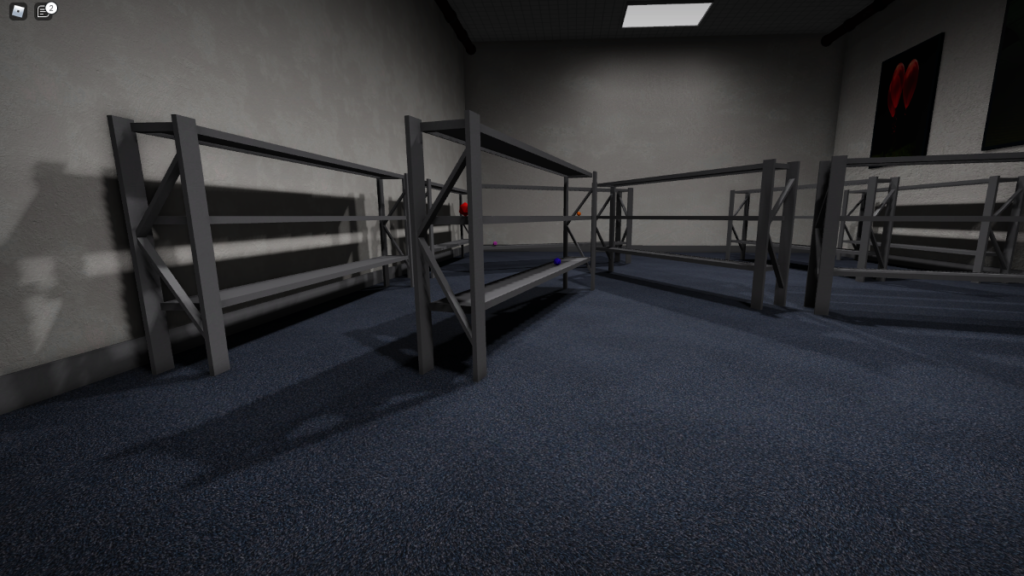
I never would have guessed that, in a game with levels like “avoid a creature who can see you from across the map,” the most frustrating level would be “first person platforming!” That’s right — this level may not have an entity, but you’ll probably die a lot, regardless. From where you spawn, take a right, then another right. Navigate past the boxes strewn across the floor and take a left into a room with shelves.
This is another puzzle like the one on level 7, but thankfully, this one is much easier. Take note what colors the orbs are and store it in your memory (or write it down). There should only be four orbs, and the order you’ll need to remember should be: closest to the door, all the way to farthest from the door. Head out of this room and navigate all the way to the other side of the hallway. You’ll see a locked door.
Approach the locked door’s mechanism and input the color combination. If it’s correct, the door will open and you’ll be able to nab a crowbar. Exit this room and take an immediate right, where another door, this time barricaded by wooden planks, is calling your name. Break the planks with the crowbar and enter.
In this room is a computer, and, like in the second half of level 7, you have to interact with it and press Y. After you click CONFIRM, you’ll hear a gate open back where you spawned. It’s time for some super fun, totally not annoying at all first-person platforming!! YAY!! I am going to list the directions you’ll need to follow in order to make it through this section, but in the end, it’s going to largely depend on you.
- Head straight until you reach a gap. Jump across the gap using the stray planks.
- Jump atop the box, then drop to a lower plank. PAUSE. Aim carefully, then jump forward so that you can climb the angled plank. If you jump to the other side of it, you’ll have no choice but to sacrifice yourself.
- Climb the angled plank. Turn to the right, and you’ll notice a lower platform with boxes and planks. Jump to it. Then, use the plank on the far side to reach a series of metal shelves with planks. Continue forward. It should be obvious which path to take, but if there’s any doubt, just take a moment to look around.
- Eventually, you should find yourself atop one of these shelves. At the far end, when you look down, you will see a plank that you can drop down to. Do so. Take a running start and jump across to the plank ahead of you, with a box holding it down. Jump across the box, then use the planks to make it across to solid ground. Take a breather, because this level still has a lot remaining.
- Take a left, then head straight until you notice the railing has been broken. Use this railing as a ramp to get to the metal shelving on the other side. Follow your instincts to ascend a few stories, but be careful! Some of these thin planks can be tricky to climb.
- Eventually, you’ll take a left and use the stray planks to traverse to a further shelving, where you’ll drop down to a lower plank.
- Continue forward, jump across the gap to the plank structure, then leap again to the plank with a chair and box. Climb the box, take a right, and jump to the subsequent shelving.
- If you’re in the right place, you’ll notice a plank ahead of you that, if you stand on it, you’ll see a broken walkway. This can be very tricky, but you can either jump down to the square platform and then jump to the right walkway, or you can just jump to the walkway from the plank above.
- Go forward, then take a left into an office area. The goal of this area is to find two keys that can be used to access the exit of this lengthy level. Be careful not to fall, and locate the keys. Once you’ve found the keys, exit this area, then follow the path to the end of the level. Don’t fall!! If you die at any point in this level, regardless of how far you’ve come, you’ll have to start all the way from when you opened the gate.
How to Survive Level 12 in Apeirophobia
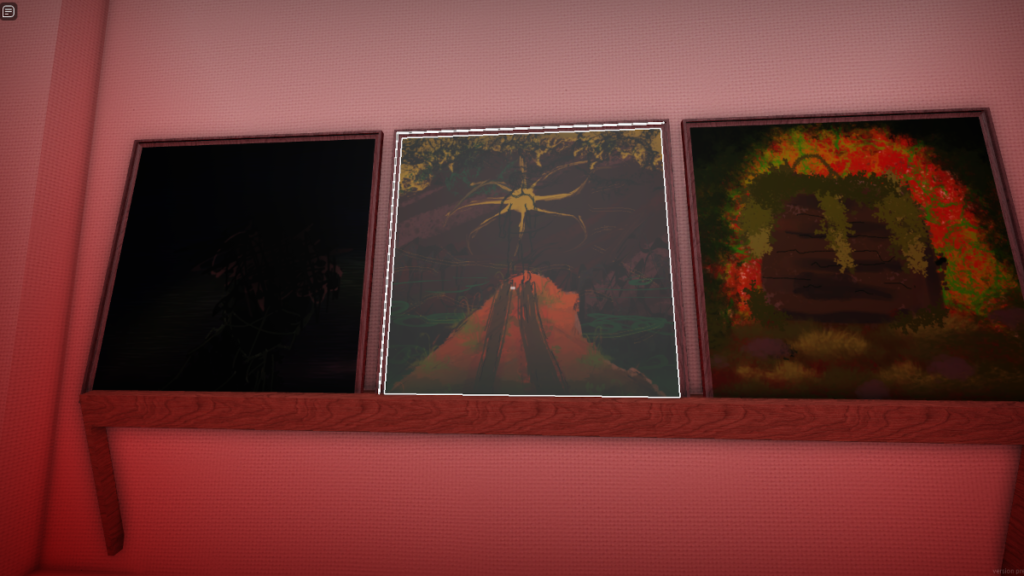
As of writing, this is the final level. It will be updated, so it won’t be the final level for long. Thankfully, this is also a level without an entity!! The goal here is to find three paintings throughout the maze and bring them back to the room with three empty frames. It’s not incredibly difficult, but keep in mind that you can only hold one painting at a time, and if you accidentally glitch it out — like I did — the frames won’t take any of the paintings and you’ll be forced to reboot.
If you’ve placed the paintings in the correct order, the room will light up red and the exit will open. If not, you can move them around until it’s right. In any case, once you’ve found the exit, you’ll see a teaser to the next level, which looks like a children’s birthday party.
For more on Apeirophobia, including a walkthrough for the first half of currently available levels, stick with Gamer Journalist! We cover a wide assortment of Roblox games aside from Apeirophobia!


Published: Aug 5, 2022 01:18 pm