For those of you aspiring to become professional ghost hunters, it’s time to familiarize yourself with Smudge Sticks. Not only can these useful tools save your life, but they’re often also an optional objective to complete. Here’s how to use Smudge Sticks in Phasmophobia, and everything to know about them.
How to use Smudge Sticks in Phasmophobia
You can purchase Smudge Sticks through the buy menu with money you’ve accumulated throughout your missions. Make sure to have a lighter handy as well, so you can light and use them. A lighter costs $10 and Smudge Sticks costs $15, so you’ll need $25 total.
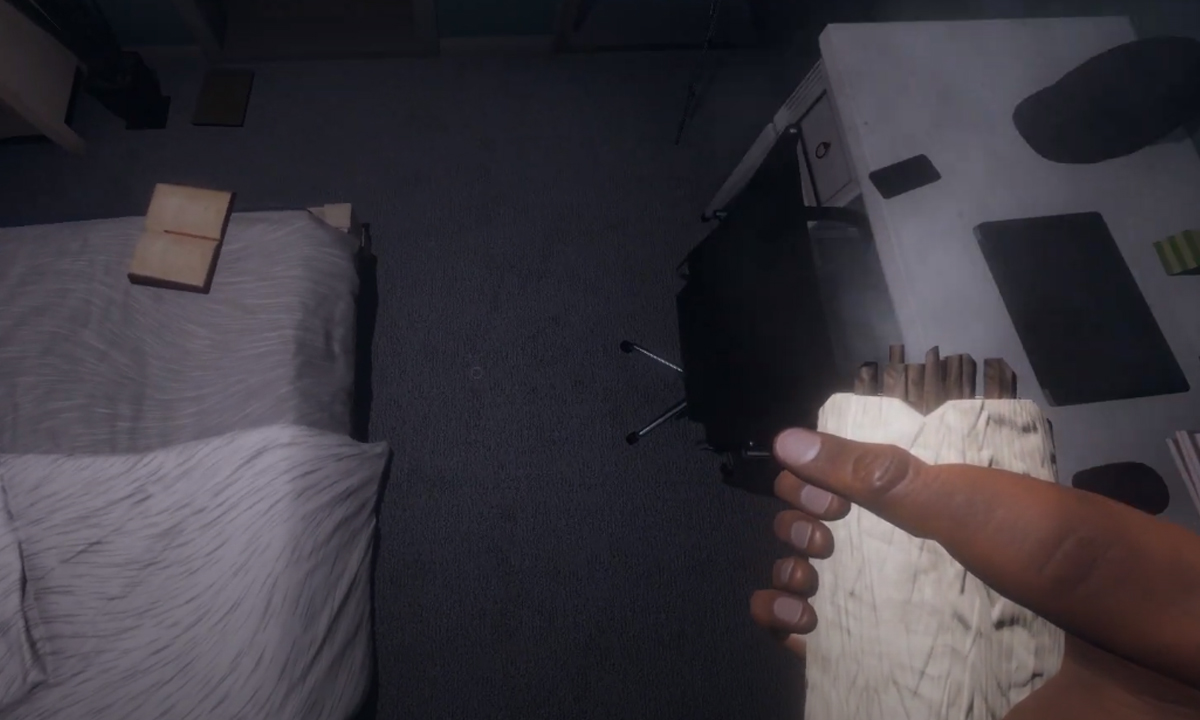
There are two ways to activate the Smudge Sticks. You can light Smudge Sticks in your hand by pressing the F key by default, or you can place them on a surface to cleanse an area.
To burn them while they are in your hand, switch to your lighter and turn it on. Then, swap to Smudge Sticks and press your secondary use key. To light Smudge Sticks while they are on a surface, place Smudge Sticks down and swap to your lighter. Turn on the lighter and stand near the Smudge Sticks. You will begin to see them smoking to signal that they are on and active.
Related: How to Play Phasmophobia on Oculus Quest 2
Use Smudge Sticks within 6 meters of a ghost to stop it from hunting for 90 seconds or 180 seconds if it’s a Spirit. Use them when you can verify ghost activity in a particular room. Signs of activity include noises like footsteps, objects moving, and more obvious things like objects moving, flashlights blinking, and visuals.
If a ghost is in the room with you, light your smudge sticks, and find somewhere to hide like a bathroom or closet. One surefire way to tell is if your flashlight begins blinking. Doing this could save your life and allow you to leave with all your items. Burning the Smudge Stick can also prevent the ghost from entering the hunt phase.








Published: Oct 11, 2022 01:07 pm