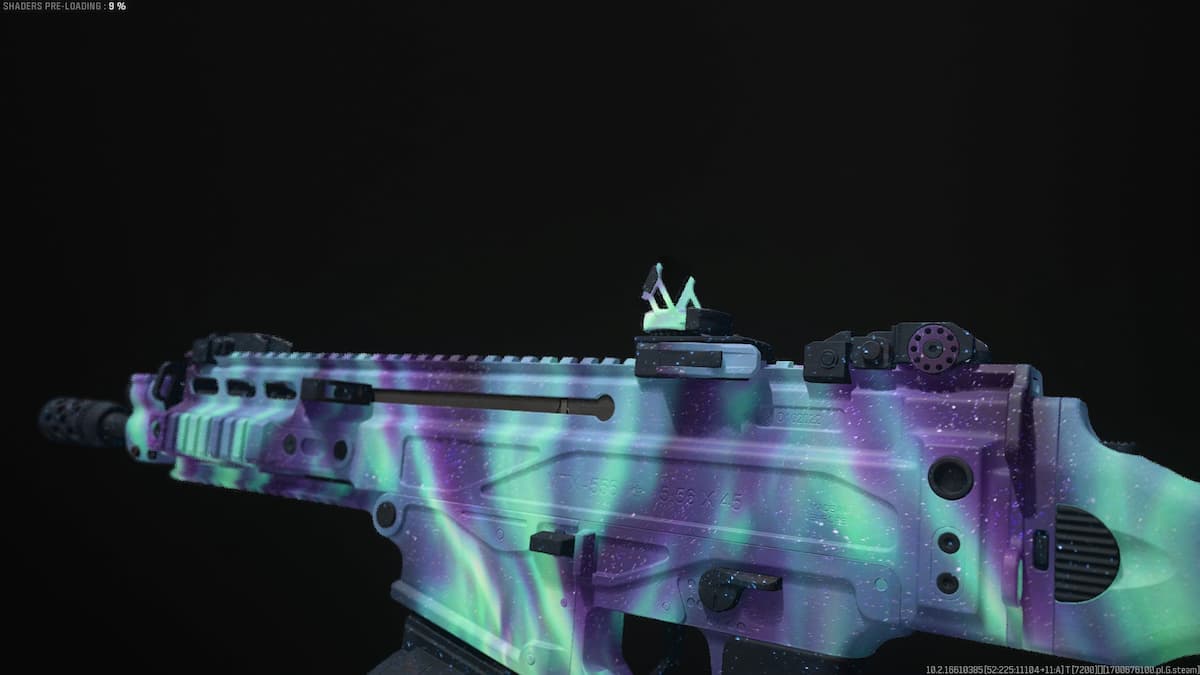
The Atomgrad Raid has been a part of Modern Warfare Season 1 for players who want a more Zombies feel mixed with the Destiny 2 Raids. Call of Duty have implemented new Game Modes, inspired by the best of the best in FPS Genres. From Battle Royale with Warzone, Looting and Extracting with DMZ and Raids with well, the Atomgrad Raid. Inspired by Fortnite, Escape from Tarkov and Destiny 2, Call of Duty offers players far more FPS experiences than what the franchise has been known for. But within the latest Atomgrad Raid, players can obtain the new BEAST MAKER Blueprint. This is our guide on how to unlock it.
How to Access Atomgrad Raid Episode 2
Atomgrad Raid Episode 1 needed players to complete Daily Challenges in MW2, get a placement within the top 20 in Warzone and safely exfil with a sum of $30,000 in DMZ. With these completed, they acted as entry into Episode 1 of Atomgrad. But with Season 2 Reloaded, the narrative continues as players can go into Episode 2 without hitting any previous requirements across the Modern Warfare 2 Game Modes.
How to Unlock BEAST MAKER Blueprint
Finding Keycard A
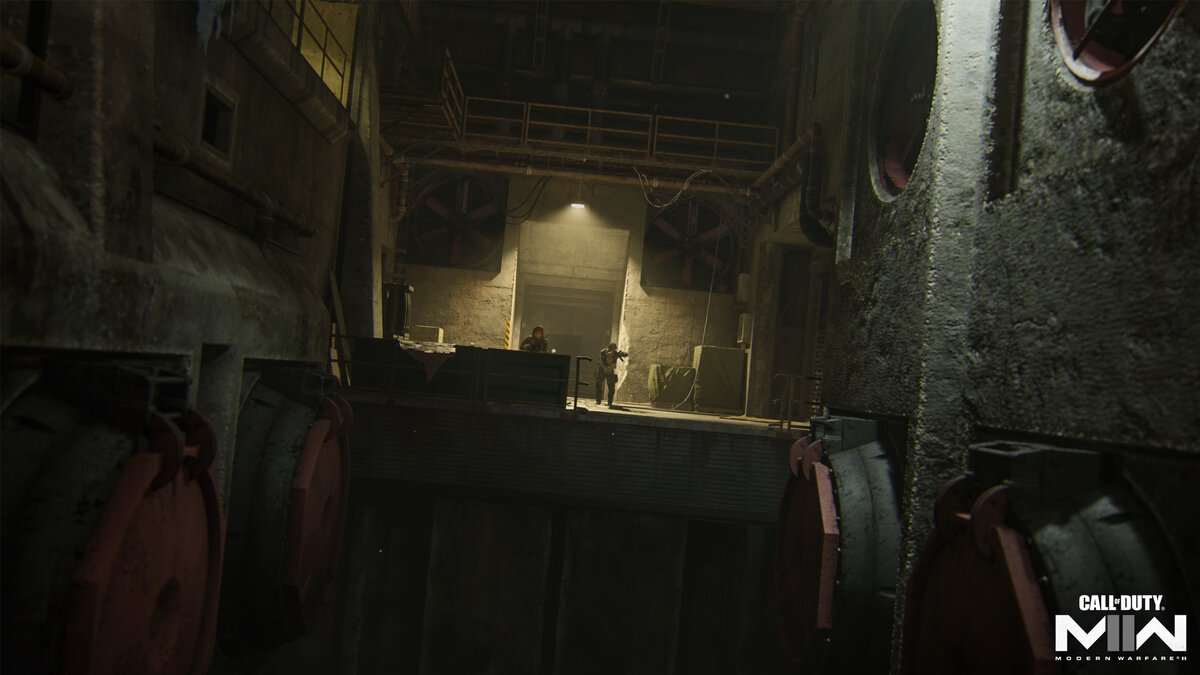
This specific Blueprint is used for the Kastov-74U. In order to unlock it however, players need to complete a few steps at the beginning of the Atomgrad Raid. With the objective ‘Reach the Top of the Missile Silo’, players need to begin the climb via the green ladder in the room. From here however, you need to jump off onto the white unit installed on the wall to the left of the ladder. Climb up the pipework on the wall, which is separated into three easy to see platforms that you can grab hold off and use to climb up. This will take you a walkway where you will be attacked by AI. Be ready for the fight as you need to get through this tunnel.
Inside the tunnel, stay on the left side the whole time, hugging the wall on your left shoulder. Eventually you will meet an enemy who is trying to escape through the tunnels instead of running at you, armed. You need to take him out and loot his Keycard. This is the first of 3 that you require for the Blueprint.
Finding Keycard B & C
Continue through the Raid, heading into the first area of Puzzle which will be the Platformer Puzzle. You will see a railing on the top right hand side in this room (similar to the Gulag railing) where enemies spawn in. You need to focus your bullets to this upper floor railing room. These enemies are trying to run into the room on the right so make sure that you kill them before you get to their destination where you will not be able to shoot them again. Then, complete the Platform Puzzle to get to the other side and take the white ladder on the right-hand side. This will take you to the enemies who you killed on the railing. Keycard B can be picked up on the floor if you successfully killed everyone that ran past when you entered the room.
Keycard C is in the next room, upon using the Zipline to head up into the next area for the Raid. Make sure that you are the first to go up otherwise you will miss the enemy that you need to shoot. They will be on the opposite side of the room, on the upper level. You need to face South when coming off the Zip. Upon killing this enemy, complete the Platform Puzzle in this area and use the ladder on your left when you get to the other side. At the top of the ladder, turn around and hug the corner of the left wall, over the edge. You need to mantle onto the next platform where you would have shot the enemy. This final Keycard can be picked up on this railing.
Where to Use the Keycards
After completing the third Platform Puzzle, make your way to the top of the ladder. To obtain each Keycard, you need every member on your 3-man Squad to pick one up otherwise you will not be able to unlock the BEAST MAKER. Turn right at the top of the ladder where a Door with a Keycard Lock can be seen. You need to use Keycards A, B & C for this, with each player swiping the correct Keycard onto the lock. The door will open when all 3 lights on the side of the Keypad light up. Head inside to get into the Secret Area for the Blueprint.
Where to Obtain the BEAST MAKER
Head on through the Bunker until you get to the living quarters and you will find the BEAST MAKER Blueprint on the table in the far-right hand corner of the Bunker. You will receive confirmation that you and your teammates picked up the Blueprint. The Blueprint only needs to be picked up by one person for everyone to get it. However, we recommend using the Karstov by picking it up of the table in case of any possible bugs where you do not get the Blueprint upon completing the Raid.
That was our guide on how to unlock the BEAST MAKER Blueprint in Modern Warfare 2. Looking for more Call of Duty Modern Warfare 2 content? From Warzone to DMZ, we have so much more available at Gamer Journalist. Thank you for reading.


Published: Mar 16, 2023 10:15 am