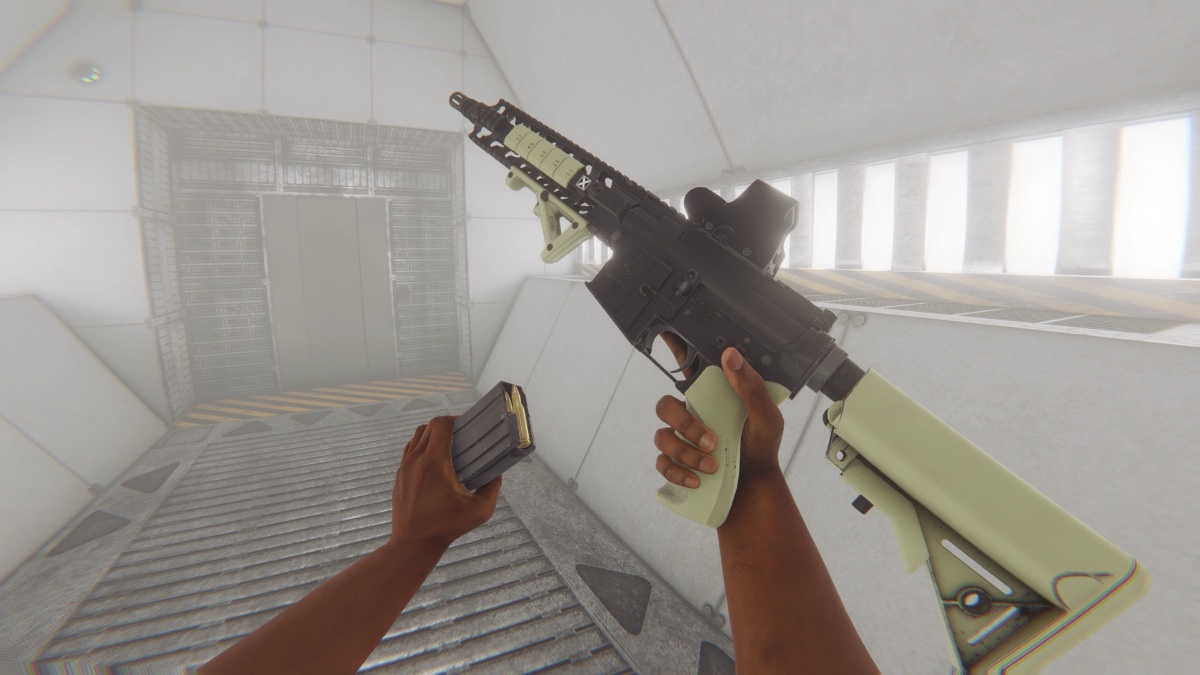
Bonelab is the sequel to 2019’s Boneworks, which was hailed as one of the best VR titles on the market. The game features the same physics and gameplay people loved in Boneworks. One way to improve the Bonelab experience is by using custom avatars. The game’s steam page boasts about this as one of the game’s key features. In this guide, you’ll learn how to import custom avatars into the game.
Creating Custom Avatars in Bonelab
If you’d like to create your own custom avatar first you’ll need to use a tool called Marrow SDK. This tutorial gives detailed instructions on how to use the tool. It allows you to create not only avatars but levels and spawnable items as well.
Importing Custom Avatars into Bonelab
Importing custom avatars can be done in the PC version of Bonelab. You’ll first need to find a .sdk for your custom avatar. Once you find one, you’ll need to locate the mod folder for the game. It can be found here: appdata/locallow/Stress Level Zero/Bonelab/Mod. You’ll be able to use the avatar by entering the Body Mall in-game.
Unlocking Skins and Avatars in Bonelab
While Bonelab gives the option to import custom avatars, players can also unlock avatars and skins by playing through the campaign. This is done by going up the stairs in the central hub which lead to the crane machine. Once you find some batteries for the generator nearby, the crane will turn on. You’ll want to grab the orange orbs above the doors in the levels you complete and place them on the pedestals near the crane. Do this with six orbs and you’ll open the Quarantine doors and unlock the full campaign which will allow you to unlock characters by progressing through the game.
Bonelab is available for PC and the Meta Quest VR headset. If you’d like to learn more about the game, check out it‘s official steam page here. To read more about VR games, check out this article on the top FPS VR games to play on Quest 2 VR.


Published: Oct 3, 2022 09:26 am