Here’s a fun science fact: certain minerals and gemstones like scheelite naturally glow in bright, vibrant colors when exposed to high enough levels of UV light, usually from the Sun. It’s usually a good rule of thumb that if your rock is glowing, it’s something you want for yourself. Unless it’s uranium, don’t touch that. Here’s how to get Lightcrystal in Monster Hunter Rise.
Lightcrystal, as I’m sure the name gives away, is a naturally occurring mineral that gives off its own faint glow. It’s a level 4 rarity item, and is vital in the creation and upgrading of quite a large variety of weapons and armor. It’s not especially difficult to come by; much like many other valuable minerals, it can be obtained in bulk from both blue and white mining outcrops. However, it only appears in a single place: the Flooded Forest.
How to Get Lightcrystal in Monster Hunter Rise
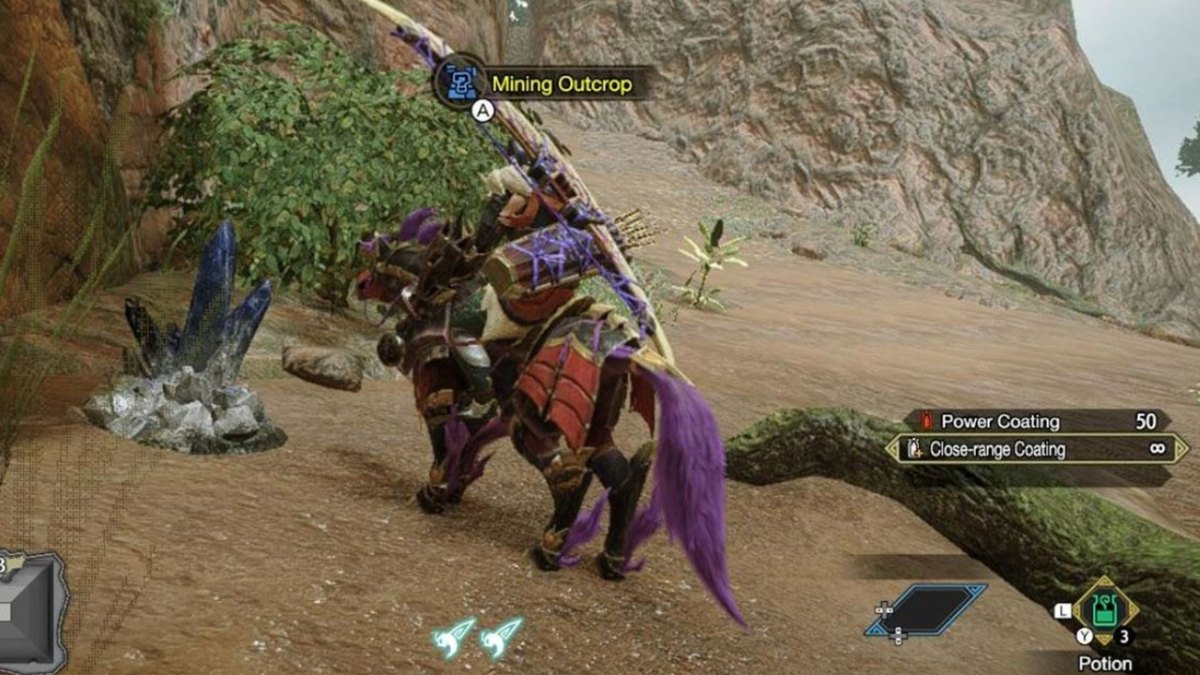
You can set out on an expedition tour of the Flooded Forest to go looking for Lightcrystal. It can be either Low Rank or High Rank, it’ll show up in both, though if you have the option, High Rank is probably the better choice. As usual, you should check the locale info to see if there’s an upsurge in mining outcrops. If there is, hurry your butt in there, ‘cause they’ll probably only continue for about ten minutes or less.
There are a good seven mining outcrops in a circle around the Flooded Forest that you can hit in order, and in the time it takes you to make a full lap, they should start respawning. Starting from camp, make your way into Area 1 and look by the cliff south of Area 8. Continue over the cliff past the southern part of Area 8 and through Area 4 looking on the higher part of the western cliff. Search by the wider riverbank in Area 9, then scale the small cliff into Area 11. Finally, cross the southwestern cliff over into Area 10, then work your way back to the beginning of the loop.


Published: Apr 15, 2021 06:48 pm