
If you absolutely love puzzles and making your way up what feels to be a million stairs! You will most certainly adore Atomic Heart. Why? Because it has everything you could ask for lewd dialogue and freaky robots, to a million puzzles (is this a puzzle game?) and maze-like structures. But I digress, so! To help you through the maze and puzzle and spare you from losing brain cells. Follow this guide on how to complete Testing Ground 6 in Atomic Heart.
Atomic Hearts – How to complete Testing Ground 6
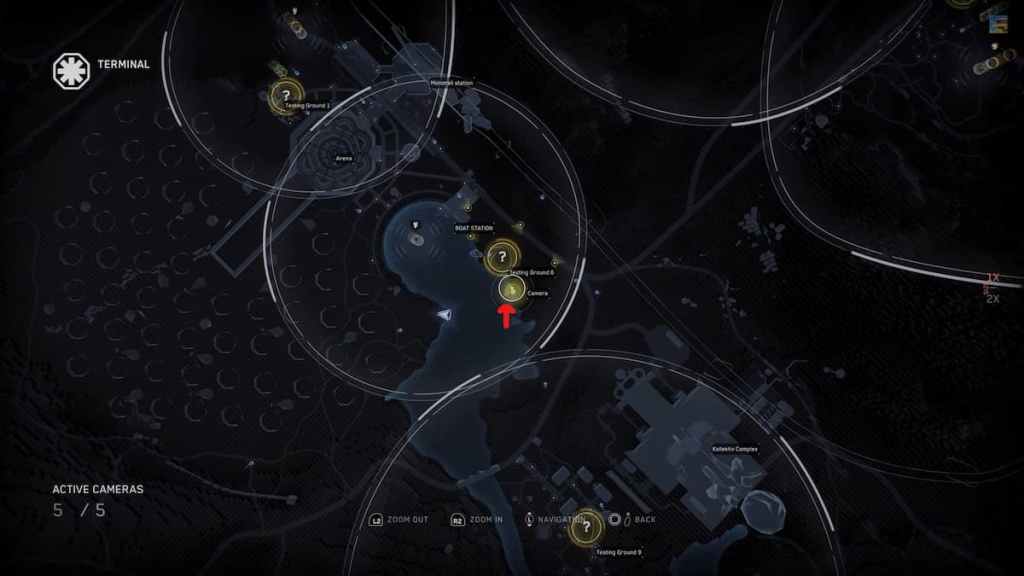
Like everything in this game, of course, you’ll need to solve puzzles to make your way to the next area. For example, to enter Testing Ground 6, go to P-3 and enter the lookout with the number 6 in white. Now, make your way up the elevator, and using the camera function, you must open the sealed canal door. In the image above, we have indicated which camera you should activate using a red arrow.
Enter Testing Ground 6
Now, make your way inside the canal, or should I say, swim your way inside and turn left at the first path you see. After this, enter the elevator and press button 34; and you will be inside Testing Ground 6 in Atomic Heart. Go across the platform and ignore the droning robotic voice giving you the practiced speech about Facility 3826.
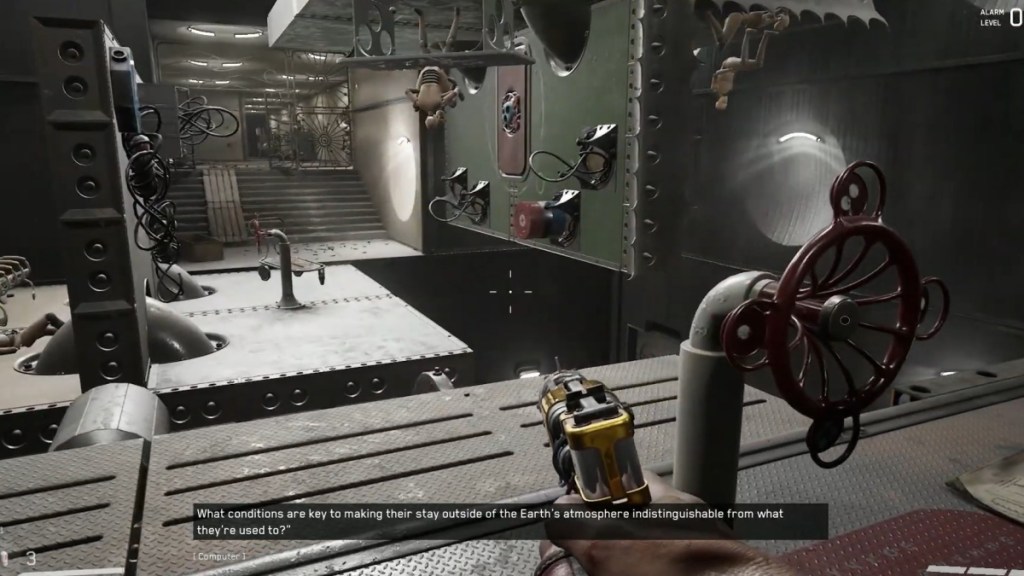
Ignoring the droning voice, you must turn the red handle twice until the platform changes to another stand with the red handle. Turn this handle twice before returning to the first red handle, which you must turn once more. Finally, jump back onto the platform and climb your way up, completely disregarding the robot and baby stroller you’re using as leverage. You did all of this to get to a door lock mechanism; if you’re struggling to open the door, not a problem; we got just the guide for you!
Related: Atomic Heart: Who are the Robot Twins? Answered
Bronze Loot-Yagin
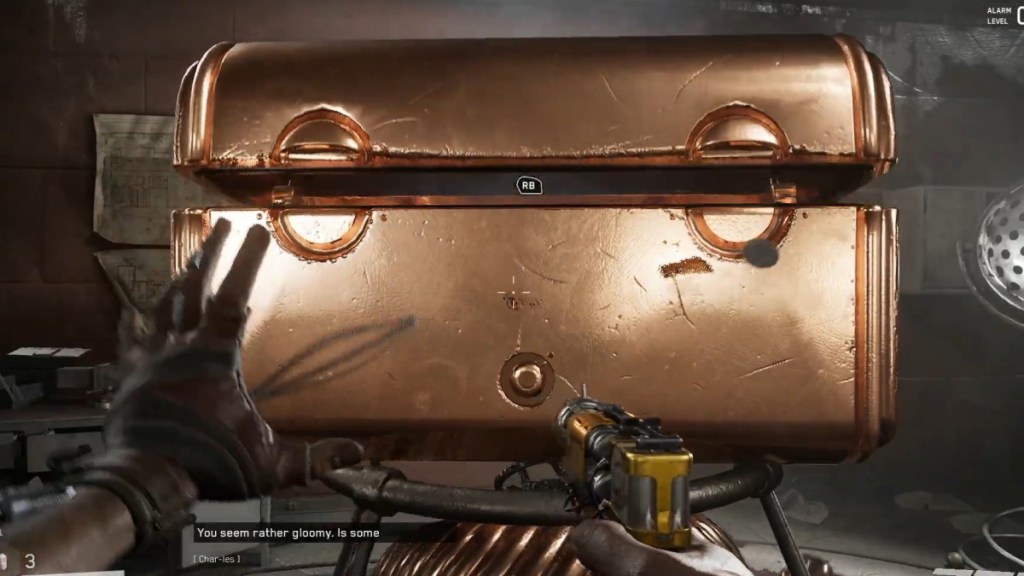
Open sesame! The door is now open; now, you’ll have to go back down and turn the platforms three times, jump back on the platform, turn the handle twice, and then go back and turn the handle two more times. After all that jumping, you can finally make your way to the second floor and reap the rewards from the Bronze Loot-Yagin! (Who really has good taste in music).
Silver Loot-Yagin
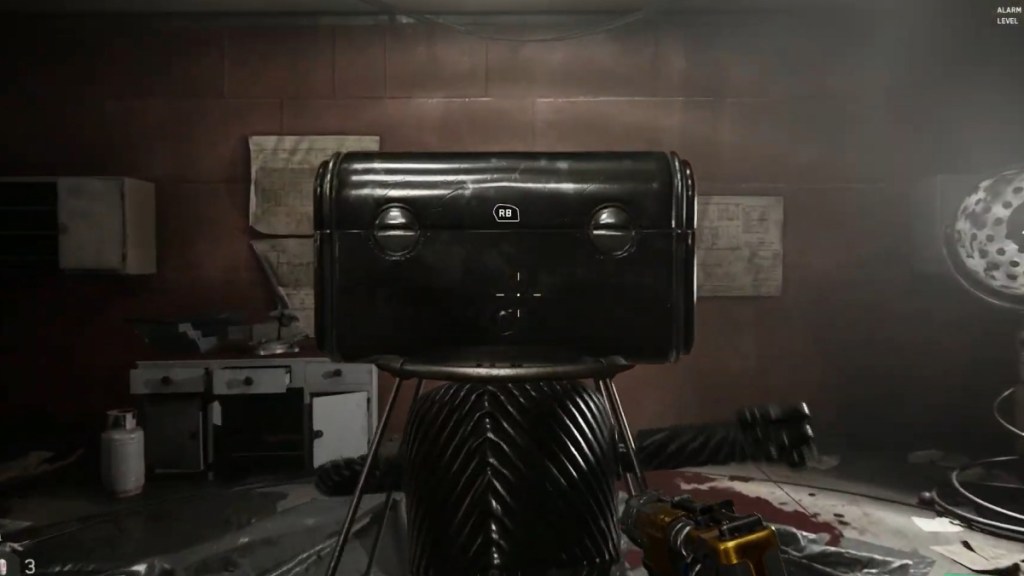
After you’ve looted the jazzy bot, make your way up the stairs to the turbine; once you have killed all enemies in your way, descend into the turbine. Then, make your way into the small crawl space and turn left two times before ascending. From here, all you need to do is follow the jazzy (yet somehow wholesome music considering the game) to the Silver Loot-Yagin, which seems lost in its own world.
Gold Loot-Yagin
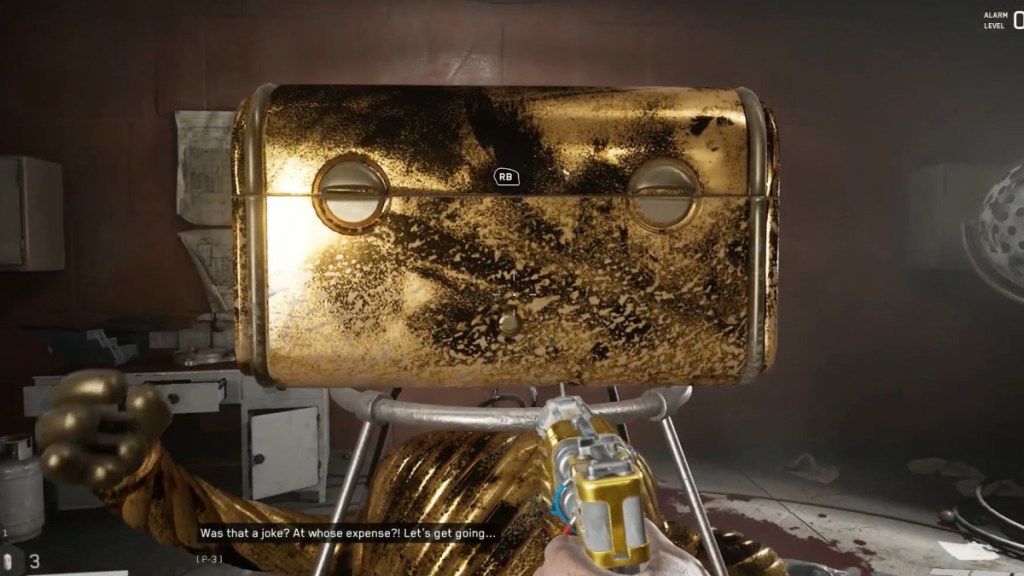
Old but gold, say goodbye to the Silver Loot-Yagin, make your way up the stairs, and enter the room to your right. (There are many stairs in the Atomic Heart game, so bare with me) This is the final section to completing Testing Ground 6 in Atomic Heart. Now make your way up the ramp. To entirely skip the puzzle because, by now, I’m sure you just want to get some loot. Jump on the shelf to get to the second floor, then, with careful steps, jump across to the landing. From here, you can find the Gold Loot-Yagin looking a bit worse for wear than its companions but otherwise ready to give you loot!
Solve the puzzle
But if you reaally want to solve the puzzle, here’s how to do it. First, jump up the shelf and onto the second floor; you will then notice a circular opening on the floor. Next, go down and solve the dot door mechanism, enter the room, and turn the red handle three times to move the entire platform. Then, go back into the room and turn the singular platform once.
Now, head further into the room and climb to the opposite side of the platform; here, you will find two red handles. Move the red handle on the right twice, then the handle on the left once, and then the red handle on the right side once more. Now! you can make your way up to the second floor to the Gold Loot-Yagin. (As I said, you don’t need to solve the puzzle, it’s entirely skippable).
And so we conclude our guide on how to complete Testing Ground 6 in Atomic Heart. To keep up to date with our content and join the discussion, you can check out Gamer Journalist on our Facebook page. If you’re absolutely love Atomic Heart but kind of stuck in some areas, check out these guides How to Solve Ballerina Puzzle in Atomic Heart or How to Find Claire’s Right Arm in Atomic Heart.


Published: Feb 23, 2023 07:04 pm