The way DMZ runs in Modern Warfare 2 has been changed forever with the arrival of Season 3. With massive systems being changed such as the Buy Station and how those Special hard-to-find Keys are obtained within a deployment. What was previously a focus on your loadout taken into the 25-minute deployment has now transformed into a new crafting system that allows players to not only craft new gear but also alter their existing loadout mid-match. One of these gigantic changes is that ability to transform/ alter your weapons, insured or contraband through the new Workbench. To complete the Redacted Tier 1 Mission ‘Upgraded Arsenal’, this is our guide on how to attach a Suppressor using the Workbench in DMZ.
How Does the Contraband Workbench Work in DMZ?
The Contraband Workbench will become the new hotspot for highly contested plays as they can be found in close proximity to the Buy Station/Barter System and act as a means for players to upgrade their gear by altering the specifics of their loadout. Be that what attachments you want to use or strip from the weapon to then use on another. You will collect parts of weapons you have found on your mission and strip them of their parts to use on a weapon that you favor. This can be incredibly helpful when trying to complete Faction Missions that require specific attachments such as ‘Weapons Training’. With this new Workbench, you will be able to switch your attachments on a single weapon throughout your deployment, so long as you do not get picked off when going up to the Workbench.
You will be able to add attachments onto both Insured and Contraband Weapons, including that of the grey and gold weapons that AI will drop across the Map. No longer will weapons you obtain be useless and filling your Contraband Section before dropping into a Match. You can now create the ultimate version of the weapon you have found or tuned to your preference by removing and adding attachments. Keep in mind however that nothing comes for free, therefore every time they wish to use the Workbench, you will need to pay similar to the Buy Station, to alter your Loadout.
How to Attach a Suppressor Using the Workbench
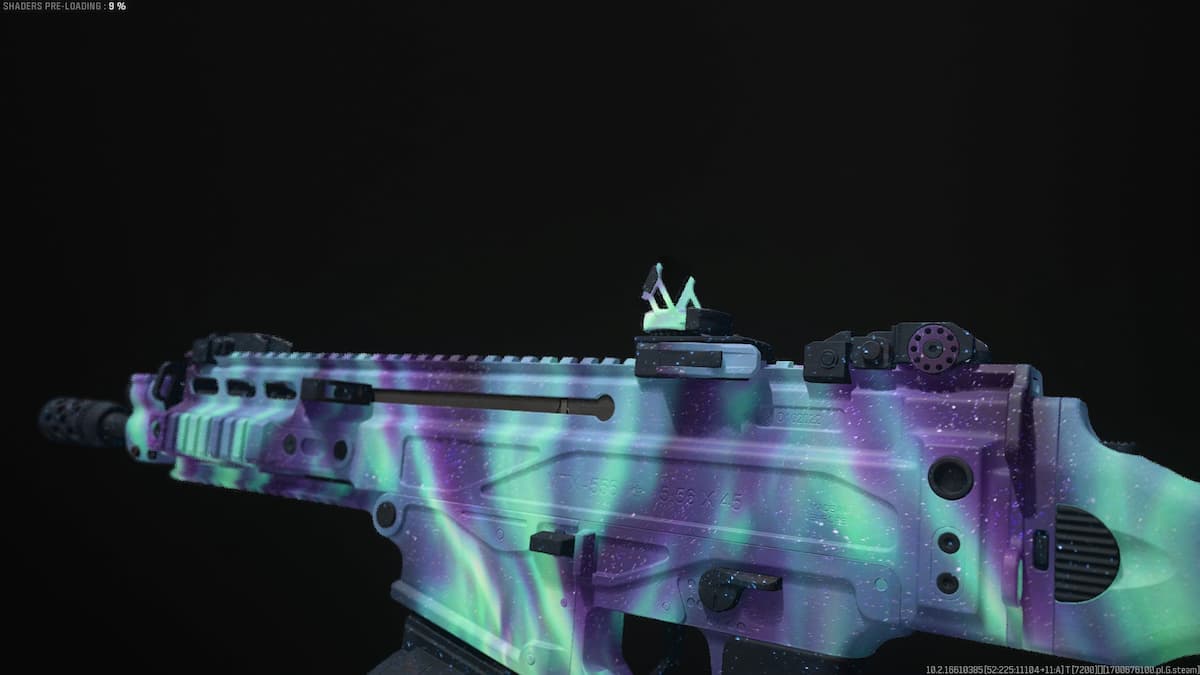
If you are trying to attach a Suppressor, you need to keep in mind the type of weapon you are trying to install the Suppressor on. Not all parts will be available to equip on all guns. Each type may require different Muzzles, Chokes and Grips, therefore you should not assume that the Suppressor will be available for every weapon in the game. Remember that to be able to add a Suppressor onto a weapon through the Contraband Workbench, you first need to strip the Suppressor off another weapon. This then can be equipped through the Workbench via the Muzzle option, similar to the Weapon Tuning as part of your Loadout before your deployment into the DMZ.
As you enter the Workbench, you will be able to see the weapon you are currently using and what attachments it has equipped. This acts as a way of demonstrating your progression of the weapon, will a fully kitted-out weapon being a completed Loadout. Keep in mind however that you still can only have 5 attachments on your weapon at once. You will also be able to see how each attachment changes your overall damage output and stats. Refer to this when deciding what attachment to switch out. Each attachment has a price if it is locked and has not been found throughout your deployment. The price for each locked attachment is $3,000.
If you have not found a Silencer, you can buy this under the Muzzle section of your weapon in the Workbench. Simply click once to open up the Weapon Upgrade Menu, go right and onto Muzzle and scroll to the right-hand side of the options to find the Suppressors. If you have found a Suppressor previously, this will be available to add onto your weapon, if you have not, you will have to pay for to equip it.
That was our guide on how to attach a Silencer onto a weapon in DMZ using the Contraband Workbench. For more DMZ content and guides, feel free to take a look at more with Gamer Journalist. Thank you for reading.




Published: Apr 12, 2023 02:28 pm