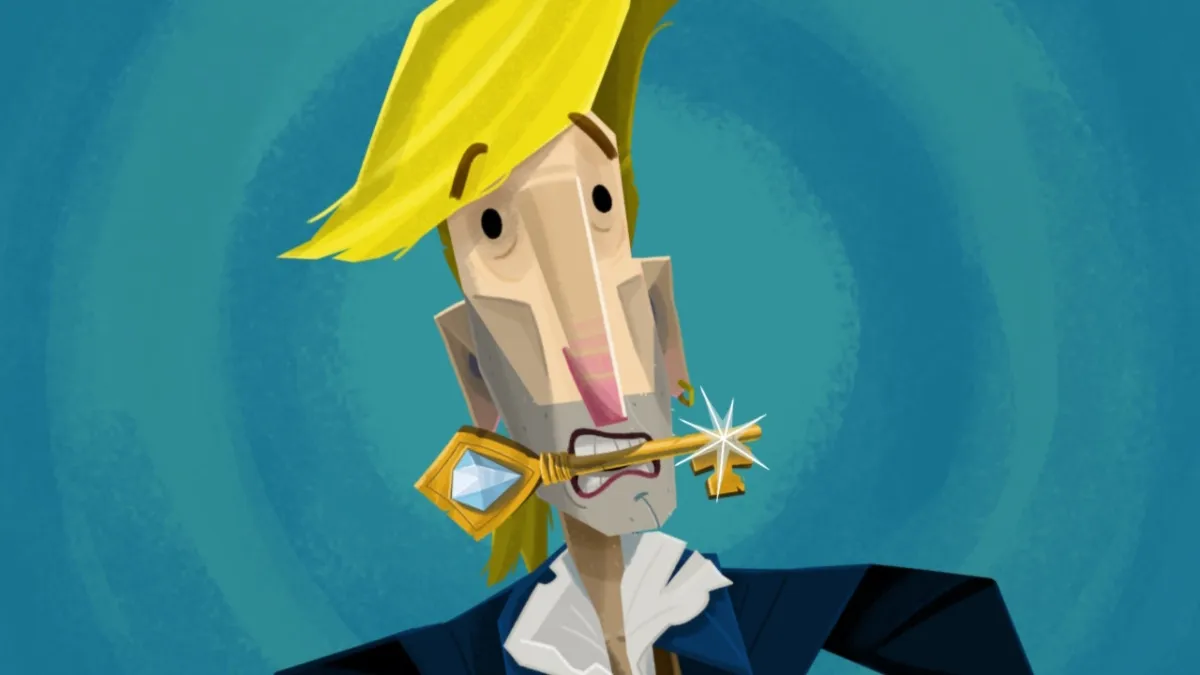
Return to Monkey Island is a welcome return for the storied franchise, and it manages to elevate the puzzle mechanics that’s made previous entries so beloved. One of the most involved puzzles in the game is the search for the five Golden Keys, which is arguably the most important quest of Guybrush’s life. You’ll need to travel to multiple islands and solve a variety of puzzles to find these keys, but your first stop is back at Melee Island.
How To Start The Quest for the Golden Keys
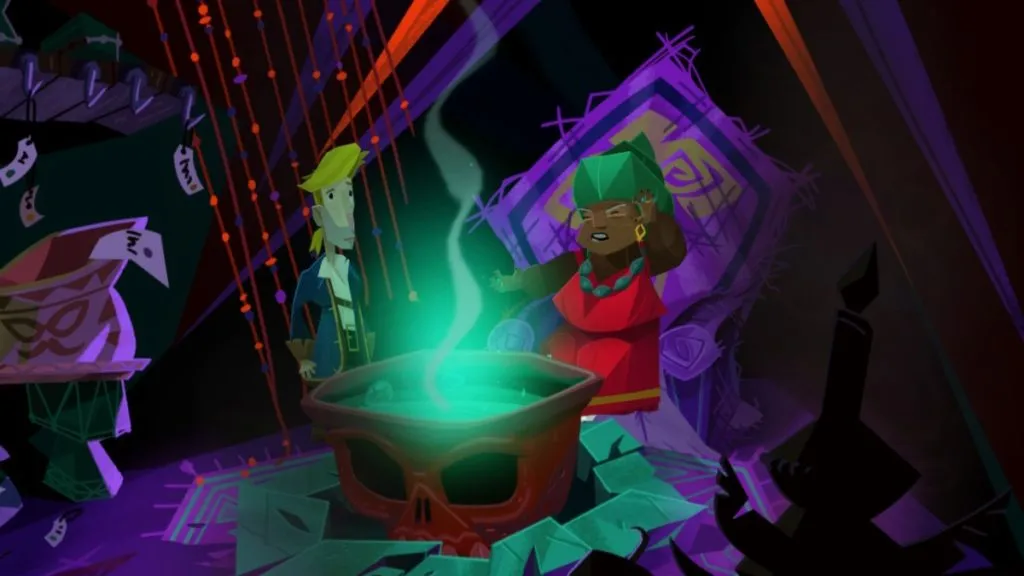
Your journey begins at the International House of Mojo, where Guybrush confronts the Voodoo Lady for hiding the Secret of Monkey Island this whole time. The Secret resides inside the large safe at the front of her shop, but it’s sealed by five keyholes. The Voodoo Lady doesn’t offer any concrete leads, but she does tell Guybrush that someone outside the shop will help him start his search for the Golden Keys.
Outside, Guybrush stumbles into Widey Bones, the old woman who was leaning out a second-floor window on High Street earlier in the game. She tells Guybrush about the myth of the Golden Keys and their last known locations:
- With Widey herself
- Passed down from Old Mrs. Smith
- In the clutches of renowned angler Bella Fisher
- Somewhere on the island of Brrr Muda
- Somewhere on Terror Island
Widey already has one of the keys, but she’s not willing to give it up until Guybrush proves he’s capable of this quest. She’ll only hand the key over once Guybrush has collected at least two of the other Golden Keys. She’ll also warn you of a curse that plagues the Golden Keys, but Guybrush will tell his son that Widey made it up just to make a dramatic exit.
Related: 6 Best Point and Click Adventure Games
Old Mrs. Smith’s Key
Head to the Lock Smith’s shop, which is on High Street, across the street from the jail. It’s the same shop where you ordered keys to unlock the display case at the Museum when trying to join LeChuck’s crew. Ask Lock about the poster of the Golden Keys hanging on her wall, and she’ll tell you about her mother’s obsession with the Keys.
When you ask her if you can have the key her mother found, she’ll hesitate a bit, but Guybrush will convince her with a passionate speech. Lock then simply hands over her Golden Key, no puzzle solving required.
Terror Island Key
If you haven’t visited Wally yet, pay him a visit to pick up a Sea Map, which will allow you to sail out onto the ocean and visit other islands. Your next stop is Terror Island, a well-named isle that looks like it was ripped out of a horror game. There are a few different places on the island to visit, but head to the unlucky place first to find a silver key.
It isn’t quite the color you’re looking for, but it will help get you to the right place. Next head to the mysterious clearing and pick up the oil lamp near one of the skeletons. There’s not much you can do with this now, but it’ll come in handy shortly. Finally, head to the twisting path and follow it to reach a rusty old gate. Take the strange sign off the gate, then use the silver key to unlock it and enter the cave.
Unfortunately, it’s way too dark to see in the cave, and you’ll have to leave until you can find a way to light the lamp. To do this you’ll just need access to any fire source. Head back to Melee Island and go to Lookout Point, where the Lookout’s fire is still blazing. Take the lamp out of your inventory and use it on the fire to ignite the remaining fluid and light the lamp.
The Dark Cave
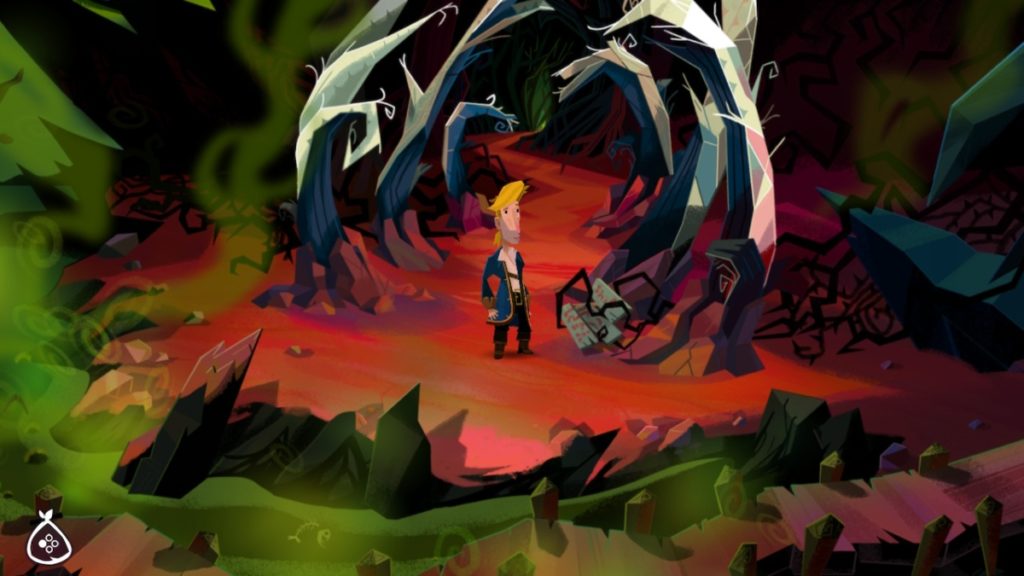
Now equipped with a working lamp, you can make your way through the dark cave on Terror Island. Head through the entrance chamber to reach the passages beyond, which form a sort of a maze through the cave. The trick here is to take the unmarked path and avoid the passages marked with a white “X.”
After five successful choices, Guybrush will enter the depths of the cavern. Approach the edge of the cliff and read the warning sign, which Guybrush won’t finish before falling over the edge. He cartoonishly injures himself on the way down before landing at the bottom.
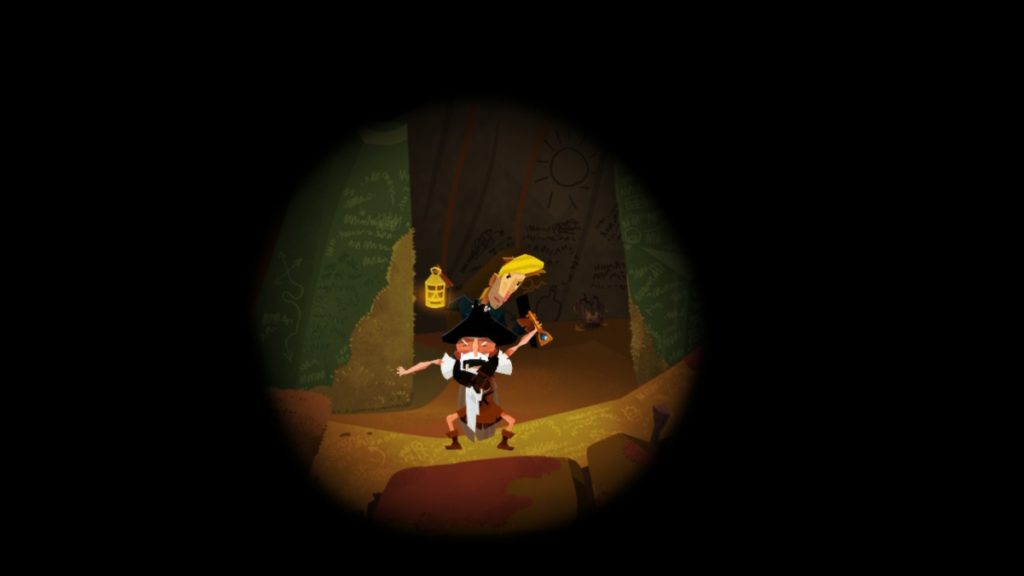
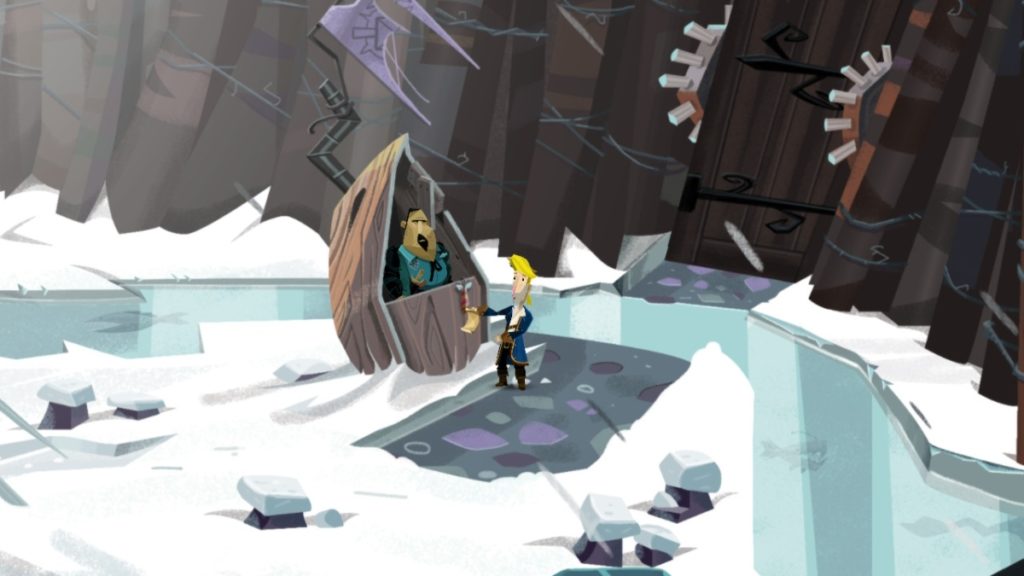
At the bottom of the cave, Guybrush discovers Herman Toothrot, an old-timey prospector type who’s apparently been living in this cave for decades. He’s excited to see Guybrush, who is also excited to see that Herman has the Terror Island Golden Key in his possession.
Herman is willing to trade the key, but only if Guybrush can get him out of the cave first. Guybrush agrees, but only if he can have the key first. Herman refuses to budge. Guybrush refuses to budge. The two grown men eventually fight over the key, which results in Guybrush successfully taking the key but destroying the lamp in the process.
There’s not much to do in the dark, so open up your inventory and select the sign that was hanging on the locked gate at the entrance to the cave. It’ll have a strange, greenish glow it didn’t have before, and you’ll have the option to read the letters engraved on the sign. Read these letters to suddenly teleport back to the cave’s entrance with the key but without Herman.
Widey Bones’ Key
After collecting two of the Golden Keys, a short scene will play between LeChuck and Rose. Rose tells LeChuck that she took one of the Golden Keys from an old woman on Melee Island, and he tells her to just hide it somewhere Guybrush won’t find it.
Related: Return To Monkey Island: How To Join LeChuck’s Crew
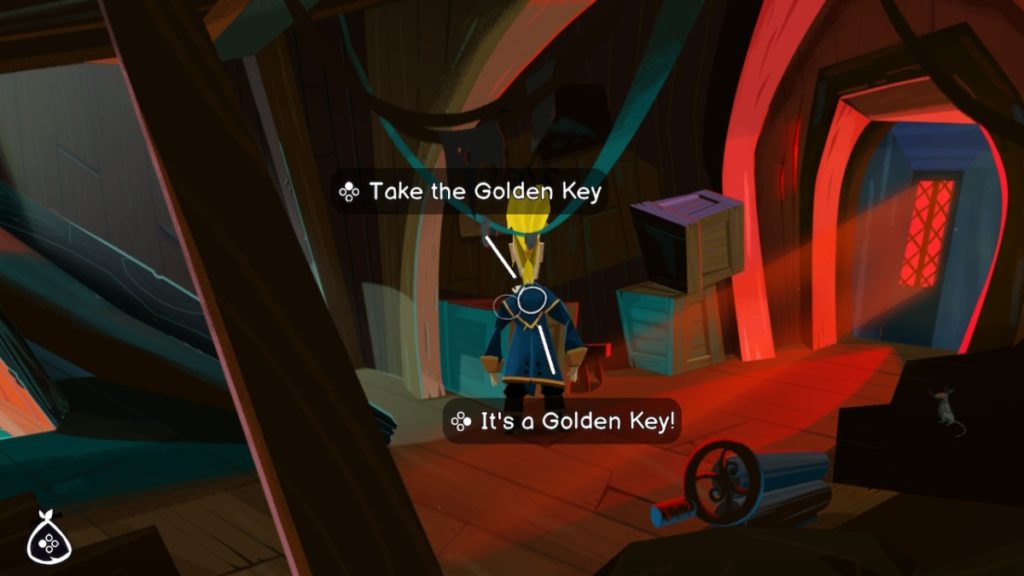
After leaving Terror Island, LeChuck’s ship will now be marked on the Sea Map. Head over to the ship and sneak aboard. Apple Bob doesn’t mind you being there since you got him a good book to read, so head past him and down to the lower deck. Widey’s Golden Key is just sitting on the first crate, ready for the taking. Guybrush even remarks on how “suspiciously easy” it was to find, but he’s not complaining and neither should you.
Bella Fisher’s Key
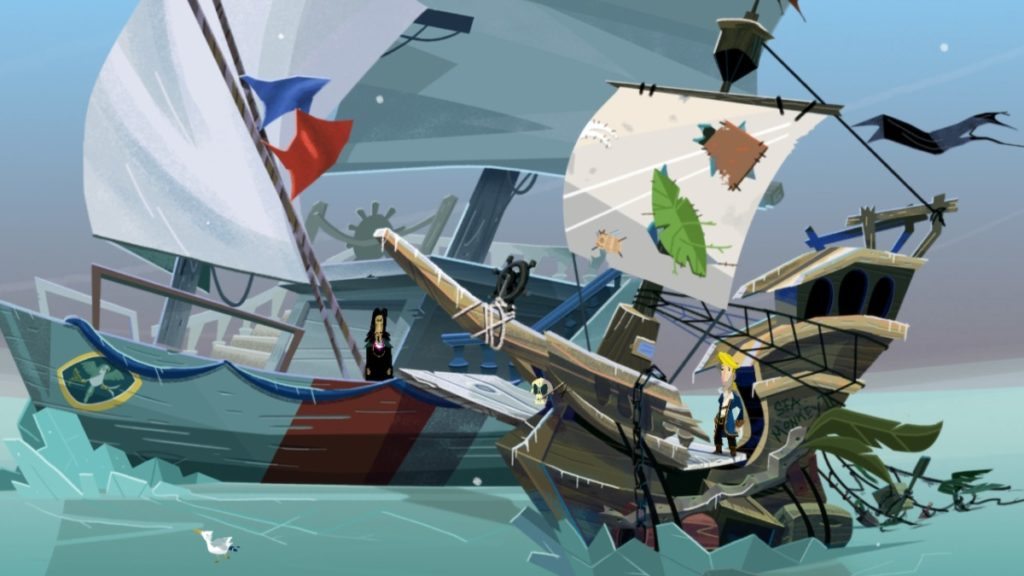
Bella Fisher’s Golden Key is one of the most well-hidden, as it vanished along with its owner many years ago. The first step to finding her key is to visit the adrift pirate ship floating in the southeast corner of the Sea Map. The crew is fighting off a bout of scurvy, so they won’t let Guybrush aboard, but you can investigate elements of their ship from the Sea Monkey II.
One of the flags hanging from their rigging is a tattered red banner with a unique insignia and a hole in one side. When you ask them about it, they’ll tell you that it once belonged to the renowned angler Bella Fisher, but you can’t get to it until they end their quarantine. They aren’t willing to listen to you that scurvy isn’t contagious, so you’ll have to leave and find another method of convincing them.
Scurvy Island Detour

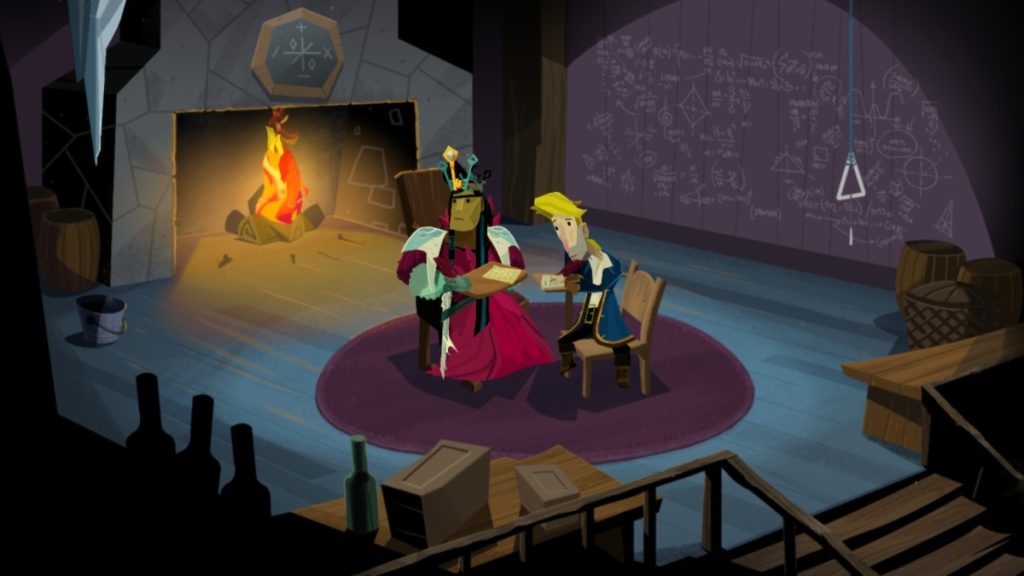
Your next stop is Scurvy Island, where the former governor of Melee Island, Elaine Marley, is running her scurvy awareness campaign, STaPL. Her camp is empty, though, so you’ll need to do a little snooping to find her. Elaine has left a note on her desk that reveals she’s working due east of Parrot Rock and due north of the waterfall. Make sure to also grab the torn portrait on her desk, as it’ll come in handy later.
Head to the grove where Elaine is working and she’ll tell you about the challenges her campaign is facing. No one believes that limes will actually help with scurvy, and they’re not overly fond of the taste of limes either. She gives you her flyer, which is filled with dense, scientific information. What she really needs is a natural salesman, someone who can spruce up her pitch to get sailors to want limes on board. While you’re here, grab a few limes from the nearby bucket. Never know when you might need them.
You can also ask Elaine about the torn portrait, and she’ll offer a somewhat unbelievable story about a seagull tearing it in half and flying away with the Guybrush half. Her story checks out, though, as you can find the other half of the picture in the lime grove on the cliff below Elaine’s camp. Head to the grove and rescue the portrait from the nest before leaving.
Ocean Adventures
Next, head to Barebones Island, just to the north of Scurvy Island. This tiny island is home to a very nervous man who isn’t super excited to see you. After he knows you’re alone and not there to hurt him, he introduces himself as Ned Filagree, accountant-in-hiding. When asked why he’s hiding, he’ll tell you about some illicit dealings he made with a man named Stan S. Stanman.
Yeah, the same Stan who used to run a used ship emporium on Melee Island. Ned informs Guybrush that Stan has been locked away on Brrr Muda at the Ice Quarry. Stan also happens to be a master marketer, just the kind of person who could liven up a failing lime campaign.
Brrr Muda is the northernmost island on the map, but to get there you’ll have to cross the 19th Parallel. A government official will stop you here as part of a scurvy inspection point. The limes you picked up from Elaine will get you past this hurdle. Next, you’ll need to fill out a detailed customs form as honestly as you can.
Keep an eye out for questions that ask you about your answers to previous questions, as any answer that indicates you’re a pirate will bar you from crossing the parallel. Once you’ve answered the customs form to the official’s liking, he’ll stamp the Sea Monkey II and you’ll be able to cross the 19th Parallel without any further issues.
Reach Brrr Muda
After reaching Brrr Muda, head through the town center to the interior of the island. The Ice Quarry can be found in the bottom right corner of the island, but you’ll need to stop by the guard stand out front. He’ll tell you that the only way into the jail is to visit a prisoner, but you’ll need proof that you know the person before he’ll let you in.
He needs to see something that will prove Guybrush and Stan have ever been in the same room together. Fortunately, you have a picture frame with only half a portrait inside, as well as half a picture of Guybrush. All you need now is a picture of Stan to forge proof for the guard.
Leave Brrr Muda and head back to Melee Island. Head to the interior of the island and find Stan’s old used ship stand to find it half destroyed by the earthquake that happened at the end of Chapter 3. The previously boarded-up shack is now accessible, and there just so happens to be a picture of Stan on the table inside. His toothbrush is also in there, so pick that up while you’re there.
Find Stan

Open up your inventory and combine the picture of Stan with the frame, then swap out Elaine’s picture for Stan’s. Put the picture of Guybrush next to him to create the proof the Ice Quarry guard needs to let you into the prison.
Head back to Brrr Muda and show the picture to the guard to get into the Ice Quarry. Make your way all the way to the back of the prison to find Stan, who doesn’t want to leave prison. He doesn’t have that long of a sentence and gives you the sentencing document to prove it. He also mentions that his former partner, Ned Filagree, has some incriminating documents and that those files could have put him away for much longer.
Related: Return To Monkey Island: How To Free Otis
Head back to Barebones Island and show Ned the document with Stan’s one-month sentence. Ned will give you the incriminating documents you need to increase Stan’s sentence. This should also motivate him to take you up on your offer of a prison break.
The Crimes of Stan S. Stanman
Bring the pack of documents to the courthouse on Brrr Muda (the building in the town center just past the town hall). The judge accepts the evidence but demands that Ned himself appear before the court. Don’t bother going back to Barebones Island, as Ned has already fled to parts unknown. Instead, just tell the judge that you’re Ned and he’ll immediately believe you, signing a form that raises Stan’s prison sentence to 10 years.
Show this new form to Stan and he’ll agree to break out of prison with you. Examine the serial number on his shackles with your double-monocle to get the serial number, then head back to Melee Island to have Lock Smith make you a key. Use the key on Stan’s shackles to break him out, after which you’ll both head to Scurvy Island.
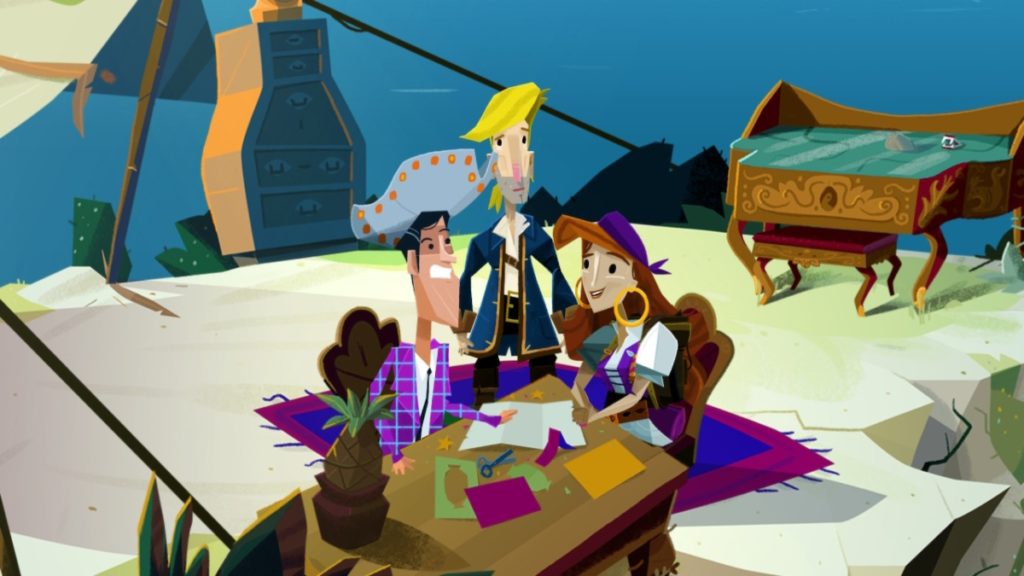
Stan offers his sage marketing wisdom to help Elaine make a fun, persuasive flyer that might not be the most accurate. Once he’s done, he and Elaine will leave, giving Guybrush the opportunity to take the new flyer for himself. Leave Scurvy Island and head back to the adrift pirate ship to show them the new flyer, which works almost instantly. They’ll now let Guybrush onto their ship, at which point he can grab the red flag that once belonged to Bella Fisher.
Finding the Golden Key
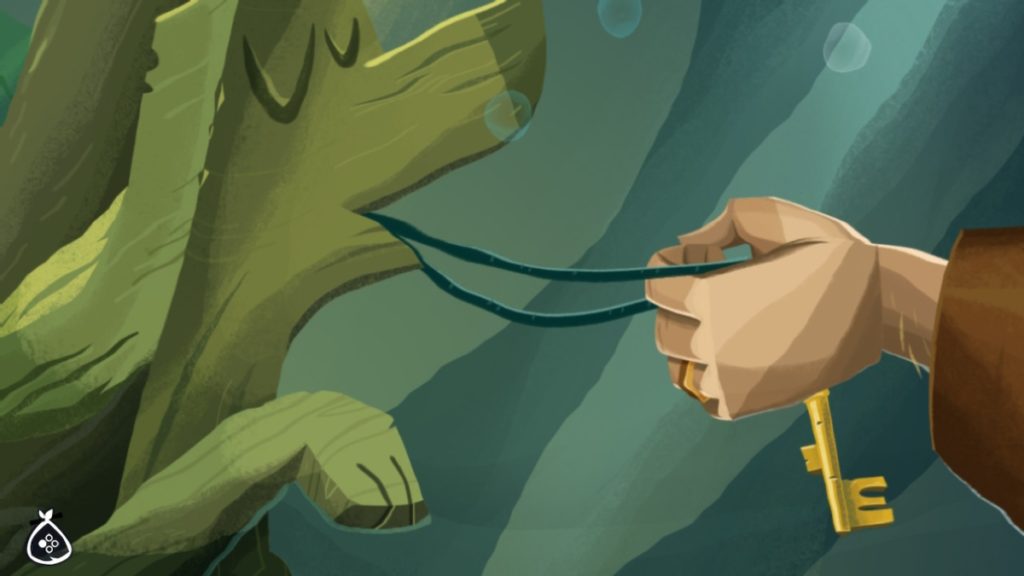
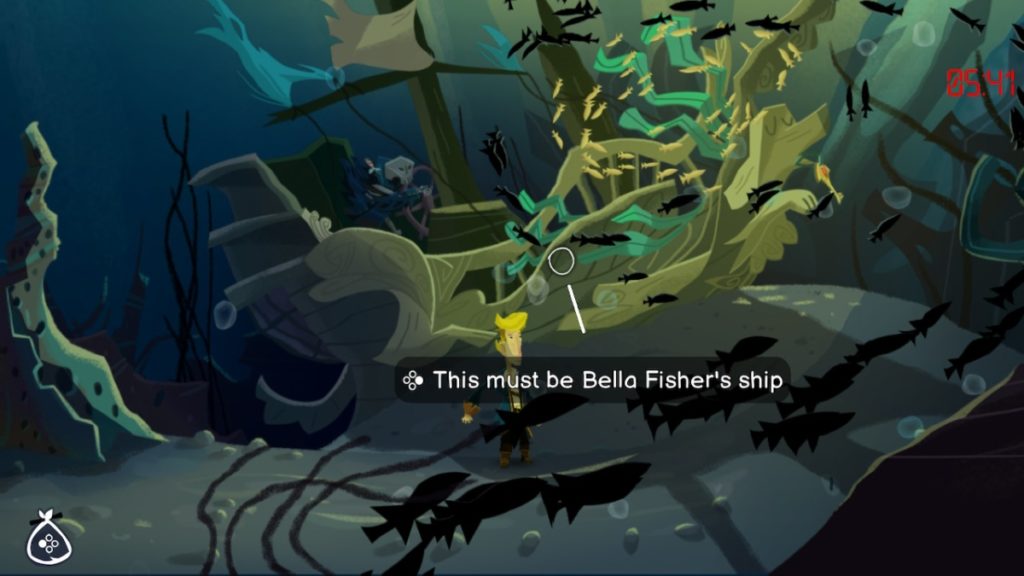
Combine the flag with the Sea Map in your inventory to lay the flag over the map. The hole in the flag reveals Bella Fisher’s secret fishing spot, which Guybrush will then mark with an X. Head there, select the Sea Monkey II, then dive into the ocean to find Fisher’s ship.
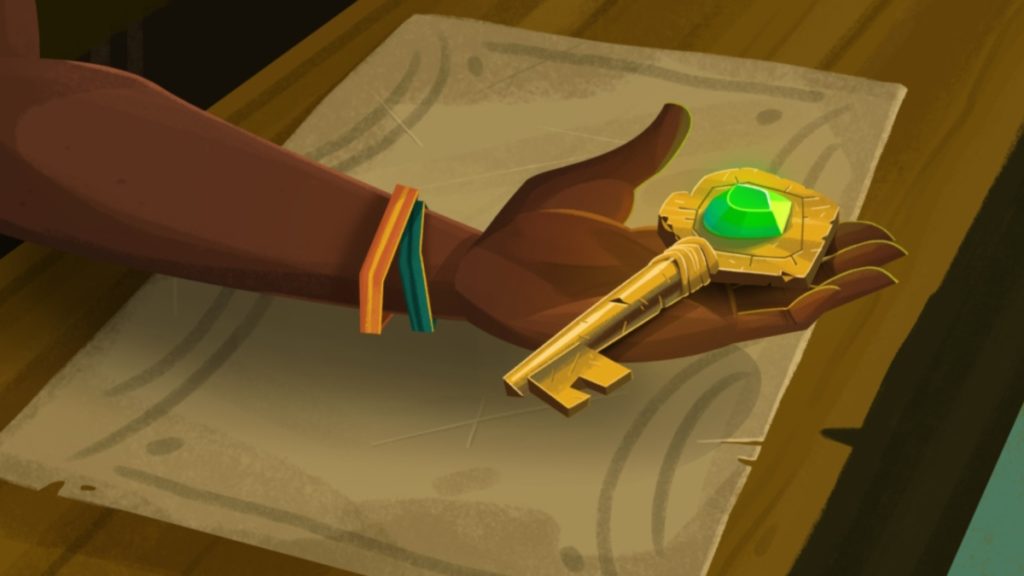
Fisher’s skeleton is still gripping the helm, and she still has her Chum’s lure pinned to her bony frame. Her Golden Key is hanging from the front of the ship by a cord. Take the key to destroy what remains of Fisher’s ship then head back up to the Sea Monkey II.
Brrr Muda Key
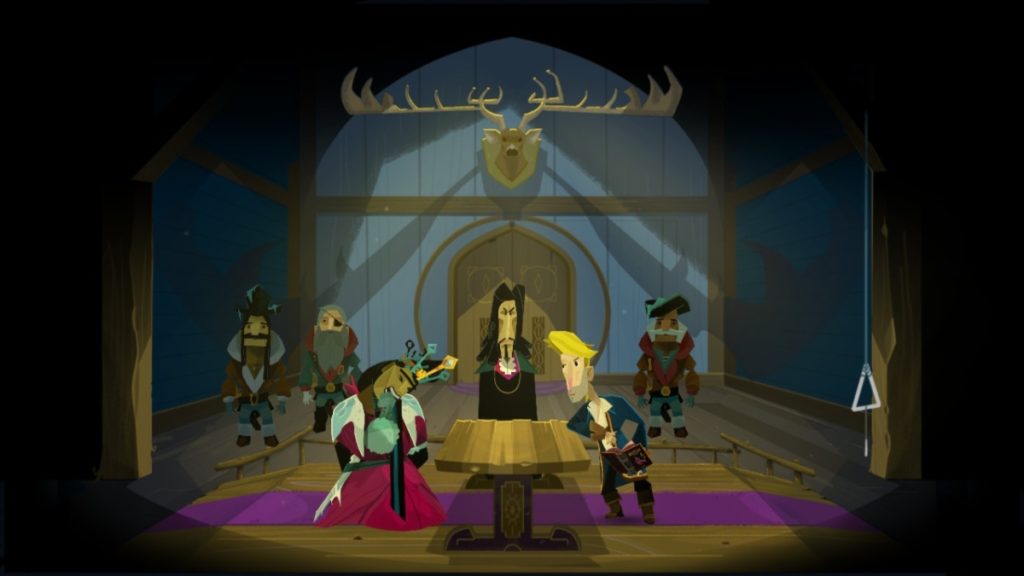
The final Golden Key is fixed in the crown of the Queen of Brrr Muda. To acquire it, Guybrush will need to become Queen, which involves challenging the current queen to a series of challenges. Each challenge is a puzzle in its own right, and Guybrush will need to cheat at all of them to win. The three challenges are Heartiness, Intelligence, and Seriousness.
The Challenge of Heartiness
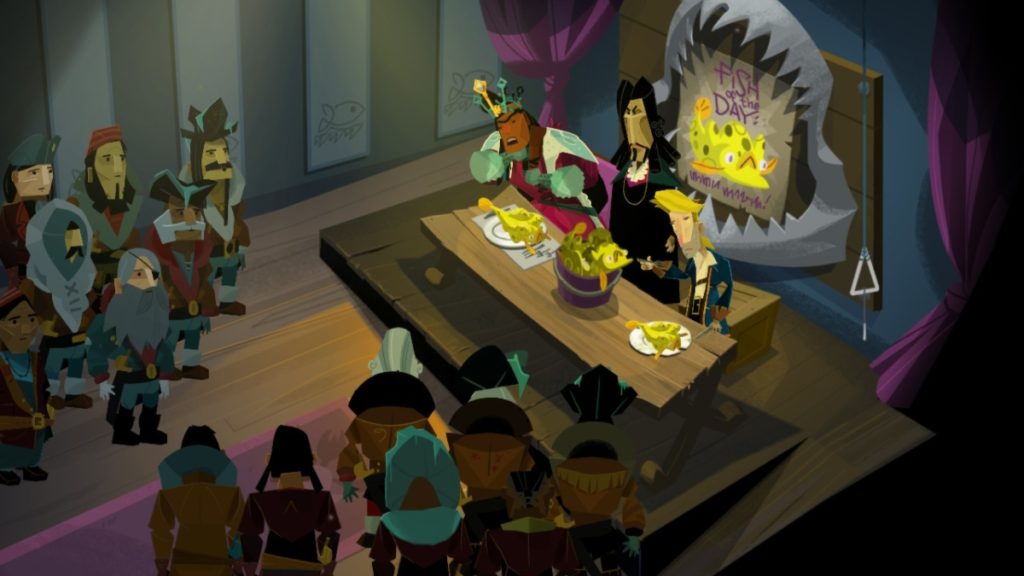
This challenge is an eating contest, but Guybrush isn’t able to defeat the current queen with just his own stomach. The two ingredients he’ll need are yellow lumpfish and demon pepper. The lumpfish can be found at The Cod’s Wallop fish shop back on Melee Island. The former pirate leaders have opened the new store on High Street, on the first floor of Widey Bones’ building.
You can find demon pepper on board LeChuck’s ship, in Putra’s galley. Most of LeChuck’s crew are no longer on his ship, so you can simply walk into the galley and take the pepper. Bring both ingredients back to the town hall on Brrr Muda, then deposit the lumpfish in the bucket on the table. Sprinkle some demon pepper on the fish, then initiate the challenge with the nearby triangle.
Once the challenge has started, let the queen take a peppered fish out of the bucket. Sneak one of the normal lumpfish out of your inventory and onto your plate. The queen will give up eating after one bite, while Guybrush will successfully swallow two bites, making him the technical winner.
The Challenge of Seriousness
This challenge is a joke-telling contest where the first person to laugh loses. The queen isn’t an easy target, as she claims to have heard every joke on this plane of existence. Fortunately, Guybrush recently gave a book of demon jokes to Apple Bob on LeChuck’s ship. Apple Bob isn’t quite willing to give the book up, though, as he needs something else to read that will keep him entertained for a while.
Head back to Melee Island, return the Ingredients book you’d given to the Scumm Bar chef, then grab The Endless Tale of the Voyage That Would Not End from Carla’s bookshelf. Apple Bob is more than happy with this exchange, and hands over the demon joke book.
Once back on Brrr Muda, start the Seriousness challenge again, then take out the book during the contest. Read one of the demon jokes for the queen to make her laugh. The judge will announce Guybrush as the winner, and the queen will confiscate the demon joke book for good measure.
The Challenge of Intelligence
This is a simple algebra test, but Guybrush isn’t exactly the brightest pirate on the seas. He’ll need to do a little more cheating to take this one home, which requires some very crafty puzzle solving. You’ll need firewood, matches, and knowledge of the Queen’s behavior while sitting in her throne room.
The queen is regularly distracted by a stalactite in her throne room, glancing off to the side every time it drips into a bucket below. You’ll need to use this to distract her during the Challenge of Intelligence so you can swap your papers when she’s not looking.
The firewood can be found on Terror Island in the mysterious clearing (same spot as the oil lamp), while the matches are on a shelf in the Brrr Mudan Queen’s throne room. There’s a fireplace in the Challenge of Intelligence chamber, so set up the firewood there and light it with the matches. Start the challenge, wait for the Queen to be distracted, and swap your papers to claim another victory.
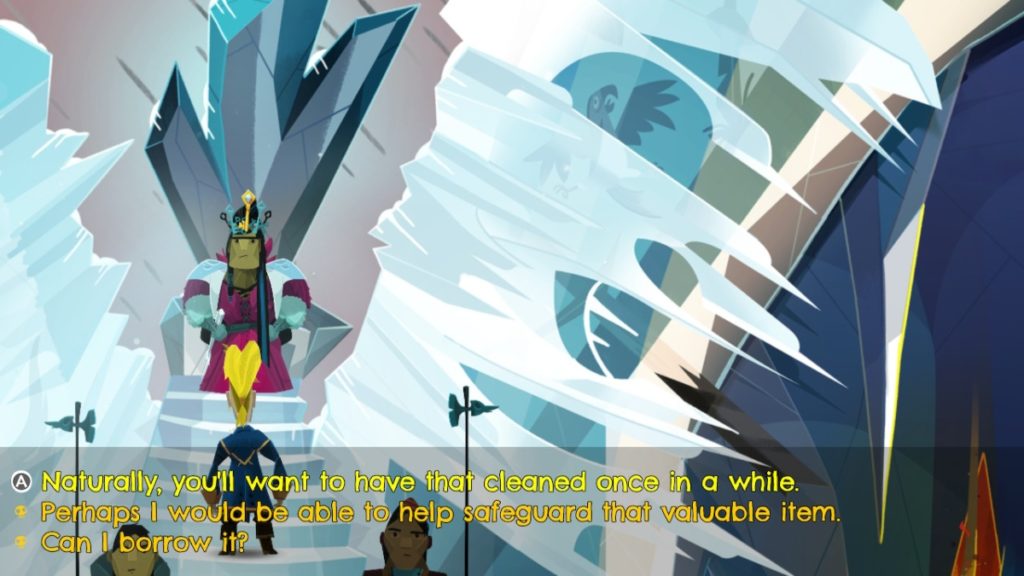
Claiming the Golden Key
There’s then a brief ceremony where Guybrush must swear an oath to serve the people of Brrr Muda. Once he has the crown, he immediately breaks it to get the Golden Key free, then dissolves the island’s government as an excuse. He then absconds with his ill-gotten loot.
Return to Monkey Island is now available for Nintendo Switch and Steam.


Published: Sep 29, 2022 09:36 am