Being a bounty hunter is probably a really frustrating profession when you only work in a town or something, so I can’t even imagine how irritating it’d be to hunt across an entire galaxy. Unfortunately, that’s the nature of your reality in High on Life, so it’s time to get creative and hunt down your target. Here’s how to find and defeat Krubis in High on Life.
High on Life: How to Find and Defeat Krubis
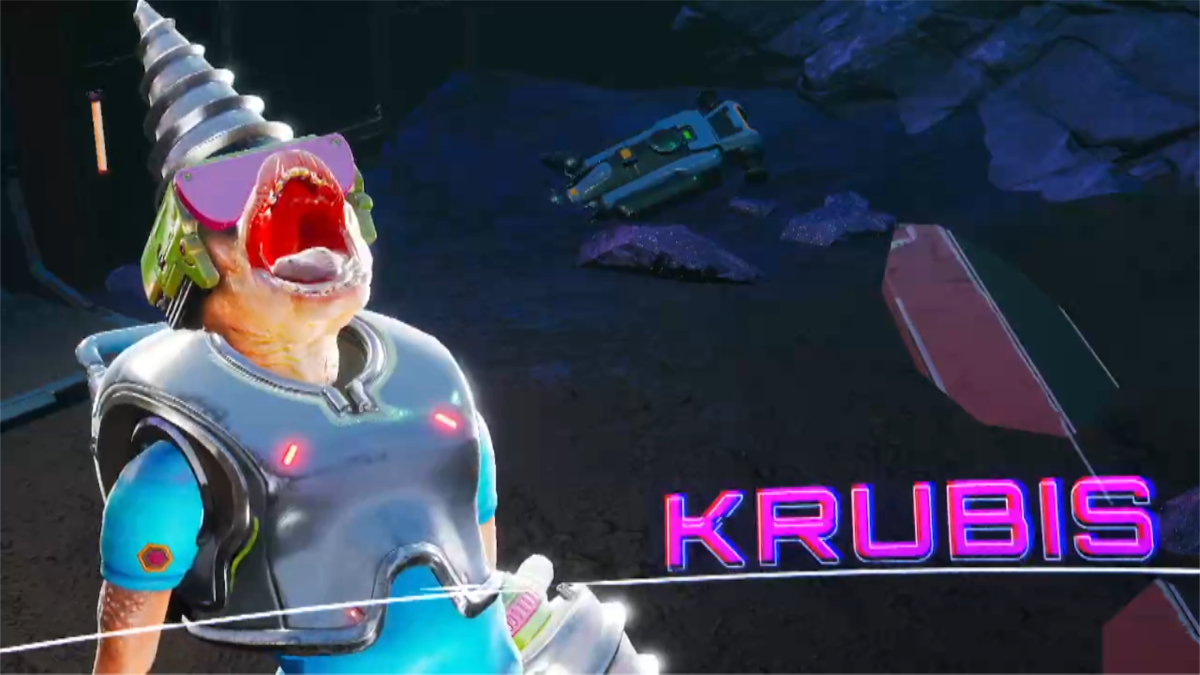
Not long into the game, once you’ve gotten into the swing of the whole bounty hunting thing, you’ll need to track down a crook by the name of Krubis. Last known coordinates peg him on Zephyr Paradise, so that’s where you’re headed.
From the start, you’ll need to do a bit of platforming to clear the lake of green sludge, tredge through some caves, and so on until you come across a local village being occupied by G3 thugs. Dispatch the lot of them, and you’ll get a chance to talk with the leader of the village people (whose resemblance to a Care Bear is entirely coincidental, I’m sure). Unfortunately, Krubis is a constantly on the move and difficult to pin down, but as it so happens, there’s a guy in a mansion nearby with his deets and a warp device.
Related: Borderlands Shift Codes
Follow your waypoint, doing some more platforming, and enduring the running commentary of the little floating guy who accosts you midway through. Don’t worry, you’ll be rid of him soon enough. When you arrive in Valley Bluff, you’ll find the mansion with Krubis’ friend inside. He’s in a good mood (artificially induced, but good), so he’ll give you his warp device, no questions asked. You can use the warp device to warp in a chunk of highway and cross the river, allowing you to return to the village.
Getting the Warp Components

With the warp device, you’ll be able to warp Krubis right to you, but to do that, you’ll need a blank warp disc and his current coordinates. The villagers will give you the code to enter the nearby mines to find both of those things; clear out the G3 thugs when you get there and make your way into the mines proper. Deeper within, you’ll come across some villagers who have captured a G3 mook. Ask them about a blank warp disc, and they’ll suggest you clear out the nearby base on their sacred grounds so you can warp in their prince, Prince Chosen One. Take care of the merks and warp in the Prince, and he’ll begrudgingly give you the disc.
Continue through the mineshaft, and you’ll eventually come across an office. Tell the receptionist you’re a new hire, and she’ll put you to work sorting paperwork. You just need to grab a paper from the right box, fill it out, and put it in the left box. Just… keep doing that until the game says stop, it’s a whole bit.
Anyway, once that’s done and dusted, you’ll have permission to enter Krubis’ office, where you can swipe his coordinates from the computer. With the blank disc and the coordinates in hand, return to the mansion in Valley Bluff and use the disc encoder to write the coordinates to the disc. Step outside the mansion and use the warp device to bring Krubis to you. You’ll fall into a cave with him and engage in a shootout. Krubis will strafe around, taking shots at you, and when his health gets low, he’ll use his drills to dig and fly around the cave. Just keep shooting him whenever you can until he’s dead.
Congratulations, you’ve claimed your bounty, and you get a new Gatlien in the process! All in a day’s work!









Published: Dec 13, 2022 08:31 am