Escape From The Red Planet is a retro tower defense and resource management game where players will need to fight through many waves of aggressive martians. Stranded, the player’s only hope is to set up towers and shoot off the incoming martians until every last one of them are defeated. Here’s everything that a player will need to know about Escape From The Red Planet.
Escape From The Red Planet beginner’s guide
Escape From The Red Planet is a simple game, but some players may have difficulty. Below is every tip that I can pass on to you after completing the game, covering everything from your towers to the solar economy to bosses.
Related: Every Tower in Escape From The Red Planet
Build up a strong solar economy
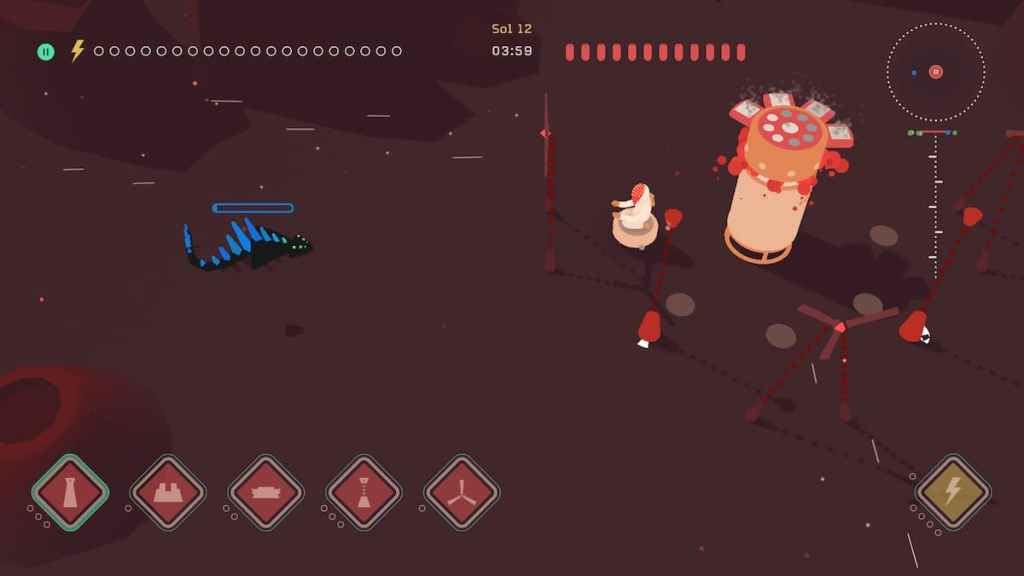
Every tower that you’ll be placing will cost solar power. At the beginning of every level, you’ll have a very slow and pitiful solar income. You’ll want to spend any starting solar power on your solar generator upgrades. Even as the enemies start rolling in, try to get another solar generator upgrade in and stave off the enemies with your blaster.
Solar generator upgrades could literally be the defining metric between success and failure. If you have a spare moment in between martian waves, spend them on upgrading your solar economy rather than on Barricades or towers. Having a stronger economy will allow you to build more towers, and the length of time it takes for martians to come close buys you enough time to buy your solar power back.
Some levels are much tighter than others, so you’ll have to really rely on your own blaster skills to shoot off martians to save solar power to upgrade your generator. Some levels will see you having to make quick choices about what towers you really need to place, and how many martians you can fight off yourself.
Also, never save up solar power. Reinvest it into your upgrades if you have a lot to spare.
Don’t rely on your towers
One thing I earned early on was to not fully rely on my towers. They are expensive and take me away from the fight. A lot of the time, I could rid a lane of martians by shooting at them myself, freeing up lots of solar power. Make sure to keep on top of your ammunition reserves; as soon as you hear the satisfying click of a full blaster, go to town on a lane.
Some enemies are, naturally, bullet sponges designed for your powerful towers to take care of. Even with those guys, it is worth pushing a whole magazine into them to free up ammo from your expensive towers. You can easily halve their health by doing this, and it means you only have to build half as many towers. If you’re in a pinch, simply unload as much ammo as you can.
When shooting, try not to spend all of your ammo if you can. When you do, you must wait for all of your bar to slowly recover, preventing you from firing for that duration. This could seriously harm your strategy and dig into your solar power supply. If you can, leave one bullet remaining. This way, after a few seconds of waiting, your bullets will quickly recover one at a time. This is a faster way of reloading, and it means you can still shoot at immediate threats whilst your ammo stocks are still reloading.
Not only does this save solar power, but could save your life. With your own blaster, why would you fully rely on your towers?
Not all swarms require bombs
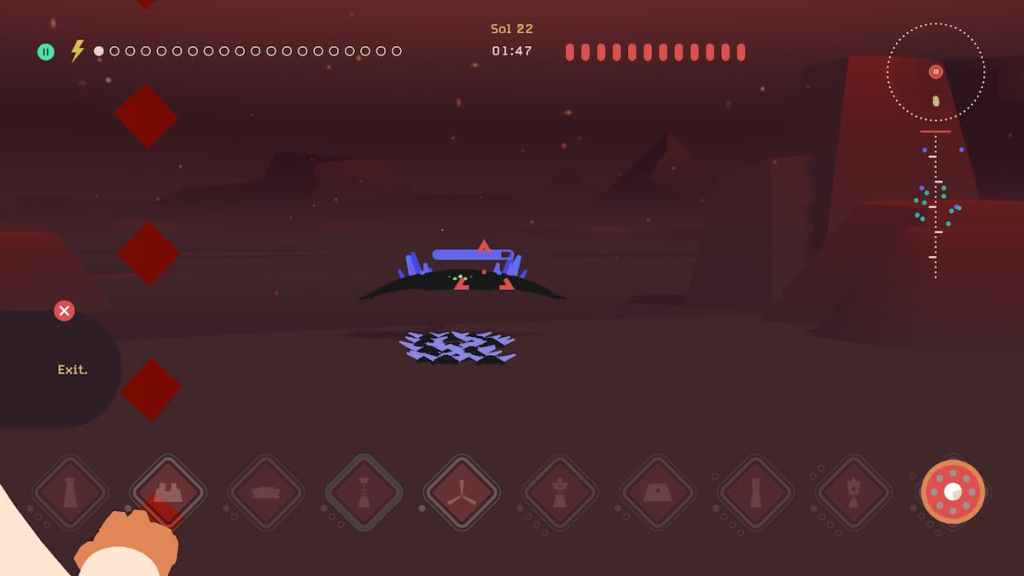
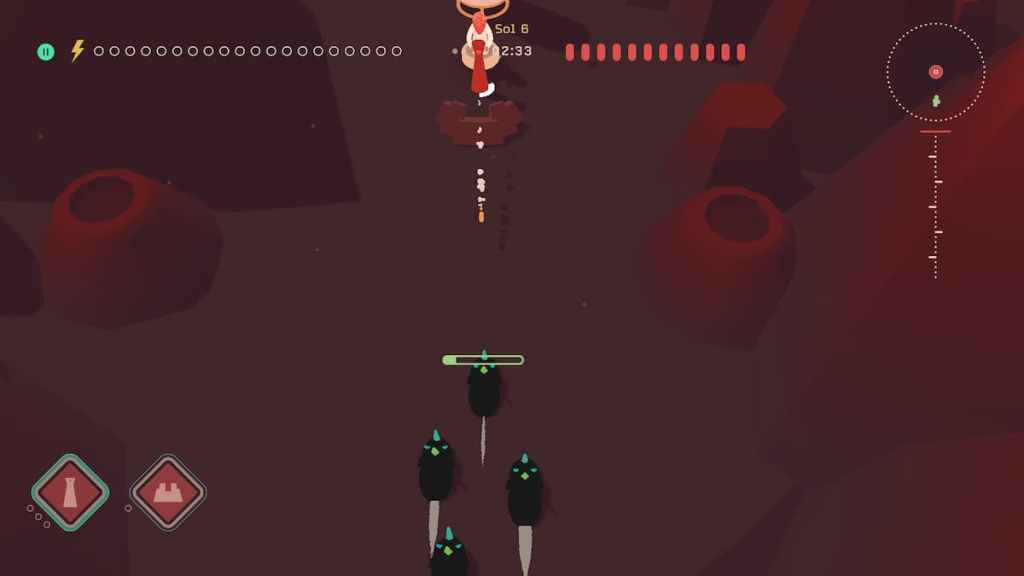
One particularly annoying enemy that will soon be slithering your way are the yellow swarm types. The game introduces these critters alongside their direct counter, the Bomb Tower, which can clear away whole swarms with AoE attacks. They are weak but high in numbers, so conventional towers will waste their durability away trying to fight them.
The introduction of swarm martians and Bomb Towers may lead you to the habit of placing Bomb Towers everywhere the swarm martians appear. Try to break from that habit, as lots of the time you can eliminate a swarm of martians with your blaster. It takes three shots to kill one yellow martian, so you can chunk off a large part of the swarm, if not the whole group entirely, by shooting yourself.
This will save you lots of solar power, and will allow you to purchase more solar upgrades or place more important towers elsewhere.
React – don’t anticipate
Whilst playing the game, there were moments where I spared a thought to setting up preemptive Explosive Barricades or towers to be prepared for the enemy. There is a problem with that strategy, however. Most enemies are specialised, and guessing where they’ll come from is a huge liability that could cost you the game.
You have enough time for you to assess where the martians are and to place all of the appropriate towers. They get constructed in a mere second, enough time for you to set up defenses on all fronts. This will also allow you to more frugally place your towers, to save on solar power.
The only time this could be useful is if you are swimming in solar power and your generator or supply is nearly at full capacity. In those moments, setting up the secondary defenses, like Barricades or Turbines, could be a good idea, as there isn’t too much weight on their placement and they aren’t expensive.
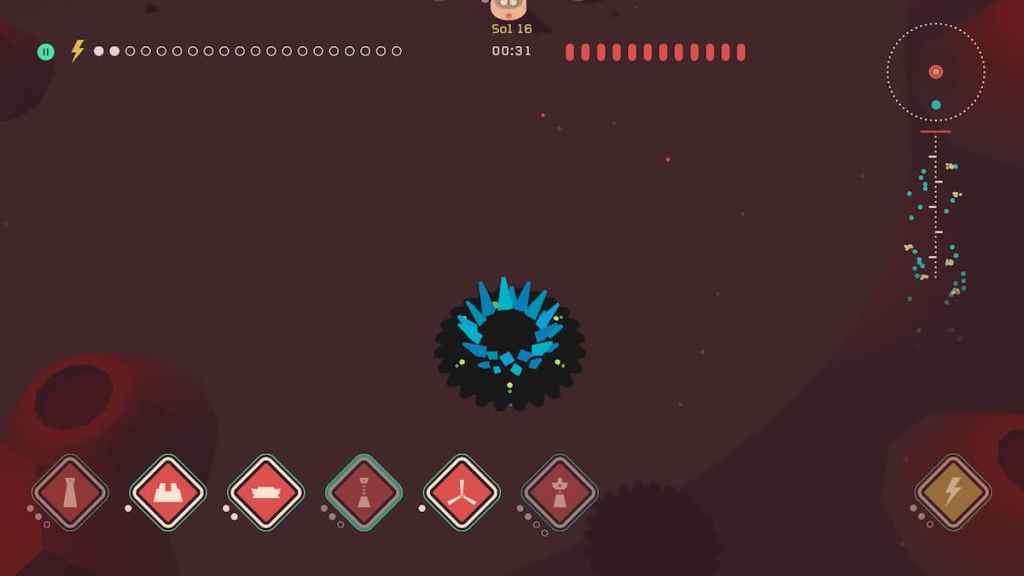
Don’t mind the bosses
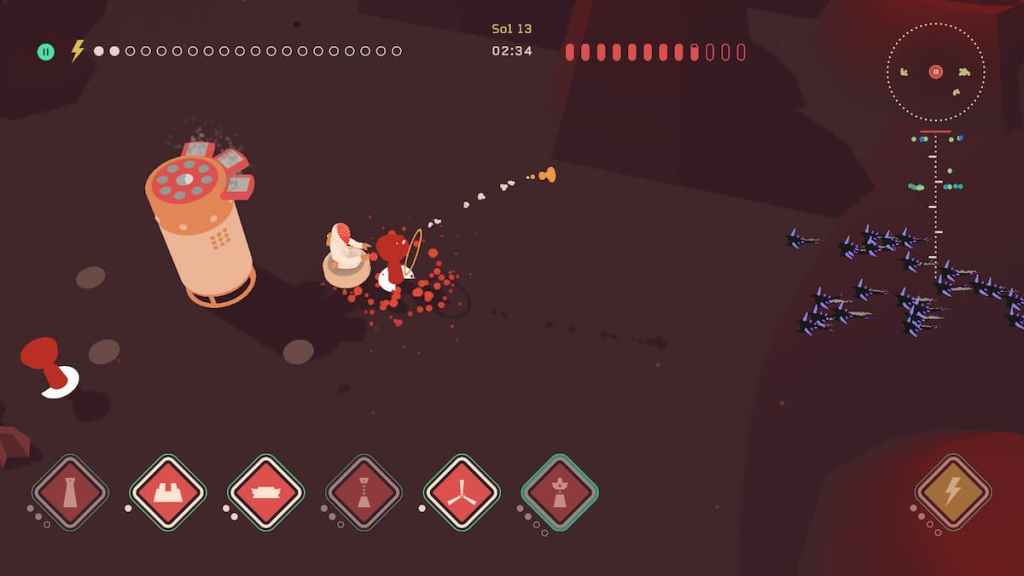
Escape From The Red Planet will soon be introducing boss martians. Enlarged versions of their existing counterparts, they exhibit hug health pools, where your blaster won’t even make a dent. These levels may seem scary, especially with the horde of other martians coming after you, but try to relax. The game gives you enough time to fend off the other martians whilst dealing with the big guy.
The strategy typically is to build up your solar economy as quickly as you can. Don’t really worry about fighting the boss until you do. Try to deal with the other martians yourself if you can, to save solar power and to save time. As often as you can, build powerful towers along the bottom lane to whittle down the boss’ health whilst you deal with the other threats.
Later bosses are quite challenging and will require slightly different strategies, but this is the basic model to follow. Build a strong economy first, then deal with other threats as best as you can yourself.
Quick tip for controller players…
When playing Escape From The Red Planet for the first time with my controller, I was very frustrated about the seeming lack of movement. I was pushing left and right on my left joystick, but my guy wasn’t moving to the adjacent lanes. I had to resort to using my mouse to click on the lane I wanted whilst using my controller for everything else.
This is due to a misunderstanding on my part, and a failure of teaching from the game’s part. To switch to another lane, you must push the joystick in that direction. For example, if I wanted to go to the upper-left lane (or the north-west lane), then I would hold the joystick to the left to get there. I would instead quickly tap the joystick to look in that exact location, and the character will go there. It is simple in practice.
The game lacks a control or keybind menu for starters, and the explanation is not clear. Don’t feel stupid if you didn’t get this right away.
We hope you enjoyed our Escape From The Red Planet beginner’s guide. You can head on over to our Facebook page to keep up with the latest of video game content. You may also be interested in our other Escape From The Red Planet content, such as every enemy type in the game.


Published: Mar 15, 2023 09:39 am