There has never been a better time for new players to start raiding in Destiny 2 than the Season of the Lost. Witch Queen is right around the corner, and with that, the rumors of legacy raids returning.
Speaking of returning raids, the Vault of Glass is the first raid that Bungie ever created in Destiny 1. Its new iteration is a little more complicated, but it’s still the most accessible raid that D2 has to offer right now. So, if you’re a beginner looking for a Destiny 2 Vault of Glass guide for Season 15, I have you covered.
Keep in mind, there are a lot of little nuances that I haven’t gone into here (like leaving one sky Harpy alive at Atheon to stop the next wave spawning). If I included them, this article would be 10,000 words long. Instead, I’ve covered the basics. You’ll learn all of the extra little pieces as you raid with different groups and get more experienced with the Vault.
What to Use for Vault of Glass in Season 15
The Destiny 2 Season 15 meta is all about fusion rifles, so if you have any good ones, use them. Think of weapons like:
- One Thousand Voices
- Cartesian Coordinate
- Null Composure
- Threaded Needle
These are all great options for the entire Vault of Glass raid, but I will be going through individual recommendations for each encounter.
If you don’t have any of the weapons that I list, ask your fireteam for loadout advice. If you’re in a beginner-friendly run, there will be plenty of people willing to help you out.
Opening the Vault of Glass
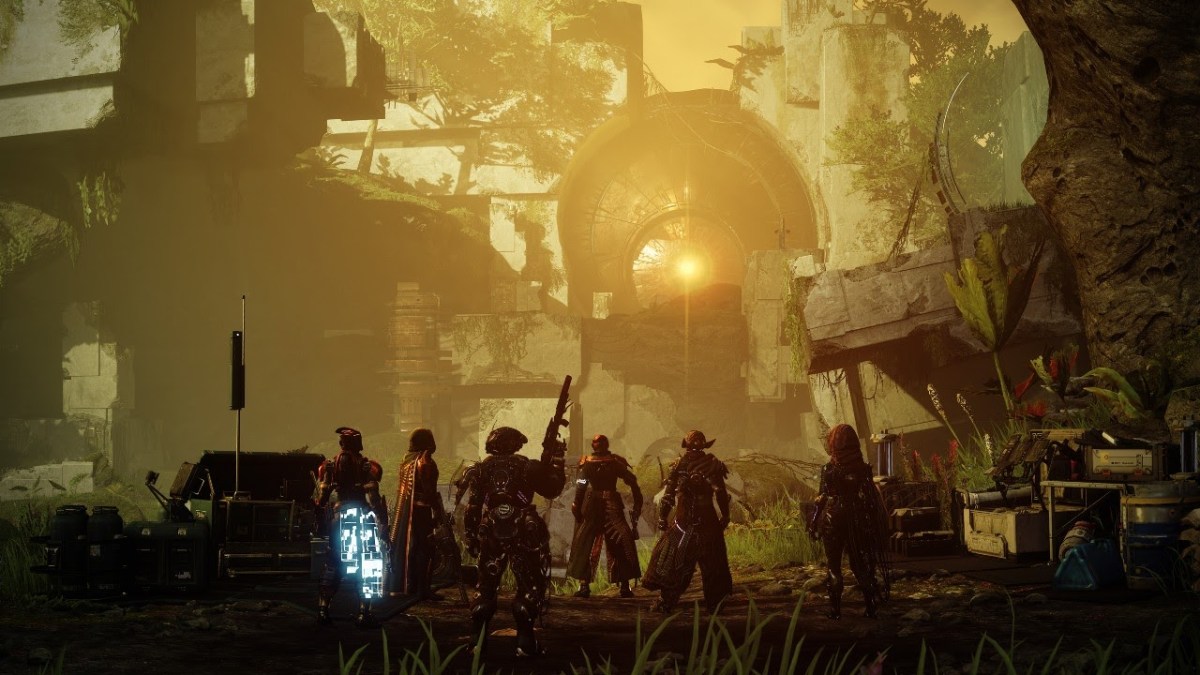
When you spawn into the arena, you’ll notice a big Vault door in front of you. In front of that is a digital Vex spire. Our objective here is to get that spire constructed to open the door.
There are three sides to this encounter: left, middle, and right. On each side, there will be a Vex plate. You need to stand on the plate for a few seconds to activate it. Once it’s activated, though, you can step off of it. Having all three plates active will allow the spire to be formed.
Your Fireteam will be split into three teams of two, one team to one plate. Everyone here has the same job – defend the plates long enough to open the door. Enjoy the simplicity while it lasts.
Forming the Spire Loadout
You will have two major problems during this encounter: Void-shield Minotaurs and Cyclopses. So, anything with high single-target damage will do fine, as will anything with Void element.
- Null Composure will one-shot the Minotaurs in this encounter.
- One Thousand Voices will one-shot the Cyclopses.
- Ascendancy is an alternative to kill Cyclopses.
- Threaded Needle is a general DPS alternative.
- Your subclass doesn’t really matter, so use what you feel comfortable with.
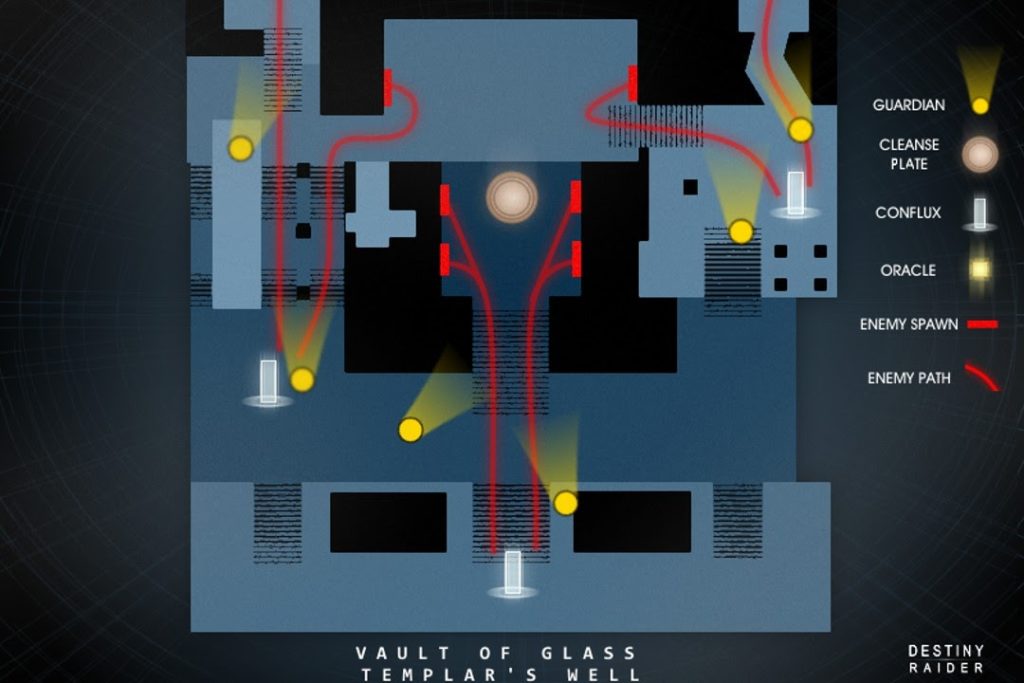
Templar’s Well – Marked for Negation
The next three encounters all take place in the same arena, so take some time to familiarize yourself with it.
Throughout those three encounters, there is one consistent mechanic that you need to be aware of – a debuff in the form of marked for negation.
There are two ways to get marked for negation: standing in a white puddle spawned when a Vex Fanatic dies, and shooting the wrong oracle on the oracles encounter.
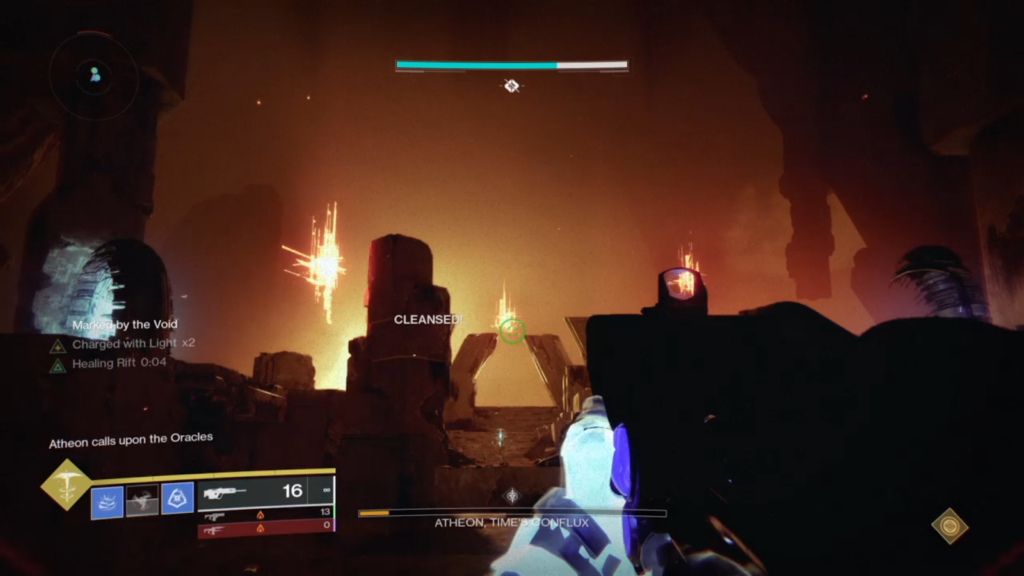
When marked, you need to cleanse yourself in the pool of light in the center of the arena. If you don’t, you will die when the Templar does a periodic action called the ‘Ritual of Negation’.
The catch is that once someone cleanses, the pool will despawn until the next Ritual of Negation, so if you’ve been marked by yourself, call it out and see if anyone else needs to cleanse. If not, go ahead and cleanse yourself.
If more than one person is marked, you need to meet at the pool of light and do a countdown to run into it at the same time.
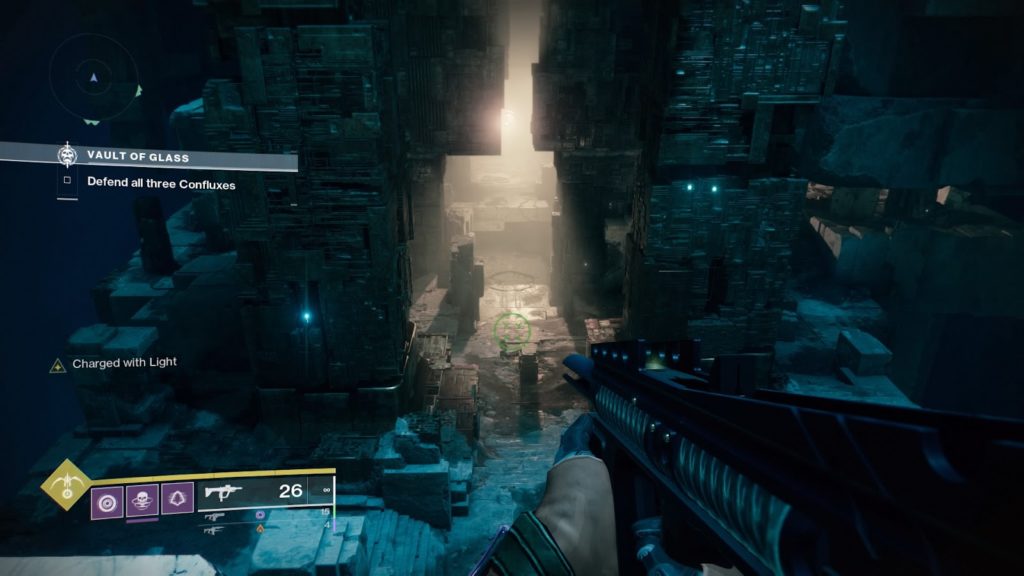
Confluxes
This encounter is referred to as a public encounter by seasoned raiders, and for good reason. It’s exactly the same as the ‘Spire Integration’ Vex public encounters you’ll stumble across on the likes of Europa.
Your Fireteam will stay in its split teams, and each team will take the same side as they had last time.
All you have to do here is stop trash mobs and Wyverns from sacrificing themselves to the conflux that you’re defending. You will also have to deal with one or two Overload champions.
The only conflux you’ll have to defend at the start of the encounter is the middle one. After a while, that will despawn and the right and left ones will spawn. Defend them and all three will spawn. Wyverns will periodically spawn in front of whatever confluxes are active, so plan accordingly. Hold out for a few minutes and the encounter will end, giving you a pinnacle loot chest.
Confluxes Loadout
This encounter is all about ad-clear and staying away from Vex Fanatics. There are Overloads that may require mods, as well as yellow-bar Wyverns that you need to be able to burst down quickly. There are also a ton of yellow-bar harpies that can be a nightmare to deal with for low-light players.
- Aeger’s Scepter for ad-control.
- One Thousand Voices for the Wyverns.
- Anything explosive for burst damage.
- Null Composure for the Harpies.
- Trinity Ghoul for ad-clear and Overloads.
- Run high-damage supers like Chaos Reach and Golden Gun for dealing with the Wyverns.
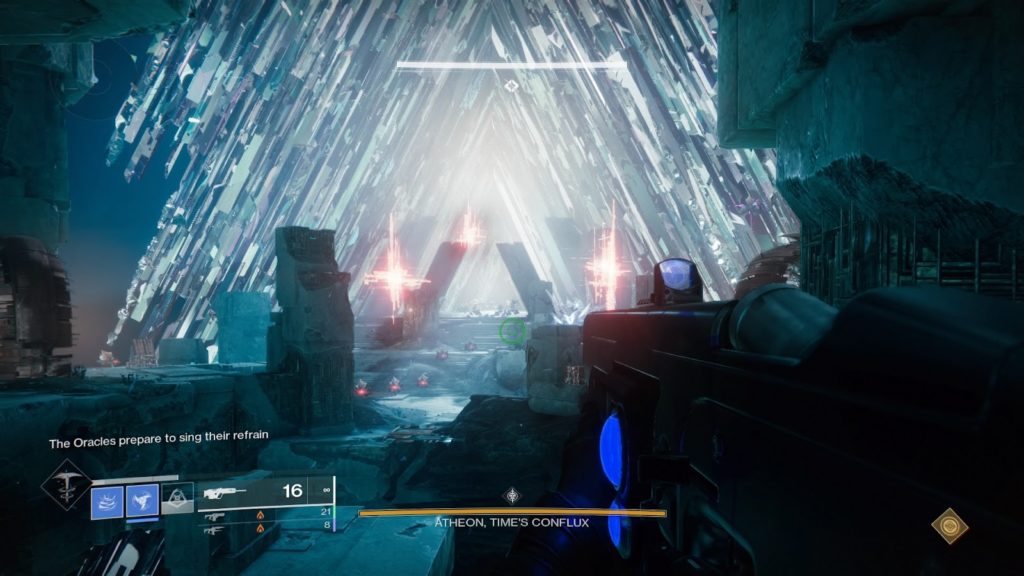
Seven Oracles, Five Rounds

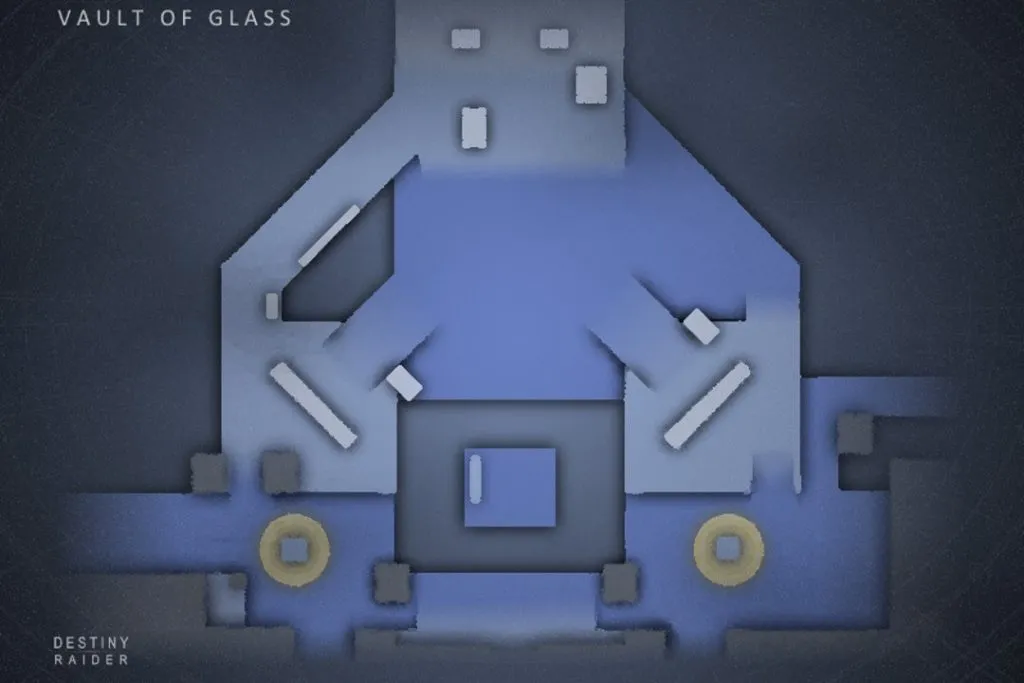
The oracles encounter adds in an important mechanic for later on down the road – shooting oracles in order. There will be seven oracles dotted around the map in pre-determined positions (see the map above for each oracle’s spawn point).
There will be five rounds for this encounter. Each round requires the team to shoot oracles in the order that they spawn. The oracles will spawn in order twice, then all of them will spawn in at the same time, at which point you can shoot them. The start of a round is announced by an audio cue.
The first round only requires three oracles to be shot. Each subsequent round adds an extra oracle, all the way up to seven in one round. Remember, they need to be shot in order and in the allotted time, otherwise, your team will be marked for negation.
As there are seven oracles, one Guardian will have to take two oracles. Everyone else can watch one spawn location. Decide who is taking which oracle before starting the encounter. They are numbered L1, L2, and L3 for left side, and R1, R2, and R3 for right side along with mid. L1 and R1 are closest to where you entered the arena. Once the round starts, make sure you call out your number if your oracle spawns, and call out the number when you shoot it.
If you do mess up a round, don’t worry. You will have to repeat that round, but the oracles will spawn in the same order once you all cleanse
If you’re raiding with an experienced Fireteam, chances are there are a few Guardians that will be able to take 3/4 of the Oracles by themselves, meaning the majority of your team will be dedicated to ad-clear – and there will be a lot of ads. Crowd control options like Trinity Ghoul and Ager’s Sceptre work wonders here.
Oracles Loadout
Hobgoblins are going to appear on the platforms outside the arena constantly in this encounter. There will also be a ton of ads spawning on all three sides, but specifically in middle. If you’re on ad-clear, you need something to deal with those numbers. On top of that, you’re going to want to run a weapon that can one-shot the oracles so you don’t run out of time.
- Threaded Needle can one-shot the Hobgoblins with a precision hit.
- Fusion rifles (Null Composure, Cartesian Coordinate) can one-shot the oracles.
- Xenophage also one-shots the oracles.
- For ad-clear, run supers like Silence and Squall, Chaos Reach, and Tian Hammers.
- Everyone else should be focusing on survivability, with Hunters specifically running invisibility.
Templar
Believe it or not, this will likely be the shortest encounter of the entire raid. With an experienced Fireteam, it’ll only last a minute or two.
There are three strategies: Legit method, die method, and cleanse method. Each team does it differently, so don’t be afraid to ask how you’re doing the encounter. I was 30-runs deep in Vault of Glass before I learned about the die method.
Legit Method
The legit method is the way that Bungie intended this encounter to be beaten. There will be one round of three oracle spawns similar to before, but with the middle oracle not being active as that’s where Templar is.
Once the three oracles have been shot in order, you will meet your team at a designated DPS spot and melt the boss from inside of a Warlock Well.
If you don’t shoot the oracles in time or the right order, your team will be marked for negation and have to cleanse.
Die Method (cheese)
Before the relic holder (more on them below) picks the relic up, all other fireteam members jump off the map at the back of the arena (where you entered).
When all five of you are dead, the relic holder will pick up the relic and hide. The oracles will spawn and run of time, marking everyone for negation at exactly 1:58 on the revive timer. Nobody but the relic holder will be marked as you’re all already dead, and because you died before the encounter started, you can still respawn.
Your team will respawn at 1:57, and start DPS from within a Well at a designated location.
Cleanse Method (cheese)
This method is by far the easiest. Rather than jumping off the map, your team will hide with the relic holder and cleanse once the oracles mark you all for negation. You then meet up at a designated spot to pop a Well and deal damage.
Relic Holder
The only role in this entire encounter is the relic holder. This player will not be able to do any damage.
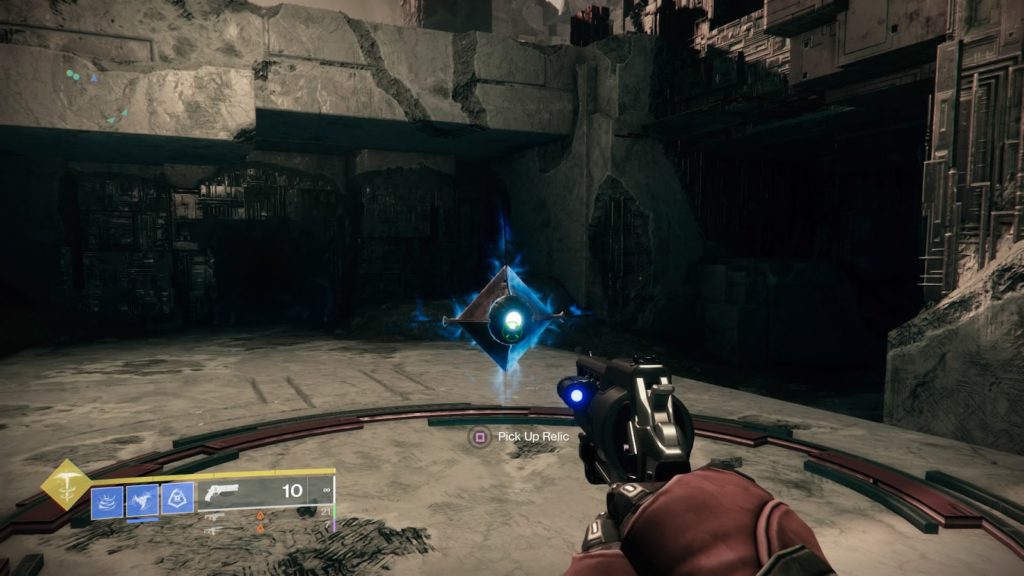
Instead, it’s their job to carry a relic that spawns in the center pool of light. Once they pick up the relic, the encounter begins.
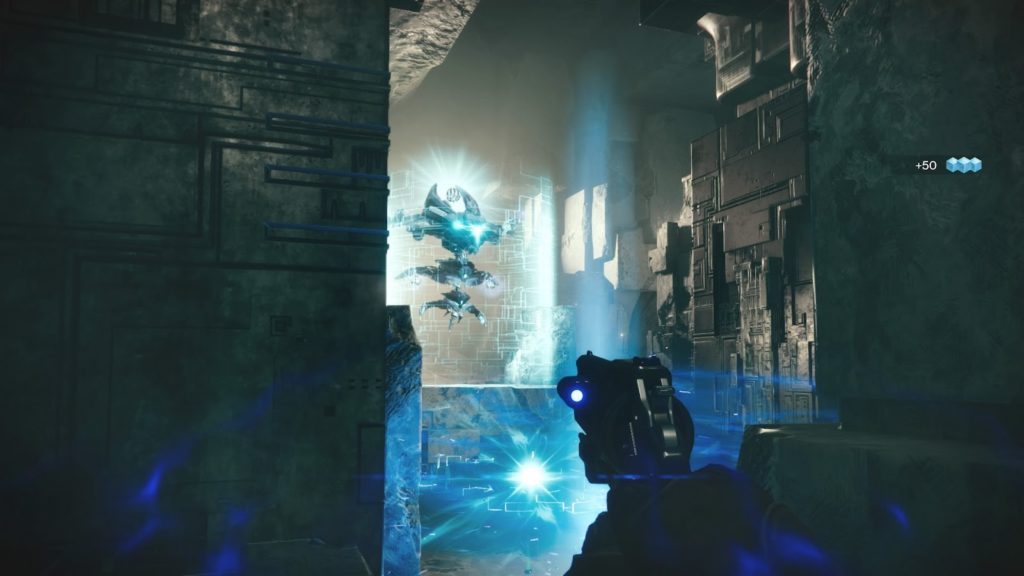
When Templar spawns, it will have an invincibility shield. Only the relic holder can break that shield. Specifically, the relic’s super ability can break it. The relic charges super incredibly quickly. By the time the oracles pop and mark everyone for negation, it will be charged.
The relic holder needs to shoot their super at the boss to take down its shield and start the DPS phase.
While the rest of the team does damage, the relic holder needs to run around looking for a big red ring in the arena. It will have a blue light shooting out from it. This is where the Templar is going to teleport. If it teleports, damage is over and you either have to do the legit method again or wipe.
There are only five different spawn locations for Templar’s teleports, so it’s easy to learn where you should be looking.
Templar Loadout
This encounter is all about DPS, so your fusion rifles are the way to go here. It doesn’t matter what you run in your kinetic slot. At all. You’ll only be using your energy and heavy weapons.
- Fusion rifles (Null Composure, Cartesian, 1K) will apply max stacks of particle deconstruction immediately and deal good damage.
- Linear fusion rifles like Threaded Needle will deal great damage.
- Witherhoard does wonders here.
- If you’re a Warlock, you need to be running Well of Radiance. If you have a lot of Warlocks, a few of them can run Chaos Reach.
- One Titan Bubble is great for a damage boost. Other Titans should run Missle with Cuirass of the Falling Star.
- Hunters can run Stasis for Focusing Lens, as well as Golden Gun. Just make sure you don’t use Tether as it cancels out Particle Deconstruction.
Gorgons
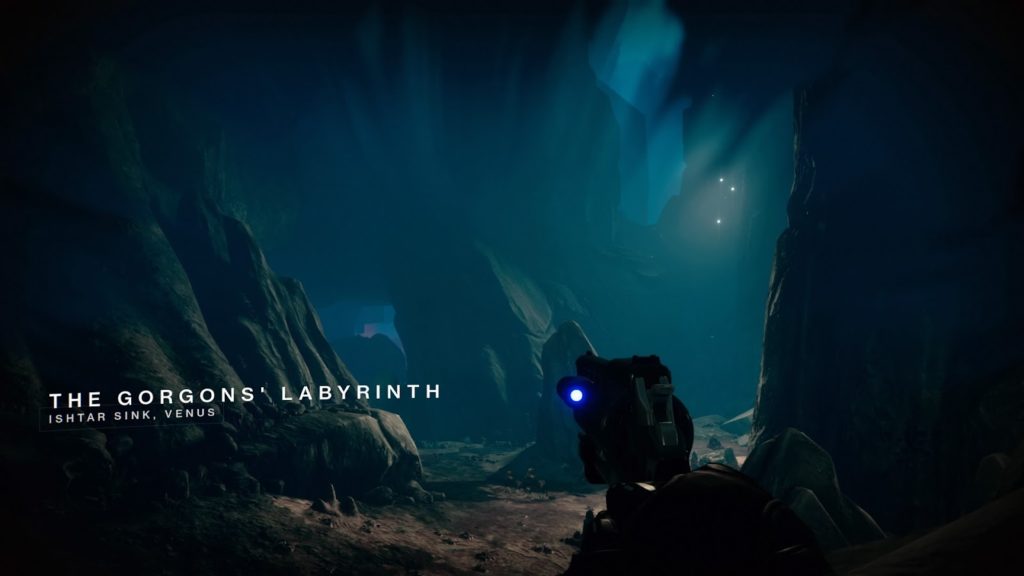
The Gorgons encounter is incredibly simple. It’s just a short maze with an optional secret chest. The maze is filled with roaming Harpies called ‘Gorgons’. If these Gorgons spot you, your team will wipe.
The only thing you need to do here is stay with the pack, don’t get too close to the roaming Harpies, and don’t use your abilities, or your ability jump. Doing any of these things will trigger those roaming Harpies.
Those Gorgons can’t see very well, but they have great hearing. Don’t be afraid to walk around one if it gets close, just make sure you’re not running or jumping.
Ironically, this encounter can take quite a few tries for newer players, so don’t worry if you’re messing up. Take your time and follow the route your team takes.
Gatekeeper
Gatekeeper involves once again splitting up the team. This time, you’re splitting up into roles.
In the arena (layout above), there are two sides: left and right. On each side, there is a plate that is used to activate a portal, and through those portals are two more areas. The left portal brings you to Mars, and the right portal brings you to Venus.
Your team will be split into the following roles:
- First relic.
- Second relic.
- Mars plate.
- First Mars.
- Venus Plate.
- First Venus.
In the center of this arena, there is a Hyrda called the Gatekeeper. When the Gatekeeper is dead, he will drop the same relic that you saw during the Templar boss fight. Picking it up starts the encounter.
The Mars and Venus plate players need to stand on their plates to activate their portals. Their only job is making sure their portals are up at all times.
These players will have to deal with Overload Champions, as well as additional Gatekeepers that will shut off the portals.
The players that are inside the Mars and Venus portal are defending a conflux (like the ones you saw before Templar) from ads. Eventually, both sides will get a mini-boss spawn. One side will get a Wyvern, and the other side will get a Praetorian Minotaur with an impenetrable shield.
That shield can only be taken down by the relic holder, so it’s first relic’s job to go into whichever portal has the Minotaur and kill it. The Mars and Venus players need to call out who got the Minotaur so that the relic holder knows which portal to go through. The right side is Venus, the left side is Mars.
When a player holding the relic goes through a portal, they will be given a debuff that stops them from going through the portal again for about 30 seconds. When they kill the Minotaur, they drop the relic to whoever was inside the portal first so that they take it back outside.
Once the relic is back in the starting arena, the player drops it to the second relic player, and they bring it into the other portal to kill the next Minotaur. The invincible Minotaur alternates spawn, so if it spawns on Venus first, it will spawn on Mars next, and so on.
You keep alternating the relic, dropping it to players without the debuff until a final conflux appears in the center of the arena. At that point, all players make their way to it and defend it. There will be three more invincible Minotaurs that spawn here. Kill them, along with three Wyverns, and you’re done with the encounter.
Gatekeeper Loadout
What you run during Gatekeeper will depend on what job you do. If you’re defending a plate, you will need an Overload weapon. Trinity Ghoul works great for that. If you’re going to be going in and out of portals, make sure you bring something that can take care of ads and Wyverns. Ager’s Scepter and Stasis are great because they can freeze the shielded Minotaurs in place, giving your relic holder more time to get there.
- Trinity Ghoul with Overload Bow is a T-1 option for anyone defending a plate.
- Ager’s Scepter is a god-send for defending the confluxes inside the portals.
- Threaded Needle works well with Stasis as Wyvern’s crit-spots are open when they’re frozen.
- Any stasis subclass will do great here.
- Golden Gun, Chaos Reach, and Missle Titan can make quick work of the Wyverns and the Gatekeepers.
Atheon
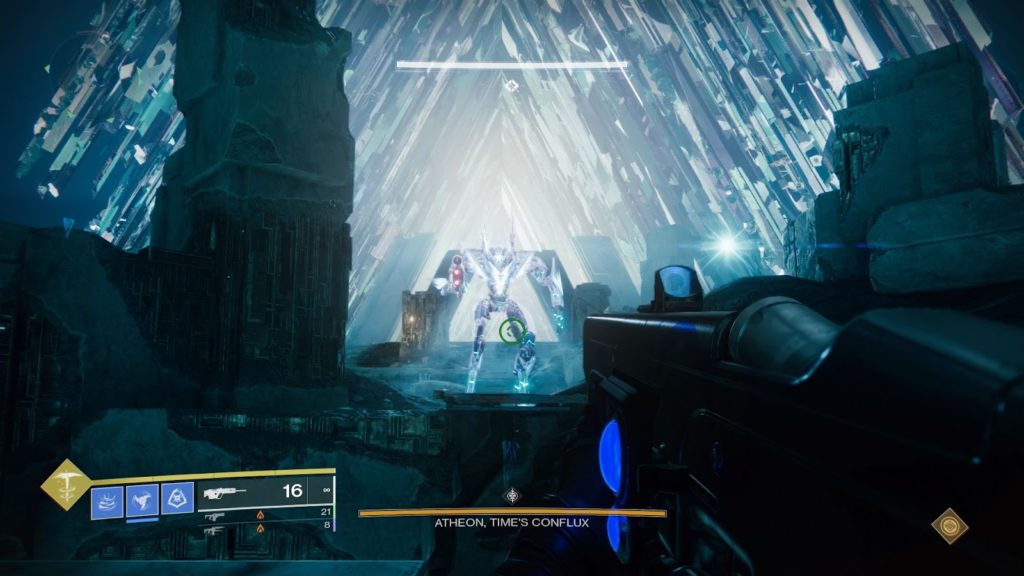
This encounter will see your fireteam separated into two teams of three. There’s a catch, though. The teams are random.
When you start the encounter, Atheon will spawn in the middle of the arena. After a minute or two, he will teleport three random players to either Mars or Venus.
If You’re Teleported
If you’re one of the three that gets teleported, then you need to immediately make your way to the opposite side of the area. Go straight, and keep going until you hit the back wall. Then turn around and look slightly up.
One member of your fireteam will have to pick up a relic that will be located where you spawn, so make sure you communicate who’s taking it. While you’re in this area, your screen will continuously start to turn black. It’s the relic holder’s job to ‘cleanse’ you periodically (resetting your screen), by holding down the relevant key (left trigger on console). You also need to tell the outside team whether you’ve been teleported to Mars or Venus.
One designated player from outside will give you a call out. Oracles will spawn in the sky and you need to shoot them in the order that is called out. There will be three rounds of three oracles.
After you destroy all three rounds of oracles, make your way to the portal, exit it and allow the relic holder to cleanse you one last time. Then you can start dealing damage.
Keep in mind that destroying the last oracle with start the damage phase, so the teleported players will get much less time than the outside ones to damage Atheon.
If You’re Not Teleported
If you’re not teleported, you have one of two jobs. You’re either calling out the spawn order of the oracles for the teleported players, or you’re opening whichever portal they call out (Venus = right / Mars = left) by standing on the correct plate. There are six oracle spawns: back and front for left, middle, and right. A round of oracles might be back front right, front middle, back middle (as pictured above).
During this phase, special Harpies called Supplicants will spawn and rush the plates. These supplicants are suiciders and will one-shot you if they blow up in your face. Make sure you’re staying off the ground to avoid getting hit by them.
Once the third round of oracles has been destroyed, the damage phase starts. Do as much DPS as you can from your designated DPS position, then rinse and repeat until Atheon is dead.
Then, you’re done. Congratulations! You’ve just beaten the Vault of Glass!
Imminent Detain
When there are 15 seconds left in the damage phase, one player at random will see ‘Imminent Detain’ in their killfeed. They need to get away from the group. Once the detainment timer is up, they will be trapped in a bubble. Any nearby players will also get trapped in the bubble. If you’re still with the team when this happens, you will wipe.
If you’re getting detained, either move in front or behind your fireteam and call it out. Your teammates will shoot you out of the bubble and you can continue to do damage.
Atheon Loadout
You’re going to want to run your best DPS weapons for this encounter. Linear fusion rifles and regular fusion rifles will work great, as well as if you managed to get the Ascendancy rocket launcher from ranking up your vendors this season. You also want to be using a scout rifle in your kinetic slot to shoot those oracles if you get teleported.
- Any kinetic scout rifle.
- Fusion rifles (Null Composure, Cartesian Coordinate, 1K).
- Linear fusion rifles (Threaded Needle, Tarantula).
- Your subclass and exotic armor choices here are the same as Templar: Wells, Chaos Reach, Bubbles, Cuirass Missle Titans, Stasis for Focusing Lens, and Golden Gun.
That’s it for our Destiny 2 Vault of Glass guide for Season 15. It should give you all the information you need to get started.


Published: Nov 30, 2021 09:09 pm