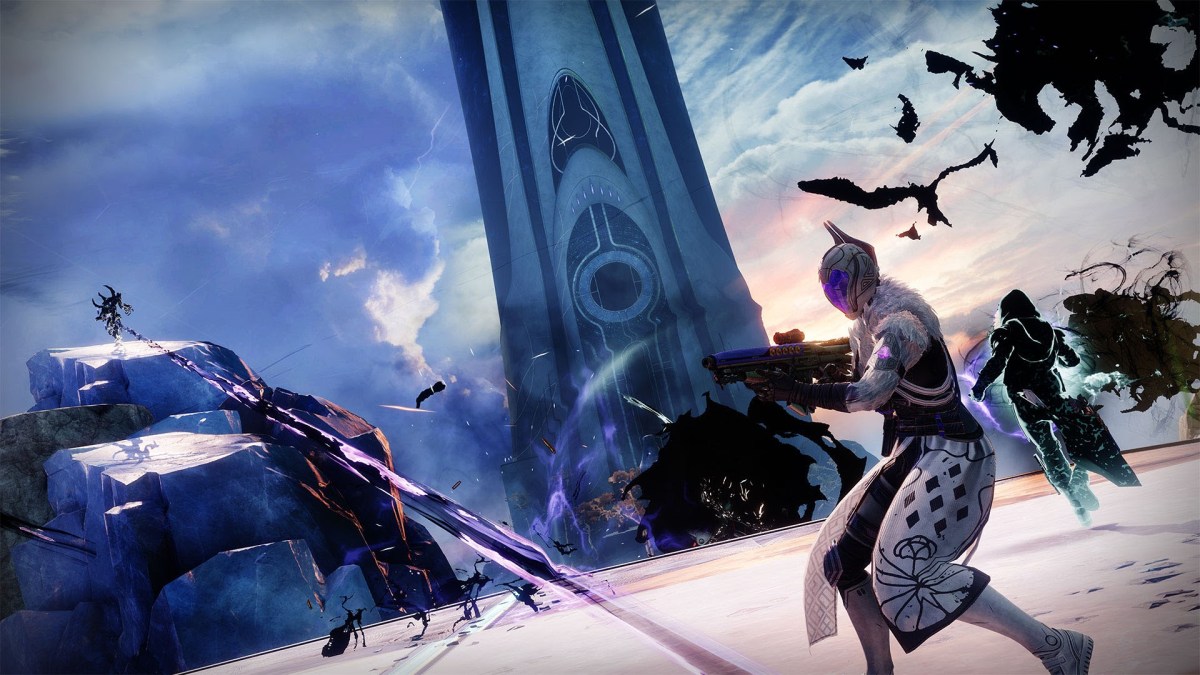
Season of the Lost has come to Destiny 2 and with it two brand new activities. The first is Shattered Realm, which is essentially a new tack on the Shattered Throne. The second activity, Astral Alignment, is a little bit more complicated than that.
We’re going to walk you through a complete run of Astral Alignment. It’s a six-man activity, so there are raid-like mechanics involved. It’s not as simple as “go to A” and “kill B.”
How to Complete the Astral Alignment Offensive in Destiny 2
Step 1. Charging the Compass
Completing the first step of the Astral Alignment Offensive is simple. You’ll start in the Blind Well and have to clear the area of enemies. It’s that easy.
Things aren’t going to stay that simple for long, though.
Step 2. Activating the Beacon
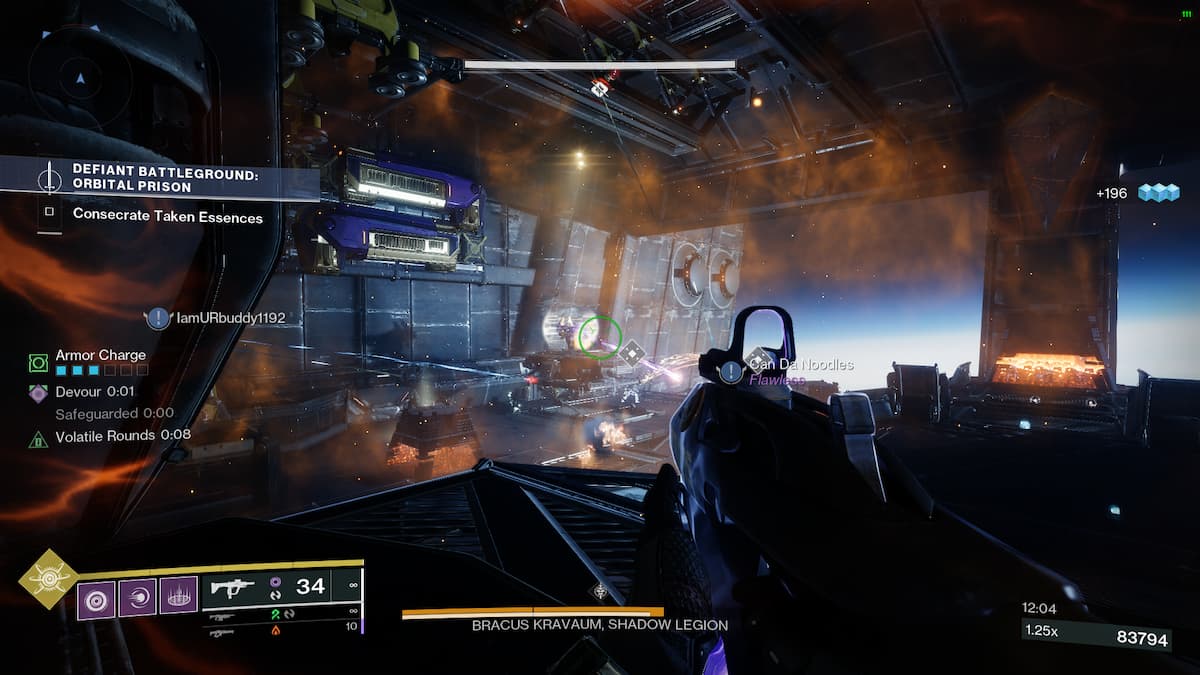
Step 2 is effectively ripped from Last Wish. You’re going to be dunking Taken Essence into different locations to collapse Taken rifts.
The Essence will drop from the Eyes of Xivu Arath – you’ll know them when you see them. When you pick up an Essence, your HUD will direct you to the correct spot to dunk it. You only have 45 seconds to do so, but you can shoot enemies with the Essence.
Once your Fireteam has dunked enough Essence, you can move onto the next mechanic.
Step 3. Preventing the Ether Harvest or Installing the Batteries
You’re going to get one of two possible objectives for this step.
Preventing the Ether Harvest is the simplest of the two and functions like a harder version of the Ether Ritual public event. If you’re tasked with this, all you have to do is defend some Servitors and shoot down any Ether Balls that come flying your way.
Installing the batteries is a little more complicated, though. You’re going to be charged with transporting Paracausal Batteries to fuel the rest of your adventure. This step functions almost identically to repairing the Siege Engine from Destiny 1’s Wrath of the Machine.
The batteries will slow you down to a snail’s pace and can only be carried for 18 seconds. Once you drop one, you’ll be exhausted and another Fireteam member will have to carry it.
Step 4. Retrieving the Compass
Boss fight time. For this, you’re going to be revisiting the mechanics from step 2.
In the fight, the boss will get an impenetrable Taken shield. To destroy the shield, keep your eye on your HUD for a “Taken Pylon” notification. Once that happens, rush the pylon, destroy the enemies around it, and pick up the Taken Essence that spawns. You can then use the Essence to destroy the boss’ shield which will give you a damage phase.
All you have to do is repeat this process until the boss is dead and you’re done!






Published: Aug 25, 2021 04:36 pm