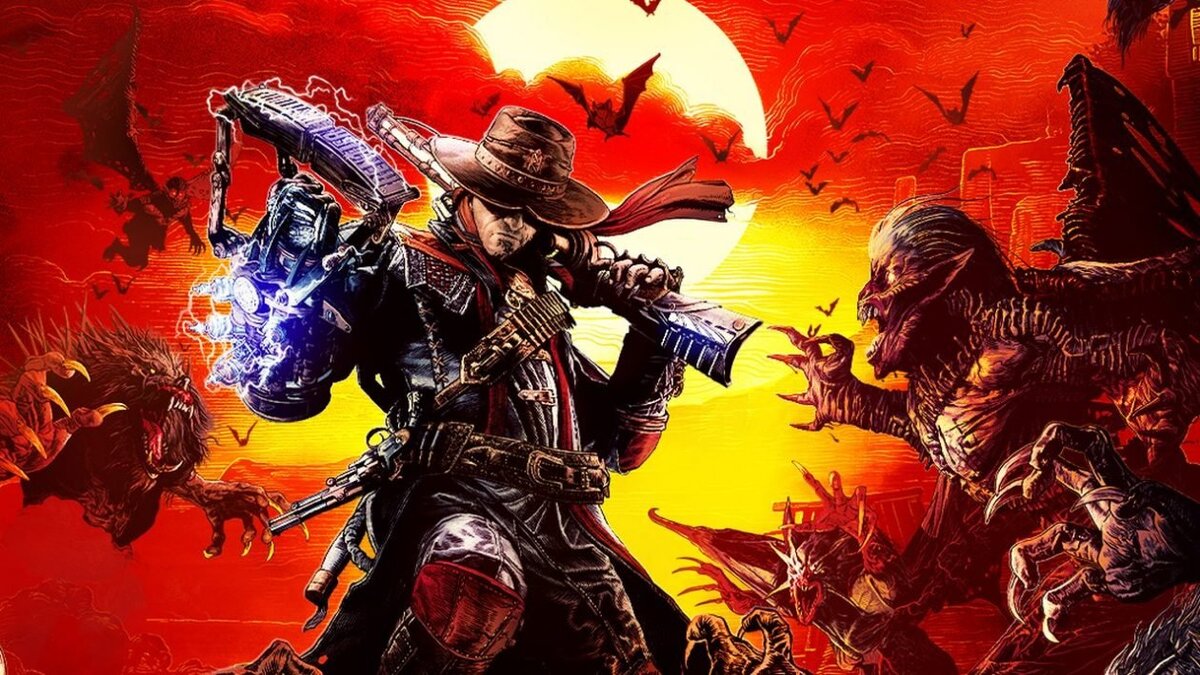
Evil West has a whopping 401 items to obtain across 16 chapters. With the majority of them being Bucks pickups, here are the fewer but just as important Lore pieces to discover. For any level that goes unmentioned, Lore pieces are not to be discovered within them. This does not omit the pieces you collect from treasure chests – such as skins and other customisation options.
Recommended Videos
Remember that the game hides its chapter select within its main menu. You can replay chapters to pinpoint and pick up any items you missed as helpfully displayed and tracked in this same screen.
Level One
- Fragment of Inventory – Found in the single train carriage.
- Chester Morgan’s Letter – Follow the burning path but stick to the right to pick this up beside a burnt down train carriage.
Level Two
- Familiar Tattoo Project – Found in the abandoned barn to the left of the above house. Simply turn left as you come out of the house that contained the Ghost scarf and jump over the chained-up opening.
- Peter D’Abano’s Notes 1 – Found on the path once bypassing the force field and crossing over into it. Shows up once clearing the first horded area of this location – you can’t miss it.
- Peter D’Abano’s Notes 2 – At eye level once getting through the gate.
- Peter D’Abano’s Notes 3 – Do not jump over the chained up ledge after coming up to it from the left. Stick to the left and you will see this pickup glowing in the distance.
Level Three
- Daily Mail News 1 – Located within the spawn point of this level. Go around and behind the horse and carriage on the right side of the manor.
- President Lincoln and William Rentier – Go into the manor and within that exact hall room, head to the left where this item will be sitting atop a table.
- Daily Mail News 2 – Go into the room on your right from this item pickup. This article piece will be on the far left desk.
- Ri Files – Within this same room, head straight and look towards the bookshelf on the right wall for this pickup item.
- Jesse among Ri Cadets – Go further into the room until you hit the other end of it. Turn right and a small table in the left corner will have this item atop it.
- A portrait of William Rentier – After the first cutscene of the chapter, another room opens up in this area. Go through it whenever you advance the story enough and pick up this item on the right presented on a chair.
- Civil War Time Photo – Head back into the main hall and go up the stairs. Take a left and this item pickup will be immediately in shot.
- First Prototype of the Gauntlet – Go further down this hallway until you hit the midsection opposite the stairs. The item will be right here in the middle.
- Jesse’s Great Grandfather – Once pulling yourself up and heading through a green laboratory setting of a room, go all the way around it and this item will be in your line of sight.
Level Five
- Emila and Vergil in Calico – On the desk within the exact room the Chapter begins in.
- Vergil’s Curriculum – Right next to the Perk Resetter on the table besides it
- Agent Bloom’s Bestiary 1 – Take a right after the horde of enemies in the open mountain area. Go past the dimly lit, watery path and this item can be clearly seen ahead of you.
- Agent Bloom’s Bestiary 2 – Once bringing down the makeshift bridge after a fight in the open against a horde, take the only path through and come across this one up ahead.
- Agent Bloom’s Bestiary 3 – The last lore piece to pick up in this level – easy to stumble on due to the linear path at the end section of this level.
Level Six
- William Rentier Writings – Above the bar, sitting atop a luggage case directly above it.
- Emilia’s Promotion Letter – Up the stairs and tucked into the corner of the second landing from where Agent Townsend stands.
- Baxter’s Miner Letter 1 – Directly opposite to the crate you would have destroyed to find 113 Bucks just beforehand. It is on top of a barrel in the right corner.
- William and The Baxter Crew – After the mass horde fight outside, head into the house located on the left.
- A Medallion – From here, do not jump down from this location. Bypass the chained-up drop point just outside this area and go past the hurdle on the right of it instead. This pickup will be shining just ahead of you.
- Baxter’s Miner Letter 2 – When bringing the two bridge intersections down, the left side button will also have this pickup nearby it.
- A Torn Piece of Paper – Knock down the chained-up wall in the mines to find this sitting atop a barrel.
Level Seven
- Daily Mail News 3 – Within the same room the level starts you off in, just opposite the first cash pickup.
- Emilia’s Medical Arts Diploma – Within the small and bloodied up operation room just outside the main spawn room.
- Felicity’s Diary 1 – From the horde of enemy spawn point, duck under a downed tree to reach the area that holds this item. It will be to the right of you.
- Felicity’s Letter to Sawmill Workers – Go around and into the house on a slight hill that the camera will focus in on. This item will be to the right of you as you go around the house and through it.
- Felicity’s Diary 2 – Found at the bottom of the tree with three leech vines coming from below it.
Level Eight
- Establishment of the Calico’s Outpost – Next to the Perk Resetter where the NPCs will be standing next to the table beside it.
- Emilia’s Curriculum – Found round the back of the same room Level Seven starts you off in. The one where Emilia does her work in.
- Orchid de la Vida – Found next to the Bucks pickup of 84. It is in the corner on the ground.
- Susan – Once clearing the big horde of enemies after investigating and following Edgar’s tracks, run straight for the chained-up hurdle to find an open space where “Susan” can be picked up.
Level Nine
- Grant of Land – Back in the main operations room of the department where both of the first pickups of level seven and eight start off with. This will be on the corner of the desk as you come through the door.
- Garrow’s Secretary Report 1 – The hardest to miss of all the pickups since it sits on the linear path you must take to advance the story.
- Garrow’s Secretary Report 2 – Found just before exiting the barn next to a chain to get to its second landing.
Level Ten
- Daily Mail News 4 – Found to the left of the engineering room, tucked into the corner just past two NPCs.
- State Courier – Is up the stairs and at the far end of the same hub area.
- Felicity’s Diary 3 – Once pulling yourself up and into a big brawl space, win the fight and run straight up with a crystal formation will draw your attention to this item here.
- Felicity’s Diary 4 – Found within the spacious barn on top of a stack of barrels just before its entrance.
- Felicity’s Diary 5 – Found in the corner of even more crystalised formations. This is just outside of a balcony in the darkest corner of the map here.
- Felicity’s Diary 6 – Very last possible pickup of the chapter, found on an empty cart to the left.
Level Eleven
- 7 Years Old Kid Drawing – Head through the winding path of tight buildings on the one and only path into this desolate house. To the right this will be on top of a table.
- Grey Oaks Resident Letter 1 – Found alongside the crashing waves and tree trunk you can leap over. This will be to the left of the TNT crate.
- Grey Oaks Resident Letter 2 – After climbing up and over a ledge, this will be right ahead on the linear path you will be sticking to.
Level Twelve
- Agent’s Letter to the Ri Crew – After winning the first enemy horded area, go to the left where a walled off house is. Destroy it and pick up the item in it.
- President Chester Arthur’s Letter – Found on the landing with one of the powered off circuits you need to turn on. This will have a TNT crate in the same shot.
- William Rentier’s Letter 1 – Punch through the wall after crossing over to the area that only has this path to go through. This will be next to a Perk Resetter.
Level Thirteen
- A Manuel by William Rentier – Go down into and pass through the basement and into the engineering room. This will be to the left of the entrance.
- Thomas Edison Visiting Calico – On the table next to the home hub’s Perk Resetter.
- A Fragment of a Letter from Chester Morgan – At the very back of the area, behind the knocked down carriage (to the right of it).
- A Letter from Chester Morgan – Found within the cave on the right of a crate with 106 Bucks in it.
Level Fourteen
- William Rentier’s Writings 2 – After shimming your way through a webbed off area, this will be sitting on a stack of barrels just ahead of you.
- William Rentier’s Writings 3 – Go through the train carriage and destroy the walled off room right ahead of you to see this pickup come in shot.
- William Rentier Letter – On a barrel in the same area as a TNT that hides the very last pickup of the chapter. Two trains are converged in this small sector to make the positioning of both these pickups easy to notice.
Level Fifteen
- A Drawing by Young Felicity – Found in the bank that is the focal point of the big arena area of this level. Go through it to find Felicity’s hideout, but just before reaching it, turn right to pick this item up from the receptionist desk.
- Peter D’Abano and Felicity – Found in the farthest corner of the top landing where bookshelves are toppled over.
That’s all when it comes to every single Lore collectible in Evil West!
Related: How to Unlock Skins in Evil West





Published: Nov 30, 2022 05:16 pm