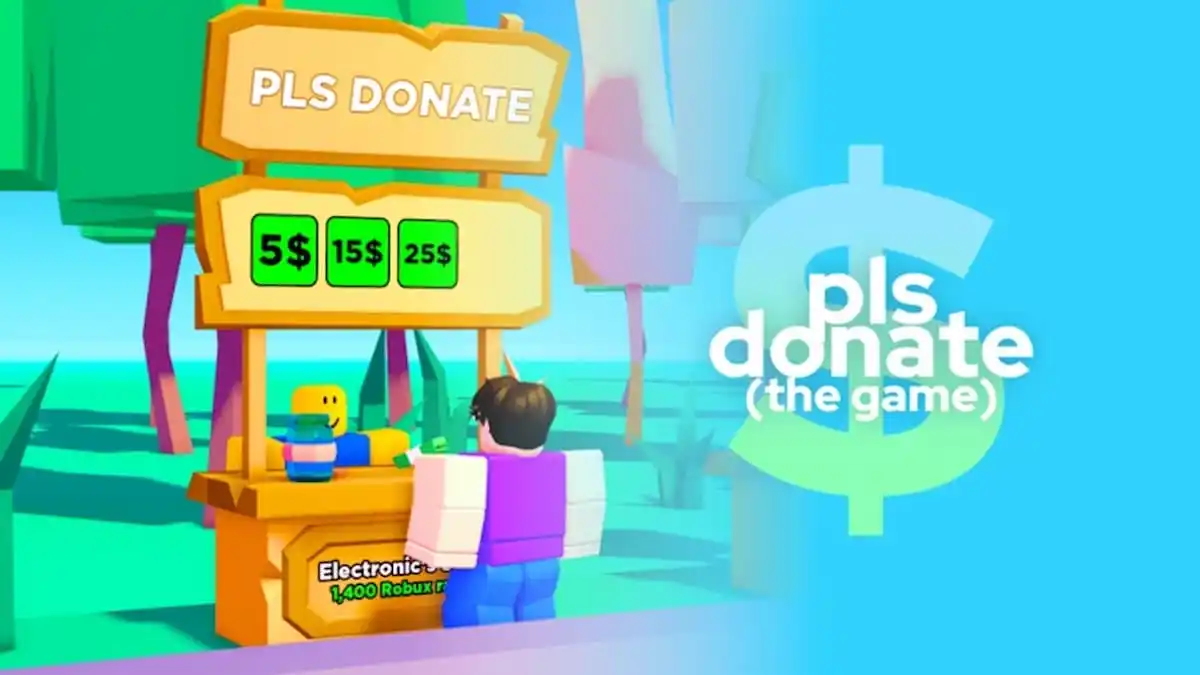
PLS DONATE is an experience developed by haz3mn for the Roblox platform. It’s one of the most unique experiences we’ve seen. This is because the sole point behind it seems to be creating a space for digital advertising and the advancement of online brands. In the experience, players can claim unclaimed stands and sell in-game clothing or gamepasses for the platform’s currency, Robux.
But, if you find yourself getting confused at how to make a gamepass for PLS DONATE, keep reading! We’ll teach you step-by-step how you can create your own gamepass and begin accepting donations!
How to Make a Gamepass for PLS DONATE
Interestingly enough, this process doesn’t require much to be done within PLS DONATE. In fact, most of the work is done outside the game. To start, go into the Roblox website and click CREATE in the top bar. Once it loads, click MANAGE MY EXPERIENCES, which is in smaller text beneath the big START CREATING button. If all is as it should be up to this point, you should be taken to a page called EXPERIENCES.
In the left-hand list, click PASSES. You most likely don’t have any passes, so ignore the bottom half of this page in favor of the top half. You should see a form with CREATE A PASS at the top. First, click CHOOSE FILE to assign whatever image you’d like to your gamepass. Then, give your pass a name and write a brief description for it so people know just what it is that they’re purchasing!
Click PREVIEW, and you’ll be shown a preview of your pass. Then, click VERIFY UPLOAD. If you did everything correctly, you should now see your pass in your list of PASSES. But, there’s still one big step left, and that’s assigning value to your pass! Locate the gear icon to the right of your pass and click it. In the drop-down menu, click CONFIGURE. Then, in the menu to the left, click SALES. You’ll likely only see one option in this menu, ITEM FOR SALE, which needs to be toggled ‘on.’
It’ll then be up to you to determine how much you’d like to sell your gamepass for. No matter what, keep in mind that you’ll make 70% of that total cost, the other 30% going to Roblox. Then, click SAVE when you have a price that you’re satisfied with. Lastly, head into PLS DONATE and claim a stand. As soon as the stand is in your name, any passes or items you’ve created should automatically be available to buy.
We hope you found this piece on PLS DONATE helpful! For more content just like this, consider checking out Gamer Journalist on Facebook! And, in the meantime, take a look at some of our other content, like How To Change Text Color In Roblox Pls Donate and Roblox Pls Donate – How to get Donations!







Published: Feb 2, 2023 03:07 pm