While roaming through a massive map in Battlebit Remastered with dozens and dozens of enemies shooting at you it’s not always convenient to check how you can setup your guns the best or how you can use certain features. You just want to shoot at people and rack up the best score!
I have to admit that setting up Bipod is one of those practical things that I always thought about too late and was too lazy to check during a match. But one day I decided to finally resolve this and see what kind of benefits it can bring to my gameplay. Keep reading to find out everything you need to know about the Bipod in Battlebit Remastered.
Related: Best Sniper in Battlebit Remastered
How to Set Up Bipod in Battlebit Remastered
You can easily set up Bipod by going to the Underbarrel Rail attachment list and clicking on it at the top of the list. Once you’ve selected it it will be automatically equipped and deployed as you play your game.
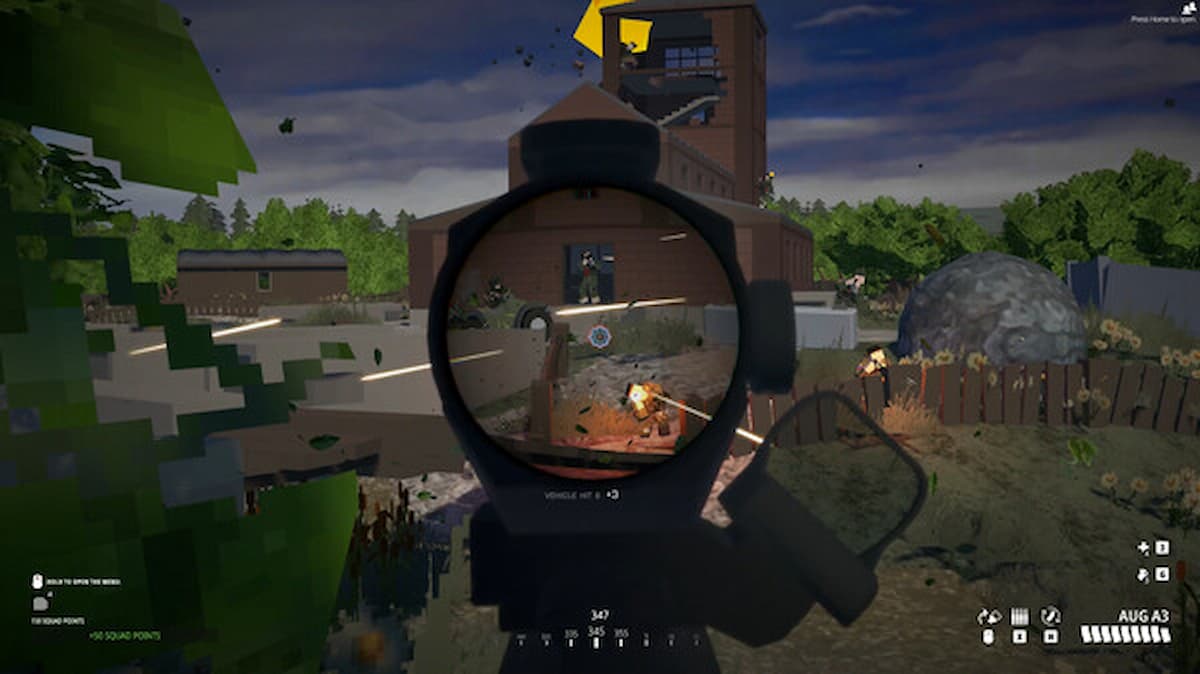
When you’re in a match and use either light machine guns or snipers that use the Bipod, you simply need to go behind any cover or lie on top of a flat surface, aim down your enemies, and a small Bipod icon will appear in the bottom of your screen. That means that the Bipod is deployed and is giving you a better balance of your weapon and reduced recoil.
As we mentioned, snipers and LMGs benefit the most from Bipod use. And even though the sniper is created for picking off single targets and LMGs are made for suppressing fire you will feel immense benefits when using the Bipod with both. Your accuracy and overall gameplay will be improved and you’ll feel more confident both attacking checkpoints and defending them.
We hope your aim will improve with the use of the mighty Bipod! If you want to read more about Battlebit Remastered we suggest checking out How to Unlock Honey Badger in Battlebit Remastered and How to Heal in Battlebit Remastered. You can join Gamer Journalist on Facebook and follow up with the latest news and guides from the gaming industry.







Published: Jul 25, 2023 12:27 pm