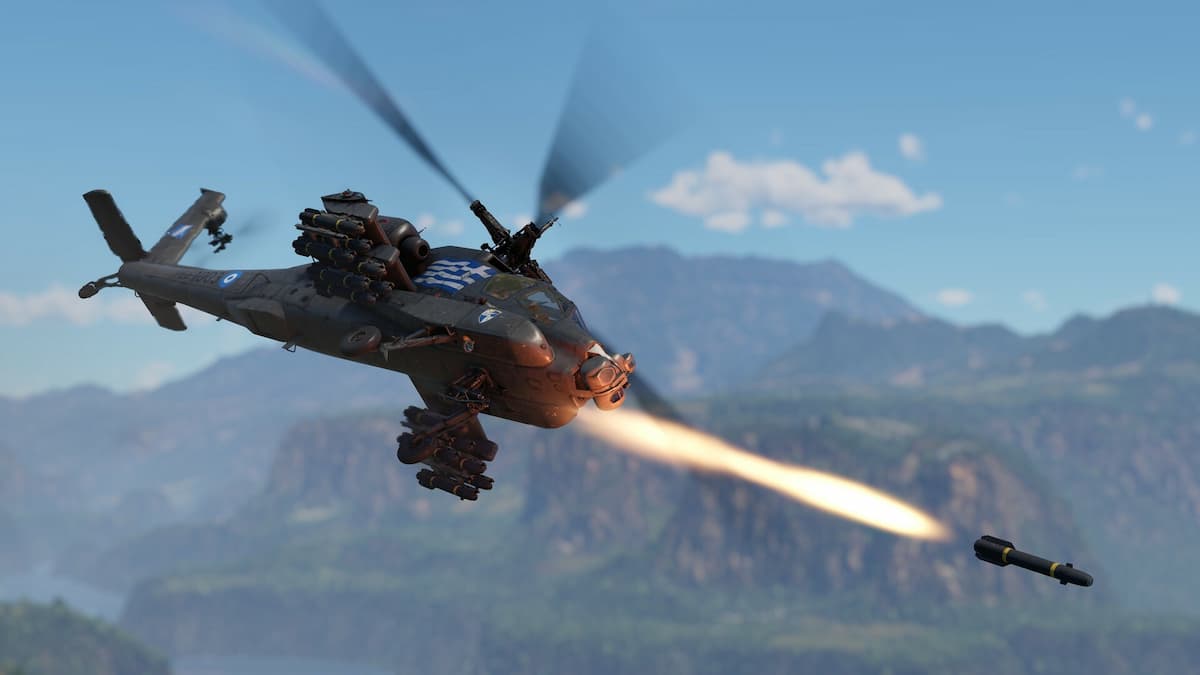
Custom skins in games have always been appealing for me. I remember when I used to play Jedi Knight II: Jedi Outcast and I completely overload my game files with custom content and skins. One time you could be Han Solo, and then you could be Kermit the Frog. It was insane. However, in games like War Thunder, realism, fidelity and overall beauty are the main course of the meal. I can dig and understand that, but sometimes a little wackiness can be fun, you know. Anyway, here is how to install custom skins in War Thunder.
How to Install Custom Skins in War Thunder
Don’t worry, you won’t brick your system or block your account if you follow the below stages. Just keep things at bay and use the official site we will provide to you in order for you safely install new skins in War Thunder. I know getting to do things like the ones below can be a little bit scary, but don’t worry. As a rule of thumb, don’t trust any website that wants your bank account, that tells you that you have a family member that has given you his or her heritage and no, don’t you ever erase System32, please. Here is how to install custom skins in War Thunder.
- Visit the War Thunder Live website and click on the Camouflages tab. Feel free to choose the skin you like and download it. Unzip the content’s to a folder in the desktop and keep it there for now.
- Open War Thunder and, while in-game, right-click on your vehicle and select Customization.
- A menu will open up in the lower right corner of the screen. You will see a Magic Wand button. Click it to create a User Skin template. The name of the template’s folder in the UserSkins folder will appear, so be sure to remember it or note it down.
- On Windows, travel all the way to the UserSkins folder. It can usually be found at C:\Program Files (x86)\Gajin\War Thunder\UserSkins for the Launcher version of the game or C:\Program Files (x86)\Steam\steamapps\common\War Thunder\UserSkins for the Steam version of the game, although this can all be different for each user.
- Locate the folder created when you clicked on the Magic Wand button. Copy the contents of your previous downloaded custom skin into said folder and replace anything there is to replace.
- In War Thunder, change the User Skin option of the lower right menu from Disabled to the name of the template folder (you can change it later, and it will be displayed correctly as well). Your new skin will be displayed in-game.
Related: How to Test Fly F4D-1 in War Thunder
Now that your customization capabilities for War Thunder have found its genesis, be sure to pick up the best and most appealing skins you will be able to find. Remember though, only you will be able to see the difference, oh but what an aesthetic difference it is indeed. Have fun with your custom skins in War Thunder.
War Tunder is available on PlayStation 5, PlayStation 4, Xbox One, Xbox Series X/S, Windows, Linux and macOS. Please check out Gamer Journalist on Facebook to join the discussion and keep up to date with our content. You might also like to check out or guides on How to Get Golden Eagles in War Thunder and How to Use Guided Bombs in War Thunder.


Published: Dec 21, 2022 02:29 am