Gameloft’s newest title, Disney Dreamlight Valley is nothing short of ambitious. The life-sim is larger than life, offering players familiar gameplay with new and original mechanics all blended together in a beautiful world filled with loveable Disney characters. One place where Dreamlight Valley shines is in its customization aspects. There is a lot available to players. So much so, that some may fall under the ether as they aren’t in your face. Today, we’re actually going to explain how players can edit the entire towns that they get to visit in order to make them feel more like home.
How to Edit Towns in Disney Dreamlight Valley
When it comes to editing or customizing your Dreamlight Valley, it’s all actually quite similar to editing the inside of your own house in-game, with a couple of big differences. The first is, that you really do want to invest in and re-open some of those abandoned buildings around your various towns as they serve great purposes and bring life to the world. Though investing in them isn’t required to simply move the buildings around, it will look better overall for your finished product.
Now, let’s explain how to edit your towns:
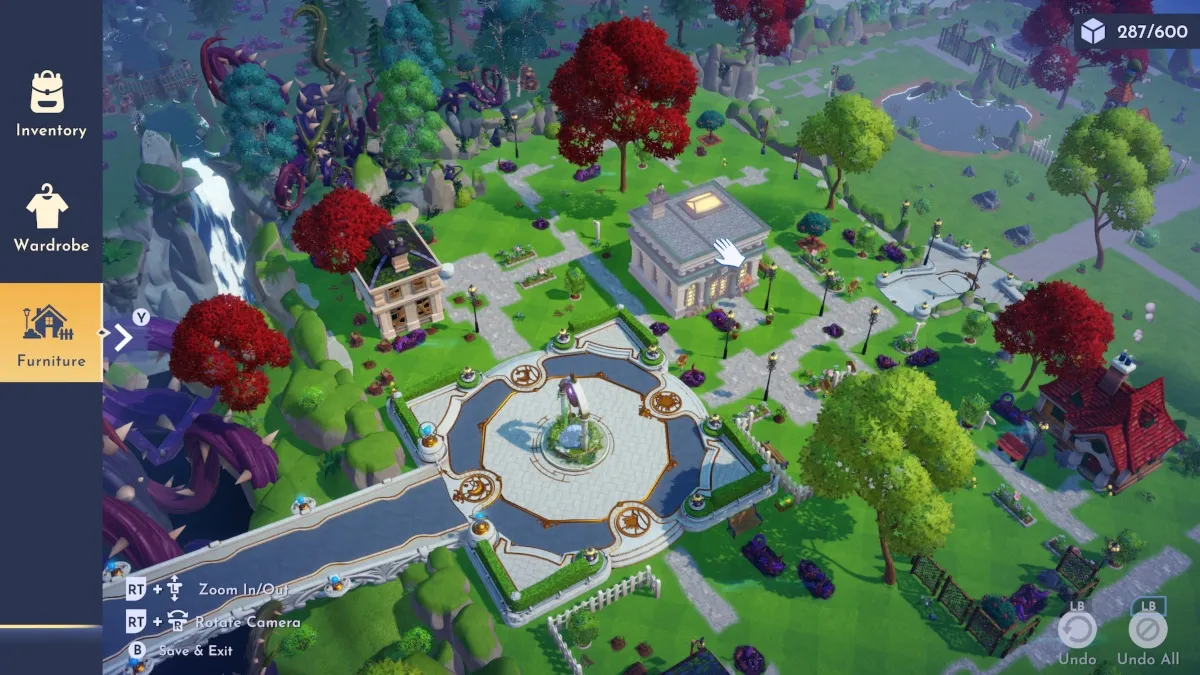
- To enter the editor mode, just hit your inventory button to begin.
- Then, head down to the Furniture icon on the left-hand side.
- Next, head to the category of the item that you’d like to bring into the world.
- Once you’ve found an item, go ahead and select it to bring it out.
- You’ll then be able to place it anywhere that it can fit. (it has green squares under it to indicate this or red to show it won’t fit.)
- You can place, remove, and rotate items.
- Additionally, you can zoom your camera in and out as well as rotate it for better viewing angles.
- You can also undo one item or undo all.
- If you’d like to back out and remove your item, just hit your designated back prompt.
- Once you’re finished, go ahead and hit your dedicated save button or key.
- For editing the existing items in the world, go into the Furniture tab and close it without choosing an item to remain in editor mode and you’ll be allowed to move things around.
You can bring just about any kind of furniture item into the world that you want, save for a few like walls or flooring. Additionally, the game allows you to move all of the major buildings around, trees, fences, street lamps, and so on. Though, it’s important to note that you can’t move any of the castle pieces, bodies of water, or major points of interest to the campaign. You also can’t move any of the randomly spawning things like Night Thorns, rocks, flowers, or tree stumps.
But that’s all there is to know about editing the towns in Disney Dreamlight Valley! Have fun!
Related: How to Decorate a House in Disney Dreamlight Valley

Published: Sep 8, 2022 10:11 am