
Evil West packs in a few mighty boss fights within its 16 chapters – four to be exact. Depending on the difficulty level selected, it can be no walk in the park with each and every one of them. Here’s our in-depth descriptions and strategies to bring all these troublesomely tough enemies down in this latest Gothic spaghetti western game.
How to Defeat All Bosses in Evil West Guide
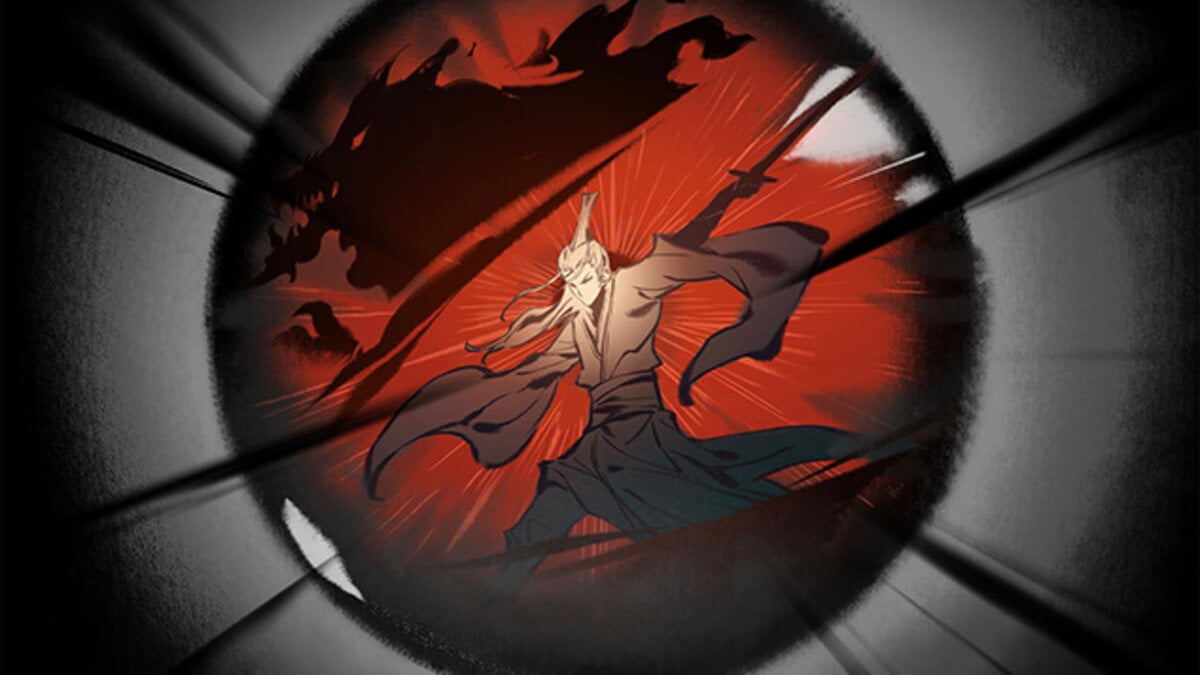
The Parasiter
The Parasiter is the first major boss of Evil West, encountered in chapter 7. This boss has three phases, and its move sets will change depending on how low its health is. In its first phase, prioritize rolling and dodging whenever its tendrils fly at you. You can do the same whenever it throws its projectiles at you, but preferably, you will be blocking this attack. This is due to a weak spot appearing before the Parasiter pulls this move off. Keep hitting it whenever the opportunity presents itself to speed up the process.
Lay everything you have on it whenever its tendrils connect to the ground since this will holt it for a few seconds. Keep attacking the tendrils until they are completely destroyed, and continuously dodge the central projectile that emits from its mouth whenever you down them both.
The second phase will soon follow after, where the Parasiter will cause rocks to fall from above and damage you if you are not dodging them in time. Get out of there alive after the time frame of the attack ends and focus on the tendrils once more. This time, however, prioritize destroying the eggs they excavate. This will stop minion enemies from spawning as well as triggering the possibility of rewarding your health regen.
Its third phase will include all the attacks mentioned above, sometimes in conjunction with one another. Ensure to continuously dodge the rocks that are falling from the sky but exterminate as many eggs as possible to prevent more enemies from spawning. Aim from a distance whenever the tendrils’ weak points are in the open. Rinse and repeat. Utilize the Hero Punch and Quake Punch for close-range combat. By its third phase, you should have Supercharge Mode fully juiced which will be handy to cut a big chunk of its last health amount.
Bruch
Unlike the first boss of the game, Bruch seemingly does not function in phases – as seen in Chapter 10. The boss jumps from coming into the player in close combat to teleporting away and out of shot instead. Whenever Bruch is in your face, block continuously and hit only when your block successfully negates its attack. You will want to keep your wits about you here since it will not only be good timing in your blocks that will be your saving grace.
When out of range, Bruch will deploy numerous amounts of copies of itself that lock onto you. Banish them quickly and effectively with the Crippling Rod move. You need to get these out of your sight quickly to shoot past them and attack Bruch who will be charging up a powerful beam outside of the arena. This can also reward players health regen.
The Bruch boss fight is a slow and steady one since being able to dish out any amount of heavy damage is only possible when Bruch is within the area. When Bruch is within your grasp, block and electrocute it to stun it. Keep taking out any minion enemies that are spawned within the area to keep building up your Supercharger meter. Release it in full whenever it is maxed out when Bruch is nearby. Remember to keep an eye out for long-range attacks as well.
Keep this up until its final tell-tale sign of it weakening until it nearly dead starts up. This new addition to its move set is the defensive wall of big insects. Avoid them or best yet burn them with the Scorcher and proceed to attack its weak spots to finally bring it down.
William Rentier the Sanguisuge
Mr. Rentier will be the third boss fight in Evil West in chapter 14. He may be quick on his feet, but he is just as susceptible to a well-timed stun just as much as your other enemies are. Keep up all forms of long-range attacks no matter what weapon but find opportunities to close the distance and electrocute him to be able to pummel him without issue. This will be easy enough at least initially.
Dodge any and all long-range attacks of his and wait for the visual indicator of a weak spot to hit back at him from a distance. Whenever the screen goes black, block as quickly as possible to elevate the damage taken from his quick attack here.
William Rentier’s second phase builds up his damage output and defenses drastically. The one major attack you had to look out for initially with the punch that comes from above can now hit from a distance. Trickle long-range damage at him throughout this time in between frequent but extremely necessary dodges. Do not bring the fight close courters if you can help it since he tends to dish out an attack that can affect a big portion of the ground if he is near you. Instead, shoot him with the X-Bow for some of the best distance damage available at this point in the game.
Rely on doing this all the time since you will encounter some weak spots during this phase that you want to capitalize on. If dealing enough damage then and there, shoot straight to him with R1 to dash and pummel him, even if it is by using up any amount of Supercharge you have at the time. His third phase will involve you dodging frequently until a weak spot appears that will bring down his defensive “bubble”. Once downed, attack him with everything you have got. Even when he creates copies of himself, only attack those with weak spots that appear to down him once again. Rinse and repeat until his Health bar, rather, unfortunately, reaches zero.
Felicity’s True Form
Felicity is the final boss fight as found in chapter 16 and has three very distinctive phases. Felicity’s truly monstrous form can be a headache to go up against but stick to your guns here – figuratively and literally. She is insanely quick, so dodge frequently and maintain a good distance at all times. Let her jump ahead of you and dash past you – do not get in her way unless it is a charge attack that can be stunned by pressing R3 (but only if you can time it). Ensure to utilize the Crippling Rod whenever it is available to also stun her.
Her second phase will have her even more aggressive than before, now being able to drag her talons against the floor in waves and chain up as combos. She is quicker and bigger now, so her hits are wider spreading. You will be dodging for the most part now, and whenever you manage to take a breather, hit her with the X-Bow.
She will eventually teleport herself onto the wall to charge up for a bigger attack – prevent this by attacking all her weak spots and bring her back down to the floor. But keep your eyes peeled for debris that can injure you as you aim at her. Once again, stun her at every opportunity when she hits the floor – be it by the Crippling Rod, or perfect blocks to electrocute her.
In her third and final phase, she will be massive. Aim at her head whenever possible now to predict her weak spot here. Keep hold of your Crippling Rod and use it when she attempts to bring down boulders from above to stop such a wide-spreading attack from damaging you too badly. Her attacks will be so sporadically quick and relentless that your only aim here is to remain alive until your Supercharge meter and other cooldowns have reset. Keep dodging and shooting her from afar because you will eventually be able to stun her once again – do this at least two more times to successfully down her for good.
That is all the bosses of Evil West described and countered. For more help with the game, check out our other guides here at Gamer Journalist.


Published: Dec 4, 2022 07:54 pm