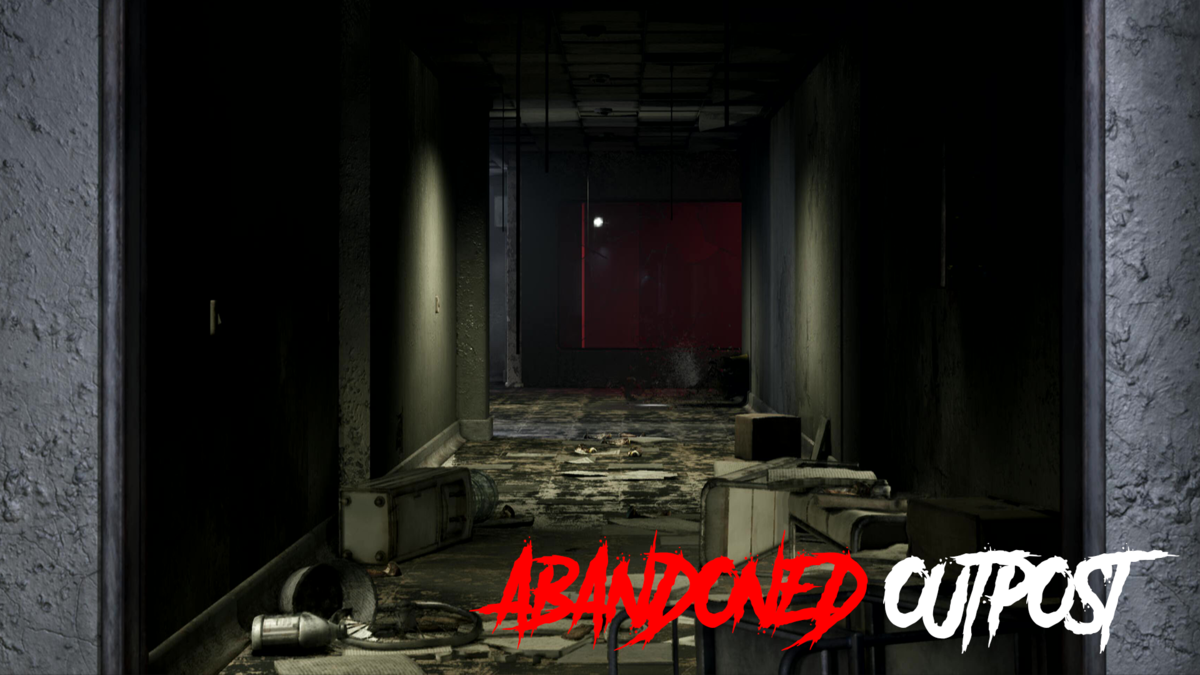
Get your YouTuber thinking cap on and enter into the Abandoned Outpost. With so much abandoned building exploration content on YouTube, you should be more than ready to take what you have learnt and put it to action. Unlike this type of content however, the Abandoned Outpost has horrors that are highly lethal to our no-clipping protagonist. Set in an abandoned M.E.G Facility, the Explorer Group who has left all of their research and development down to any lost souls who no-clip into this reality. With Levels being set up inside a tunnelling system, alongside research facility and documentation that outlines what each Level has in store for you, the Outpost details everything you will need and should do for your survival. This is Vincent’s guide on how to beat the Abandoned Outpost in Escape the Backrooms.
Escape the Backrooms Abandoned Outpost Guide
The Abandoned Outpost begins with a lesson on how to reduce the risk of an accidental contamination event. Pay close attention to this video as it is relevant to your survival of Level 0.1 – Abandoned Outpost. It notes that if there are any contaminated people, they must be guided to the emergency platforms (indicated by footprints on the ground) to safely seal them in. Your goal is detailed in the video with you needing to turn on the Filtering Unit and to use it on the contaminated person that you detained. This is important as the Entity inside this Level has the Administrator Card you need. If it spots you, the game recommends everyone’s favorite hiding spot – Lockers.
There is one Entity in this entire Level but do not take this guy for granted, he is incredibly fast and cannot be outrun. Your only option is to learn the layout of the map and where all of the Lockers are located. We will do our best to outline these clearly in the guide below.
Related: How to Access and Beat Level 3999 in Escape the Backrooms.
Finding the Almond Concentrate Bottles for the Filtering Unit
You need to find four Bottles of Concentrate needed for the Filtering Unit. Make your way into the Restricted Area, taking a right and then a left. Follow the corridor until you see a M.E.G automatic door on your left. You can pick up two Concentrate Bottles here. One on the operating table in the centre, the other on the furthest away PC desk. Go into the other M.E.G door on the left-hand side of this room where Lockers can also be found inside the Trash Room with the third Concentrate Bottle on the table. Exit this room and go left, at the end of the corridor is another M.E.G door you can go through. Make note of this room for another Concentrate Bottle and hiding spots. You can also pick up the Crowbar here which is needed for vent covers.
Leave this Locker Room and go right, there is a vent cover you can knock down with the Crowbar in hand. On the other side of the vented crawlspace, go into the M.E.G door located on your left. You can check the Trash Room through the M.E.G door on the right in the room outside of the vent as a Concentrate Bottle could be here. Going through the door on the left will take you back to the main corridor in which by walking right, will lead back to the Restricted Area entrance you originally walked through. The problem is however, the Entity will likely be waiting for you at the area’s entrance as you should have all 4 Concentrate Bottles.
How to Evade the Entity in Abandoned Outpost
If the Entity is waiting for you, you have two options. Run to the right, from the entrance, take the first left into the Operating Room and left again into the Trash Room for the Lockers. Alternatively, continue down the corridor on the right, from the entrance and follow the corridor until its end. Go into this Locker Room to hide. As the Entity is incredibly fast, you cannot panic or slow down at any point. As you know, the doors take a moment to open so take a small step back or push yourself into the door to close the gap between the corridor and the room instantaneously. Once you are safe in the Lockers, wait and listen to the Entity’s footsteps on where he is going. It is best to wear headphones for this so that you can get directional audio.
Trapped the Entity for the Administrator Key
Once you know which path he has gone down, exit the room and go the opposite direction, back towards the Restricted Area entrance. Head back into the first room with the Filtering Unit and input one-by-one the four Concentrate Bottles. Move the Filtering Unit into position by pushing it forward until it cannot move anymore. Now you need to lure the Entity to the Unit. We highly recommend not running straight into him but opting to walk so that the gap between the two of you is not so short that he can catch you. Hover around the Restricted Area entrance as the Entity will be patrolling and eventually make his way back to you. It is best to lean around the two corners on your left and right of the entrance rather than trying to find him in a room or waiting at the entrance itself.
Accessing Level 10 in Escape the Backrooms
When he is on you, get back into the Filtering Room and jump over the footsteps indicating the emergency platform. The Entity will go straight into the trap where you can nab the Administrator Keys after turning on the filter. Head back the way you initially came in, through the basement in the house. Leave via the front door of the house and go right. There are Entities here so be ready to run. Have your Flashlight at the ready so that you can see any threat. You need to go all the way down the end of this road and use the Administrator Key on the Gate to get to Level 10.
Looking for more Backrooms content? Feel free to check out all of our GJ articles here. Or for more on the latest gaming content, see all of the new and stay on track with the incoming guides here.


Published: Jun 18, 2023 03:08 pm