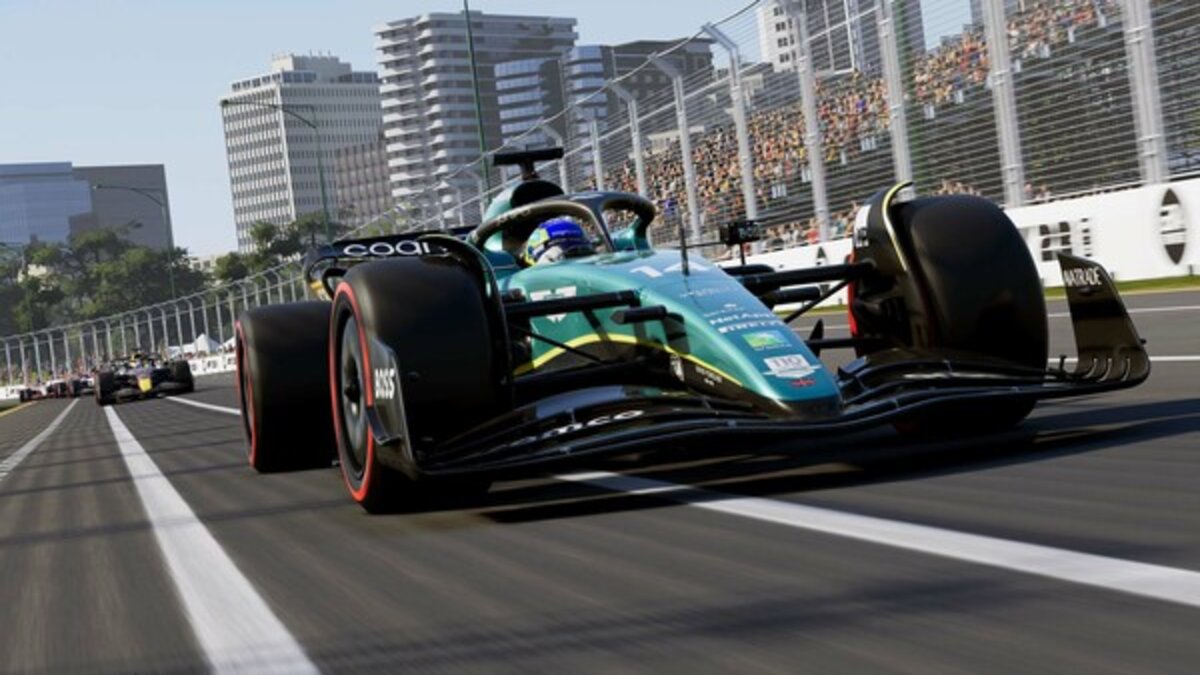
Whether you are playing competitively or trying to hit World Records in the Time Trials, having the perfect car setup is essential. No two tracks are the same in F1 23. Because of this, you will find yourself spending a lot of time setting up those Custom Presets so that you are ready for any track across the globe. Thankfully, any changes you make can be saved to a Model that you can continuously switch out as you take on each circuit. Precision goes on, on and off the track, your setup is crucial to gaining the upper hand in the race, or at least having a fighting chance from the green light. This is Vincent’s guide on the best car setups to use in F1 23.
Best Car Setups to Use in F1 23
In F1 23 the options to adjusting your car are as wide ranged and intricate as you can possibly get. Being able to make .1 adjustments to Pressure and increased gauges for Suspension. Depending on the track you are playing on, you will need to make the necessary adjustments to suit the layout and requirements of the track. Some tracks are slower than others in their design, whilst others require full throttle until having to brake significantly to get around tight bends. Because of the variety of circuits, you cannot simply set up your car once and hope that this is enough to win every race.
Related: All Cars in F1 23.
Home Stretches and Tight Bends
Circuits such as Miami require easy and fluid access to the highest speeds on the long stretches in the track, then a swift change to the tight bends at the end of approaching top speed. Because of this you will need to make your adjustments to suit this kind of circuit. Best circuits: Miami, Canada, Austria and Britain. Of course, these will need slight adjustments to suit your preferences for each circuit.
Aerodynamics
- Front Wing Aero – 18
- Rear Wing Aero – 19
Transmission
- Differential Adjustment on Throttle – 55%
- Differential Adjustment off Throttle – 52%
Suspension Geometry
- Front Camber – -2.60
- Rear Camber – -1.00
- Front Toe-Out – 0.02
- Rear Toe-In – 0.15
Suspension
- Front Suspension – 24
- Rear Suspension – 8
- Front Anti-Roll Bar – 12
- Rear Anti-Roll Bar – 2
- Front Ride Height – 35
- Rear Ride Height – 38
Brakes
- Brake Pressure – 100%
- Front Brake Bias – 56%
Tyres
- Front Right Tyre Pressure – 22.8
- Front Left Tyre Pressure – 23.0
- Rear Right Tyre Pressure – 20.5
- Rear Left Tyre Pressure – 20.5
Tons of Tight Corners
There are circuits in F1 23 that seem to be filled more with tight bends rather than straight track to work off of. An example of these are Baku and Singapore, which require a lot of sharp turns and a quick reflex needed to straighten out and pump into the speed before hitting yet another turn. Best circuits: Baku, Singapore and Las Vegas. Of course, these will need slight adjustments to suit your preferences for each circuit.
Aerodynamics
- Front Wing Aero – 14
- Rear Wing Aero – 12
Transmission
- Differential Adjustment on Throttle – 52%
- Differential Adjustment off Throttle – 50%
Suspension Geometry
- Front Camber – -2.50
- Rear Camber – -1.20
- Front Toe-Out – 0.00
- Rear Toe-In – 0.10
Suspension
- Front Suspension – 20
- Rear Suspension – 8
- Front Anti-Roll Bar – 8
- Rear Anti-Roll Bar – 1
- Front Ride Height – 32
- Rear Ride Height – 34
Brakes
- Brake Pressure – 100%
- Front Brake Bias – 56%
Tyres
- Front Right Tyre Pressure – 23.0
- Front Left Tyre Pressure – 23.0
- Rear Right Tyre Pressure – 20.4
- Rear Left Tyre Pressure – 20.5
Wind Bends for Overtaking
Other circuits offer large strips of straight tracks that then hit you with a wide bend, perfect for overtaking other drivers. These offer the more versatile car setups that work primarily on how you react to executing the perfect turn. You have more room for error on these tracks against others. Best for circuits: Jeddah, Hungary and Qatar. Of course, these will need slight adjustments to suit your preferences for each circuit.
Aerodynamics
- Front Wing Aero – 30
- Rear Wing Aero – 26
Transmission
- Differential Adjustment on Throttle – 54%
- Differential Adjustment off Throttle – 52%
Suspension Geometry
- Front Camber – -2.60
- Rear Camber – -1.00
- Front Toe-Out – 0.05
- Rear Toe-In – 0.12
Suspension
- Front Suspension – 23
- Rear Suspension – 4
- Front Anti-Roll Bar – 6
- Rear Anti-Roll Bar – 1
- Front Ride Height – 34
- Rear Ride Height – 36
Brakes
- Brake Pressure – 100%
- Front Brake Bias – 56%
Tyres
- Front Right Tyre Pressure – 22.5
- Front Left Tyre Pressure – 22.8
- Rear Right Tyre Pressure – 20.0
- Rear Left Tyre Pressure – 20.2
Distance Racing
Finally, you will have to create the perfect car setup for dealing with the long distanced racing. These include a variety of tracks that typically use both long straight track mixed with frequent, although they are not tight enough bends to worry about. Because of this, you need a car that can deal with non-stop pressure on its tires and can handle the repeated pummelling from the ground below as fly through the circuit. Best used for circuits: Bahrain, Australia, Imola, Monaco and Spain. Of course, these will need slight adjustments to suit your preferences for each circuit.
Aerodynamics
- Front Wing Aero – 38
- Rear Wing Aero – 36
Transmission
- Differential Adjustment on Throttle – 56%
- Differential Adjustment off Throttle – 54%
Suspension Geometry
- Front Camber – -2.50
- Rear Camber – -1.00
- Front Toe-Out – 0.00
- Rear Toe-In – 0.12
Suspension
- Front Suspension – 15
- Rear Suspension – 10
- Front Anti-Roll Bar – 8
- Rear Anti-Roll Bar – 1
- Front Ride Height – 38
- Rear Ride Height – 40
Brakes
- Brake Pressure – 100%
- Front Brake Bias – 56%
Tyres
- Front Right Tyre Pressure – 23.0
- Front Left Tyre Pressure – 22.5
- Rear Right Tyre Pressure – 20.1
- Rear Left Tyre Pressure – 20.2
That was our guide on the best car setups for racing in F1 23 depending on the circuit. For more on the latest gaming guides, be sure to see all of our newest GJ related articles here. Thank you for reading this guide!


Published: Jun 16, 2023 07:11 am