There is an ongoing debate on what is the better output between mouse & keyboard or controller and whilst we are at no definitive answer, the majority appears to be siding with controller in the recent years. From pro players in Apex Legends making drastic shifts onto controller plugged into their expensive PCs to a universal demand that aim assist gets nerfed by a few decimal points across the board of competitive video games. Whilst I agree with the demand to a certain extent, as a controller player, I cannot help but think that the difference between the two comes down to skill cap. Because of this, M&K players may wish to put extra hours into practising their aim. Whilst this is popular in the likes of Apex Legends for its Firing Range, many FPS games offer little practise for those wanting to improve their aim. Therefore, this is Vincent’s guide on the best crosshair settings to use in Aimlabs.
Whilst us controller tunnel-visioned demons having god awful movement, we have an ability to one-clip enemies regardless of how much damage we had initially taken. But on M&K, you will find that whilst the movement is often a league of its own and always capable of mastering recoil and hitting long-distanced shots with ease, it often is beaten by controller players due to the aim assist differences. Whether you are playing an FPS game that is exclusive to M&K such as Valorant or diving into the cross-playing world with Call of Duty, Battlefield and Apex, practising your aim is crucial to playing these games competitively.
Related: Best CS:GO Crosshair Settings and Codes.
How to Customize your Crosshair in Aimlabs
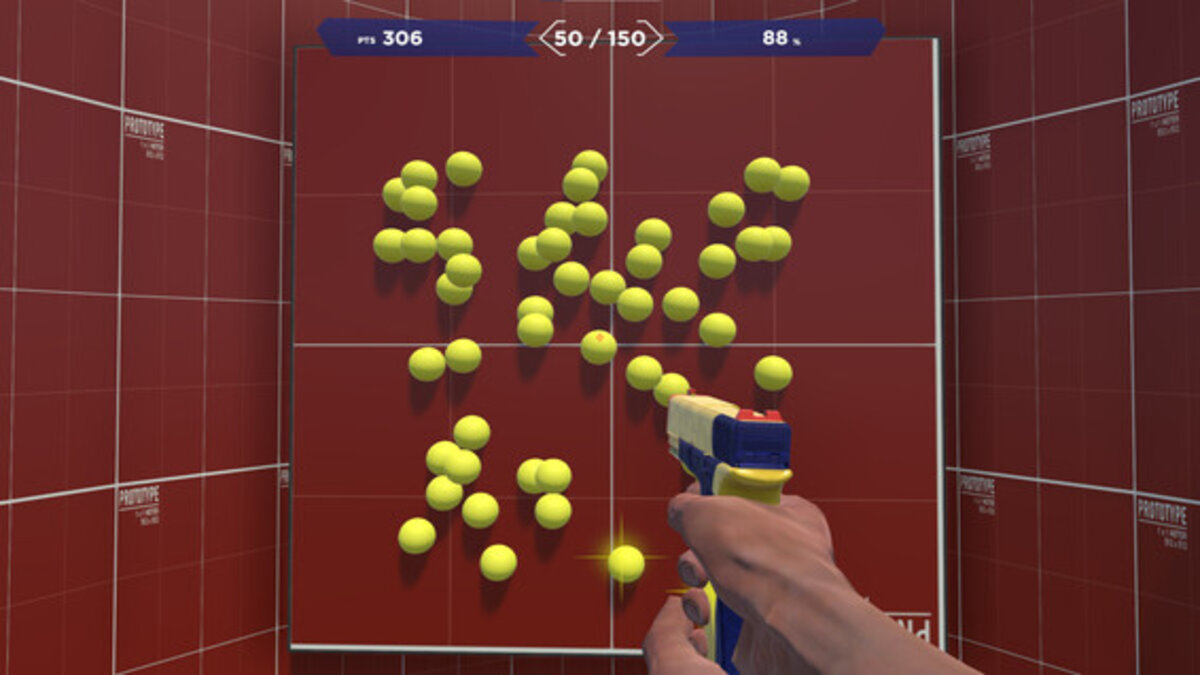
If your goal is simply to improve your aim across FPS games, you will need to set up highly specific Settings across the board, both including Sensitivity and Crosshair Settings. You will want to first head into the General Settings and scroll to Controls. Under this section go to Game Profile where you may select which Settings you wish for Aimlabs to simulate of specific FPS games. From COD to Apex to the regularly used Valorant profile. This will adjust the Settings to what is deemed the default in the selected FPS game. From here, you will want to convert the Controls Settings to match your preferences exactly. As you should have experience on the game of your choosing, you should also have set preferences to perfectly simulate the visual, sensitivity and FOV you will be used to using.
If the game of your choosing does not accommodate for FOV adjustments, leave this on default so that it correctly matches the FPS game. With Sensitivity confirmed you will want to move onto Crosshair Settings (first option under the Settings List). If you are trying to perfect your aim for a specific FPS game, you will want to create a replica of the crosshair used for that specific game. That way you can practise as if it was a Training Game Mode/ Firing Range for the FPS game of your choosing. Whilst you can adjust these to change up the style of crosshair, you will find that an adjustment when you return to the FPS game you are trying to master is inevitable. Therefore, these are the best crosshair settings to use in Aimlabs.
Best Crosshair Settings in Aimlabs
Valorant
- Type – Create
- Length – 3
- Thickness – 2
- Center Gap – 2
- Dot Size – 0
- Circle Radius – 0
- Outline Capacity – 0
- R – 0
- G – 255
- B – 0
- A – 255
Call of Duty
- Type – Create
- Length – 5
- Thickness – 2
- Center Gap – 0
- Dot Size – 0
- Circle Radius – 0
- Outline Capacity – 255
- R – 255
- G – 255
- B – 255
- A – 255
Apex Legends
- Type – Create
- Length – 1.035
- Thickness – 2.65
- Center Gap – 0
- Dot Size – 0
- Circle Radius – 0
- Outline Capacity – 0
- R – 255
- G – 0
- B – 0
- A – 255
Keep in mind that Aimlabs is not exclusive to M&K players. For those playing competitively on PC, you do have the option to utilize controller on FPS games such as Call of Duty and Apex Legends. Regardless of the output you are using, the Crosshair Settings above are the best to use to stimulate the crosshair used in the most popular competitive FPS games of 2023. You can also upload the specific crosshair directly from the FPS game of your choosing by screenshotting it and adjusting the size to fit 1920×1080. You will need to remove the background so that the crosshair remains. Upon doing so, this can be put directly into Aimlabs and using the Settings above, create a perfect replica of the game’s crosshair. Remember to select Upload under Crosshair Type so that you can upload your screenshotted crosshair.
Thank you for reading this article, we hope this guide was useful. For more on the latest video game coverage, be sure to see the newest GJ articles written here.





Published: Jul 20, 2023 01:59 pm