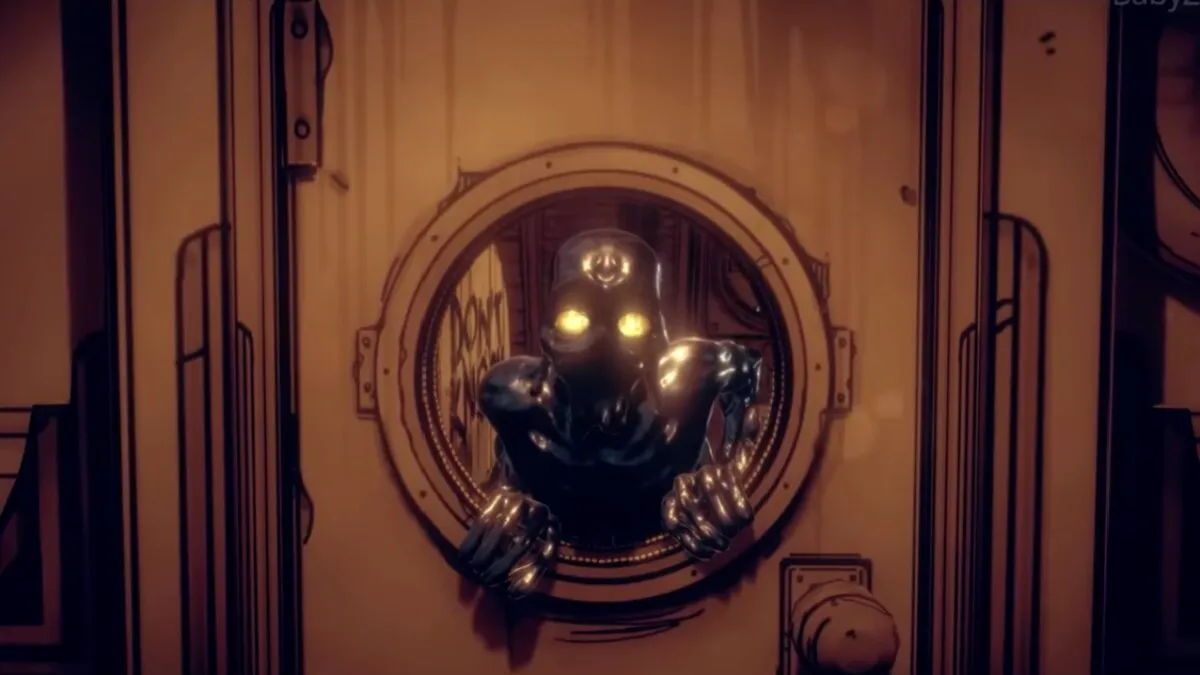
Complete fetch quests and puzzles to try and escape the grasp of the Ink Demon. Foil Wilson Arch’s plans, follow Bendy, listen to Allison and find out what is going on inside the Ink Machine. Bendy and the Dark Revival is filled with amazing details, from secrets and easter eggs to the great art design. In true Horror fashion, players must complete quests and puzzles whilst traversing through the terrifying unknown environment filled with hostile abominations. This is our guide on where to find every Picture in the Dark Revival Chapter 2 fetch quest.
The Quest
In Chapter 2 players must search the Animation Alley Workarea and find the five Pictures which belong to a Lost One who has locked himself in the room which you must get into to progress into the next section of the game. Just after meeting this Lost One and getting the new objective, players are greeted and chased by the Ink Demon. Since his appearance, the Demon decides to stalk and hunt you as you move around trying to accomplish the new objective. Players must find the five Pictures whilst evading the Ink Demon. The five Pictures you must locate are:
- Ham Sandwich Agony
- The Mental Curse of Texas
- The Bus to Work
- Extra Cheese
- The Suffering Camp
The fetch quest officially starts after running away from the Ink Demon. When searching for the five Pictures, we recommend looking around the room before picking up the picture to take note of any hiding spots. This is our guide to locating all five Pictures in the Dark Revival.
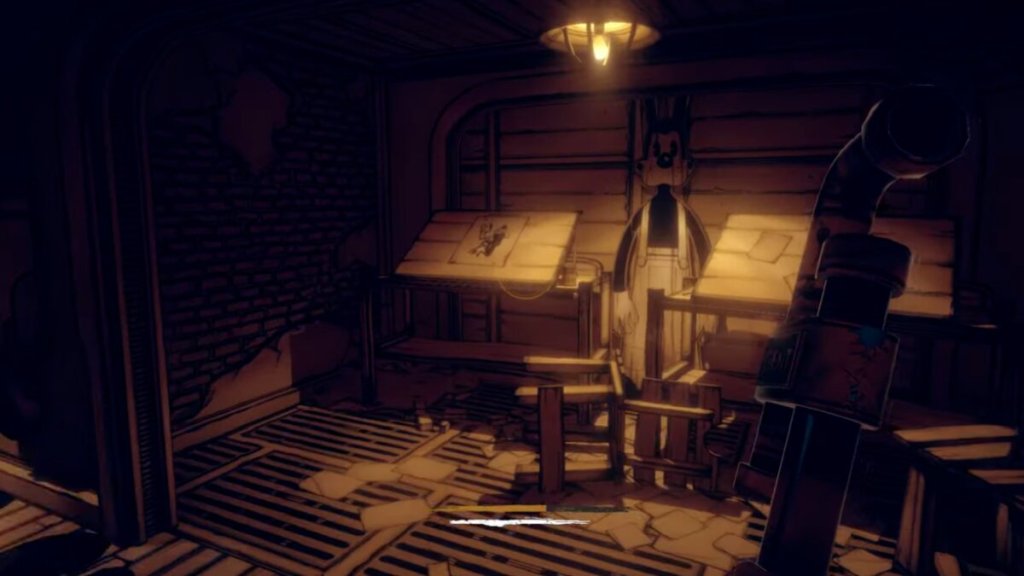
Picture #1 Location
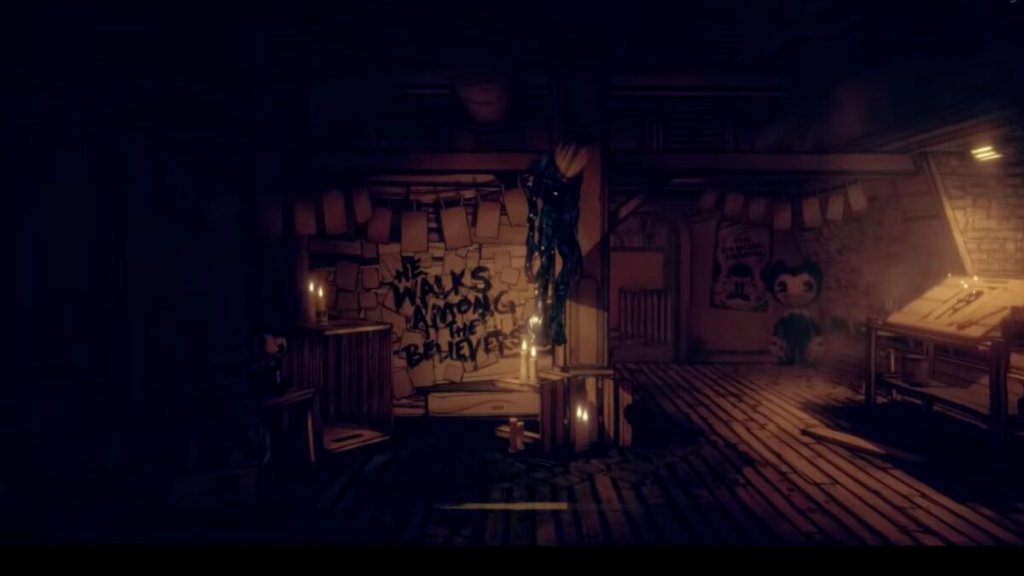
The first Picture is handed to you on a silver platter. After watching the cutscene of Audrey escaping the Ink Demon’s grasp we find ourselves in a new area. In this first room, Picture 1 is located on the workbench directly to the left. Take note of the wooden crate that you can hid in the corner of the room, underneath the tagged wall ‘He Walks Among the Believers’. The Ink Demon will not try to catch you here but will for the other four pictures.
We recommend when going through the area to break open vent covers before picking up any Pictures. This will allow you to quickly get into the crawlspaces in enough time that you will never get caught by the Ink Demon. You know when he is coming when the screen turns black and white and the words at the bottom of your screen appear: ‘The Ink Demon is Coming. Hide’. Take note of all possible hiding spots to use before you pick up a Picture.
Picture #2 Location
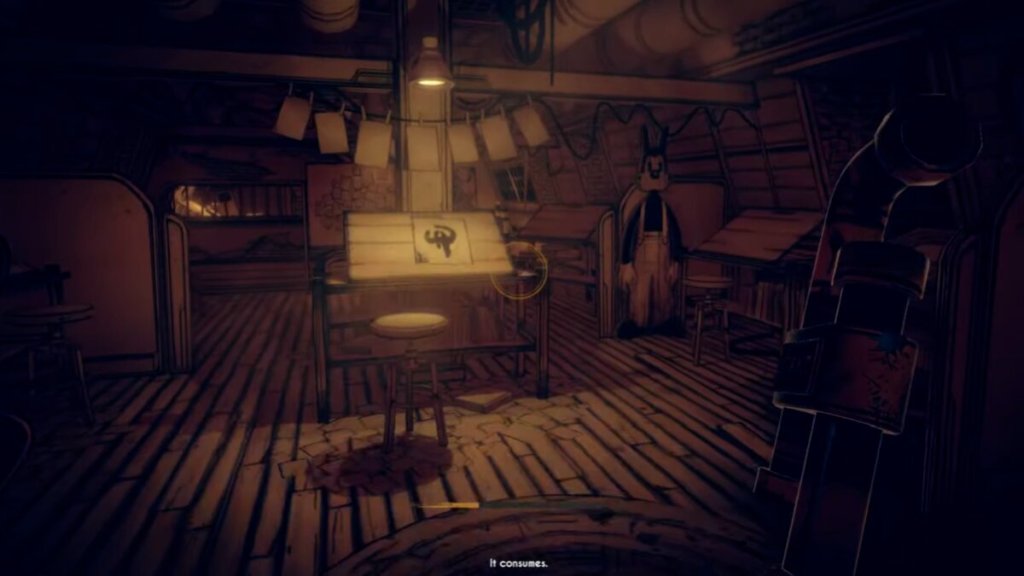
After picking up the first Picture, head to the back of this room where there is a wired fence. Make sure to open the vent cover on the right (on the other side of the wall to the Gent Battery Refill). This vent cover is easily seen due to it being next to a well-lit corridor. The rest of the room is very dark. After opening this with the Gent Pipe turn around and head through into the next room. In here is Picture 2, look for the room with a cardboard cut-out of Alice Angel, Boris and the Butcher Gang.
There is a vent cover in the right corner of the room, beside the Alice Angel cut-out. Open this immediately. Picture 2 is in the middle of the room, on another workbench. Upon collecting this one the Ink Demon will come after you. You have approximately 5 seconds to hide. We recommend going into the vent next to the Alice Angel cardboard cut-out. Just wait in here until colour returns to the screen, this will signify that the Ink Demon is no longer after you.
Picture #3 Location
Go past the workbench where you obtained Picture 2. Head to the back of the room and once again, open any vent covers on this side of the room. You will see a locked door to your left, you cannot open the door on this side. Instead turn around and backtrack a couple of steps. Look behind the two workbenches in front of the locked door. There is an open crawlspace here. Go through until you drop down into the room that is locked. You can pick up Picture 3 in here. But before you do, make sure to unlock the door by swinging the Gent Pipe against the lock. This means that when you pick up the Picture you will have more than enough time to hide from the Ink Demon.
When you pick up Picture 3, immediately leave the room and turn left, there is a wooden barrel in the corner with a hole in it which you can hide in. Use this and wait until the Ink Demon stops searching for you. Alternatively, there is a hiding spot in the locked room with Picture 3. Simply turn around after picking up the Picture and hid in the cupboard in the left corner of the room.
Picture #4 Location

Return to the crawlspace beside the Alice Angel cut-out which you would have opened previously when picking up Picture 2. Crawl through and do not exit out the first exit that will appear on your right, keep crawling upwards instead until you reach the upper platform where you can jump off. Make sure you jump off on the left edge. Picture 4 is in this room. If you were to jump off on the right, you will end up in the room you were previously in and will simply have to crawl through the crawlspace again to get to the right area.
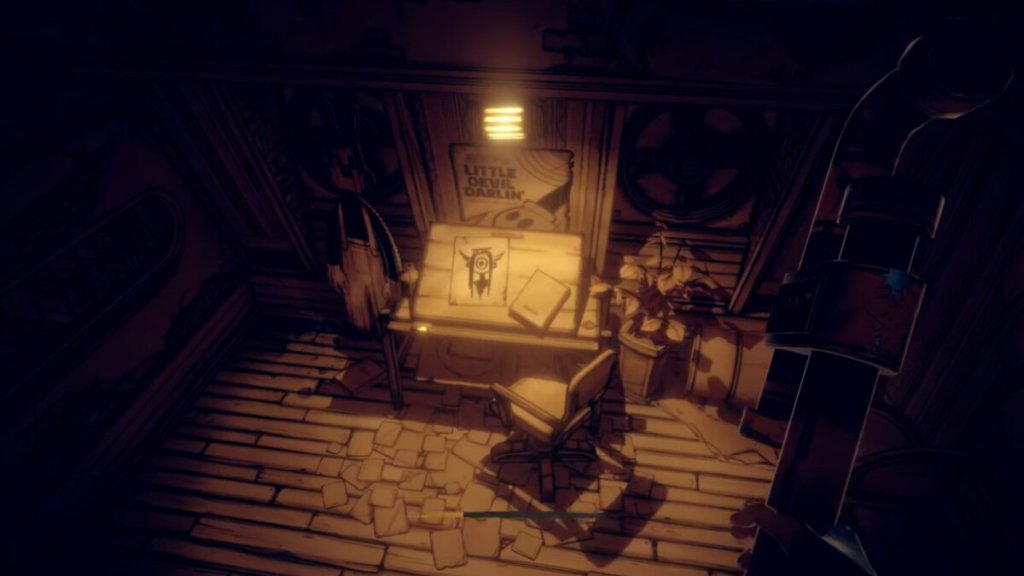
After dropping down, turn around. You will see a Bendy cardboard cut-out. Behind it is a workbench with the fourth Picture on it. Before picking it up though, make sure you plan your escape. You will find a vent cover in the next room, to get to this room crouch underneath the broken door which the Bendy cut-out is facing. Walk past the Boris cut-out and go to the far-right corner of the room. Break open the vent cover with your Gent Pipe. Head back into the room you dropped down into and pick up Picture 4. The screen will turn black and white once again. Run to that vent that you opened in the next room.
Alternatively, players can hide in the locker directly to the left in the Boris room after crouching underneath the broken door and going into this room. This is far quicker to get to when hiding from the Ink Demon.
Picture #5 Location
Picture 5 is very easy to find. After hiding from the Ink Demon in the crawlspace after collecting Picture 4 go back into the room that you were just in. In here there are two workbenches and a Boris cut-out in between. Picture 5 is on the left workbench, pick it up. With every Picture collected, return to the crawlspace in the room and take the first right. Go right again and follow the crawlspace through to the other side. Break the cover open with the Gent Pipe. Keep going forward and then turn left, you are back in the starting room where you found Picture 1.
Put the Pictures on the Easels
Once all Pictures are obtained, you need to return to the locked room. To get back to this room, go into the crawlspace beside the Alice Angel cut-out in the room where you found Picture 2. Crawl through and exit out the first exit on your right. Unlock the locked door on the right using the Gent Pipe. There is a Card Exchange machine on the left wall in the room if you want to use it. Go through the now unlocked door and pull the lever in front of you.
Go back into the room with the Card Exchange. A metal door will now be open to your right. Go through, this has taken you back to the Lost One’s locked room. The five easels are to the right of this room. Simply interact with each easel to place the Pictures. Audrey will put the Pictures in the correct order automatically, similar to the exhibition puzzle in Chapter 1.
Related: All Memory Locations in Bendy and the Dark Revival.


Published: Nov 29, 2022 08:27 am