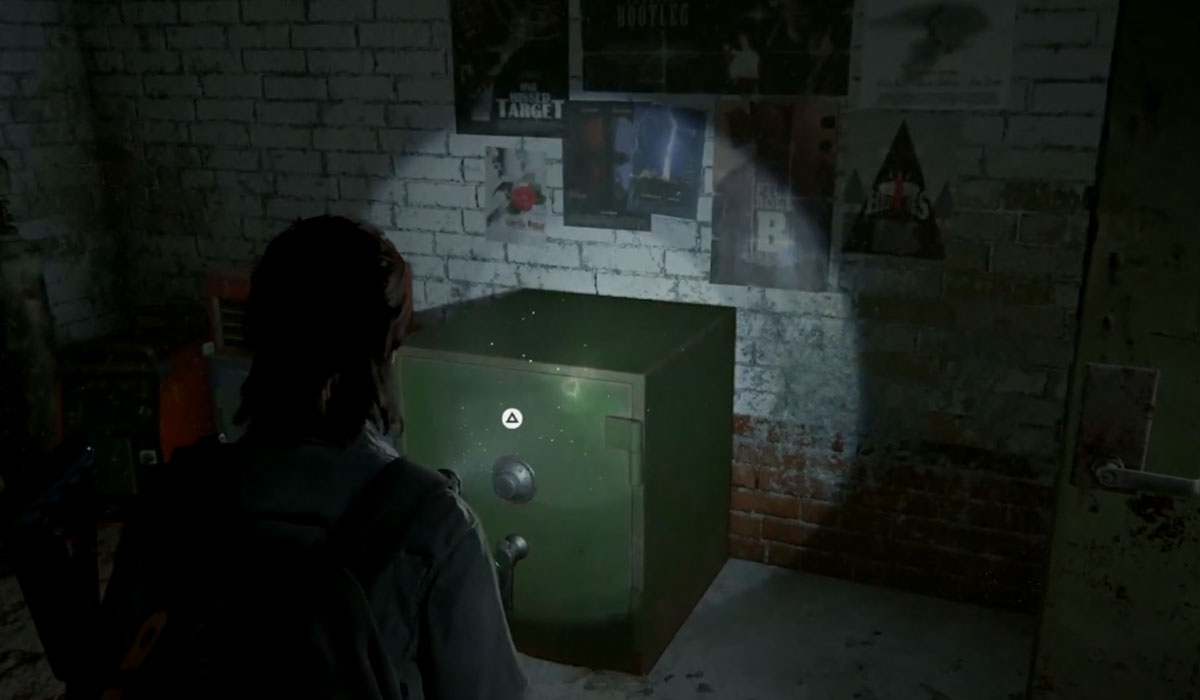
Looking for all of the safes in The Last of Us 2? Opening these safes will provide you with some much-needed items to make your journey a little easier. Opening them requires first finding their location and then figuring out the combination. In this guide, we will take a look at The Last of Us Part 2 Safe Combinations and locations. We will walk you through how to get to each safe location and how to find the combinations. There are a total of 14 different safes throughout the game.
Refer to the table below for a complete, easy to read list of all safe combinations and locations. Scroll down further to see a walkthrough of how to find each specific safe and figure out the combinations.
The Last of Us Part 2 Safe Combinations and Locations
| Safe # | Location | Safe Combination |
| Safe #1 | Jackson: Patrol | 07-20-13 |
| Safe #2 | Day 1: Downtown | 60-23-06 |
| Safe #3 | Day 1: Downtown | 0451 |
| Safe #4 | Day 1: Downtown | 86-07-22 |
| Safe #5 | Day 1: Capital Hill | 55-01-33 |
| Safe #6 | Day 2: Hillcrest | 30-82-65 |
| Safe #7 | Day 2: The Seraphites | 10-08-83 |
| Safe #8 | Day 2: The Seraphites | 38-55-23 |
| Safe #9 | Day 3: The Flood City | 70-12-64 |
| Safe #10 | Day 1: On Foot | 17-38-07 |
| Safe #11 | Day 1: Hostile Territory | 68-96-89 |
| Safe #12 | Day 1: The Coast | 90-77-01 |
| Safe #13 | Day 2: The Shortcut | 30-23-04 |
| Safe #14 | Day 2: The Descent | 12-18-79 |
Aside from finding new items, weapons, and trading cards, opening all of these safes will unlock the Safecracker Trophy in The Last of Us Part 2. Here is a more details list of all safe locations and combinations.
Safe 1 Jackson: Patrol Safe Combination
- Combination: 07-20-13
The Jackson Patrol Safe contains supplements and other various goods. You can find this one in the Jackson Chapter, and it’s the first safe on the list. You can squeeze through a crack in the wall in the Supermarket location. There is a safe in there, along with a clue for the combination. You will learn the combination is the date that the “good boy” won employee of the month. Look on the cork-board for when the dog won employee of the month, which is July 2013.
Safe 2 Day 1: Downtown
- Combination: 60-23-06
You should be able to spot this safe easily. In the lobby, head to the next room and go left. Follow the path to the safety deposit box. You will see a vault access door. The combination can be found easily if you use your flashlight and look for the paper on the floor. Look at the piece of paper for the combination and open up the safe.
Safe 3 Day 1: Downtown West Gate Safe
- Combination: 0451
The West Gate Safe is in the Downtown area of the Seattle Day 1 chapter. Go to the Madison Street sign and look for a partially opened gate near the “Gate West.” The safe combination is from the Checkpoint Gate Codes Artefact. Open your Artefacts and look for the piece of paper with codes on it. You’re looking for the numbers 0451.
Safe 4 Day 1: Downtown Courthouse Safe Location
- Combination: 86-07-22
You will find the Downtown Courthouse safe combination in the downtown building of the Seattle Day 1 chapter. Go into the courthouse down the hall onto the ground level. You will see a locked room where you can climb through a window after breaking some glass. The safe is under the desk near the window. An Artefact will lead you to a whiteboard that has a combination of the safe.
Safe 5 Day 1: Capital Hill Safe Location
- Combination: 55-01-33
The Capital Hill Safe location is in the backroom of a store, and the combination clue is also close to it. Head to the backroom of the Wellwisher building. Down the hall, you will find a room with the safe in it. There is also a corkboard with a letter containing clues to the safe.
The combination is the last six digits of Staci’s number. Go to the bathroom in the next room, and you can find a message in red letters. It says to call Staci for a good time and is the same number on the note, but the last two digits are legible.
Safe 6 Day 2: Hillcrest Safe Location
- Combination: 30-82-65
The Hillcrest Auto Parts Repair safe is in the Seattle Day 2 chapter. You might easily find the safe, but the code is harder to find. Go through the Tattoo Parlor and out the back down the alley. You will see the safe inside the garage on your right.
The combination is on a note that you can get to by going through the Pet Shop wall into the next building. It looks like a bar, and there’s a door leading into the kitchen. Go into the kitchen, and there is a note on the wall with the Hillcrest Safe Combination.
Safe 7 Day 2: The Seraphites Safe Combination
- Combination: 10-08-83
The Seraphites apartment safe location is in the Seattle Day 2 chapter. You can find this one in an apartment building, past the South 5 road sign. Past a walkway, you will notice a white truck out front of a building. Make your way up to the building by climbing on the truck. Now, go into the apartment and through the bedroom. The safe is in the closet.
Head into the dining room and check on the table for a note with the combination. It is the marriage of the anniversary of the apartment’s residents. A calendar above the bed in the bedroom will clue you in on the date.
Safe 8 Day 2: The Seraphites
- Combination: 38-55-23
Weston’s Pharmacy Safe is in the Seraphites Area in Seattle Day 2 Chapter. For this one, the combination is easy to find, and the safe is hidden. Go into Weston’s Pharmacy past the counter. There’s a hole in the wall between the shelves containing the safe.
The combination is also inside the pharmacy, hidden on a shelf under the cash register. This letter contains the combinations to crack open the safe.
Safe 9 Day 3: The Flood City
- Combination: 70-12-64
The Flooded City Safe is in an area of the Seattle Day 3 chapter. After making it to the first boat gate near the start, there is an area with a fence around it. Inside there, you can find a safe, which is accessible from a side room. Go up the stairs through a door and look for a body, which has a safe combination.
In the same room, you can find some boxes with a handle you can pull to open up a small area to get into the room with the safe. Dropdown into the room, and you can unlock the gate from the inside.
Safe 10 Day 1: On Foot
- Combination: 17-38-07
Find the MS Corporation Soft Drink Distribution Center and head to the back. You will see a wall with a crack in it, and through there, you can find the safe.
Safe 11 Day 1: Hostile Territory
- Combination: 68-96-89
Inside the Jasmine Bakery, there is a purple sign containing Chinese characters. Go through the window into the building, and you can find the safe behind the desk in the front.
Safe 12 Day 1: The Coast
- Combination: 90-77-01
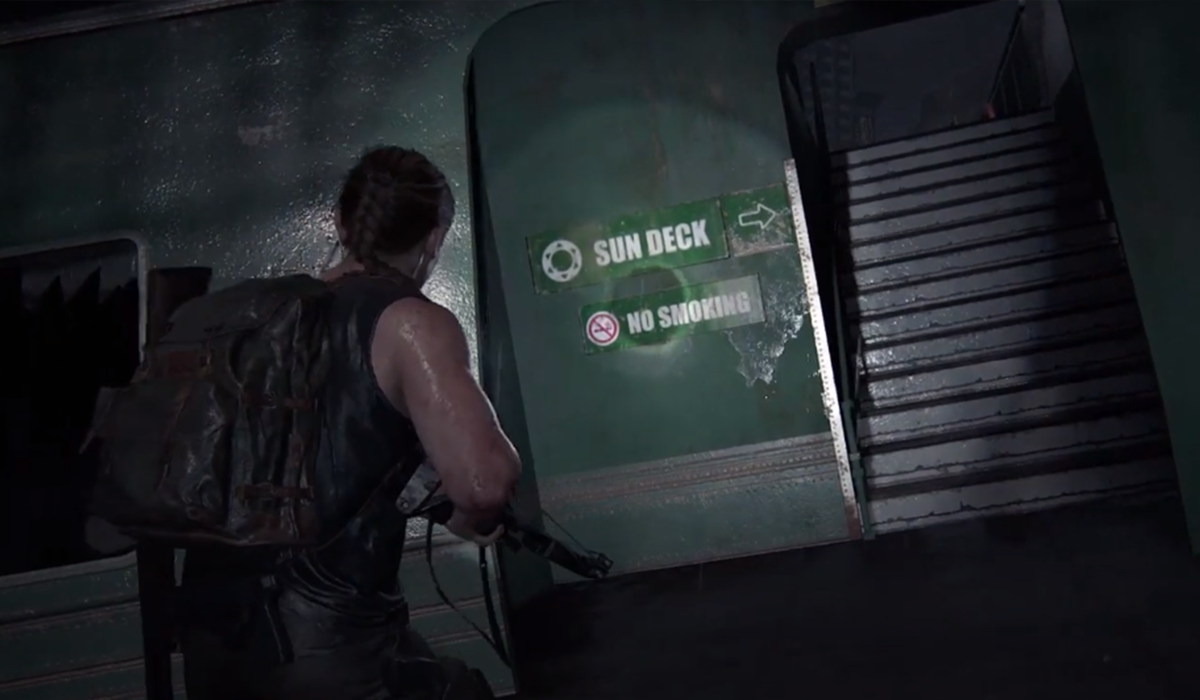
Look for a big green boat with a Sun Deck and No Smoking sign. There are some stairs you can climb up to get to the Sun Deck. Go up the stairs and head to the helm of the ship, where you can find the safe.
Safe 13 Day 2: The Shortcut
- Combination: 30-23-04
There will be a big hole in the road with some water. To the left, you can find a blue apartment building. If you go inside into the bedroom, you can find the safe.
Safe 14 Day 2: The Descent
- Combination: 12-18-79
Go down the hallway by Orchard’s Juice Bar and look for the Gym. You will see a sign for Hotel Blacray. There is a door nearby and the safe is located inside.


Published: Jun 18, 2020 11:17 pm