Speaking as a professional writer, creating a flowing narrative is quite possibly one of the most agonizingly slow processes in the universe. It’s quite difficult to keep track of every possible plot thread while keeping things clean and digestible. Thankfully, we live in the modern age, where there are tools to expedite the process. If you’re interested in writing stories, here’s how to use Inklewriter to create your own interactive stories.
How to use Inklewriter to Create Your Own Interactive Stories
Inklewriter is an open-source, free-to-use utility you can use to quickly and easily assemble your own interactive stories in the style of classic choose-your-own-adventure books. Do kids these days even know what those are…? Well, anyway, if you’re interested in telling an interactive story, Inklewriter can be a fantastic aid to get you on your feet.
Related: How to Fix Origin Launcher Not Working on Mac
To begin with, simply visit the Inklewriter website to use the utility. As I mentioned, it’s free-to-use, though if you want to save any works you create and come back to them later, you will need to make an account. You’ll also need to make an account if you want to share links to any stories you create online.
Assembling a Story

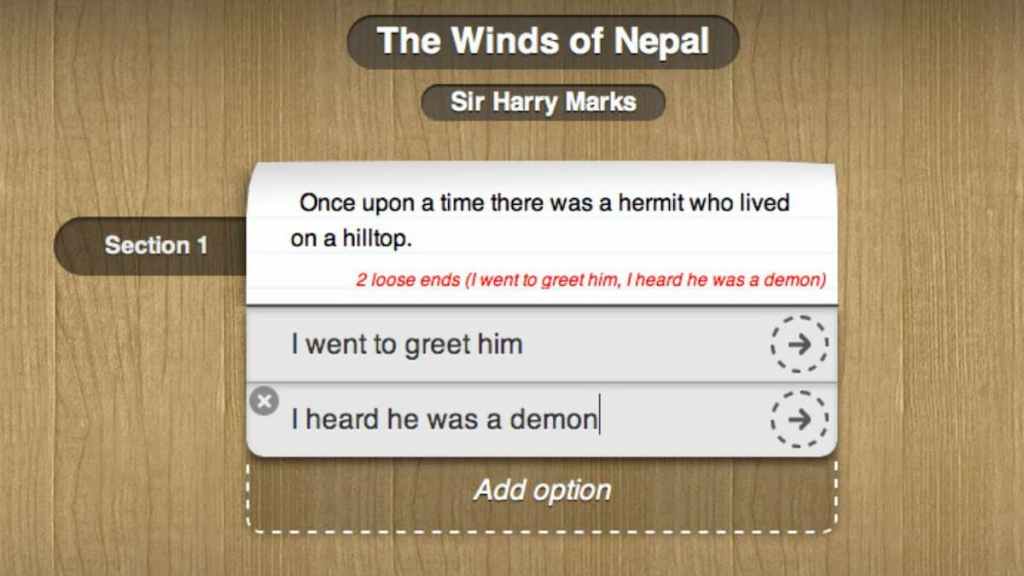
When you open your first story, you’ll be greeted by the workbench screen, where you can start writing scraps. The main body of your story goes in the white section, while the options to progress the story go in the grey section. To add more options, just click the Add option button and write in what happens next. Once you have your options, click the arrow next to one to continue the story in that choice’s direction. Keep writing and branching out the story in this way to create an interactive narrative!
In addition to straightforward branches, you can also have choices and branches tie back together later on. Whenever you’re writing a section, you’ll see an option marked Join to existing paragraph. This’ll let you tie it back to a previous section. Remember to open the Contents menu with the button on the top-right of the screen to see all of the paragraphs and sections you can link to. Both the Contents menu and the scraps will inform you if you’ve forgotten to make a branch for a choice, so remember to clean up any loose ends.
Once you’ve finished your story, click the Read button on the top-right to read it for yourself and see how it all turned out! If you like it, click the Share button on the top-left to get a shareable link that you can post to social media or embed in emails.
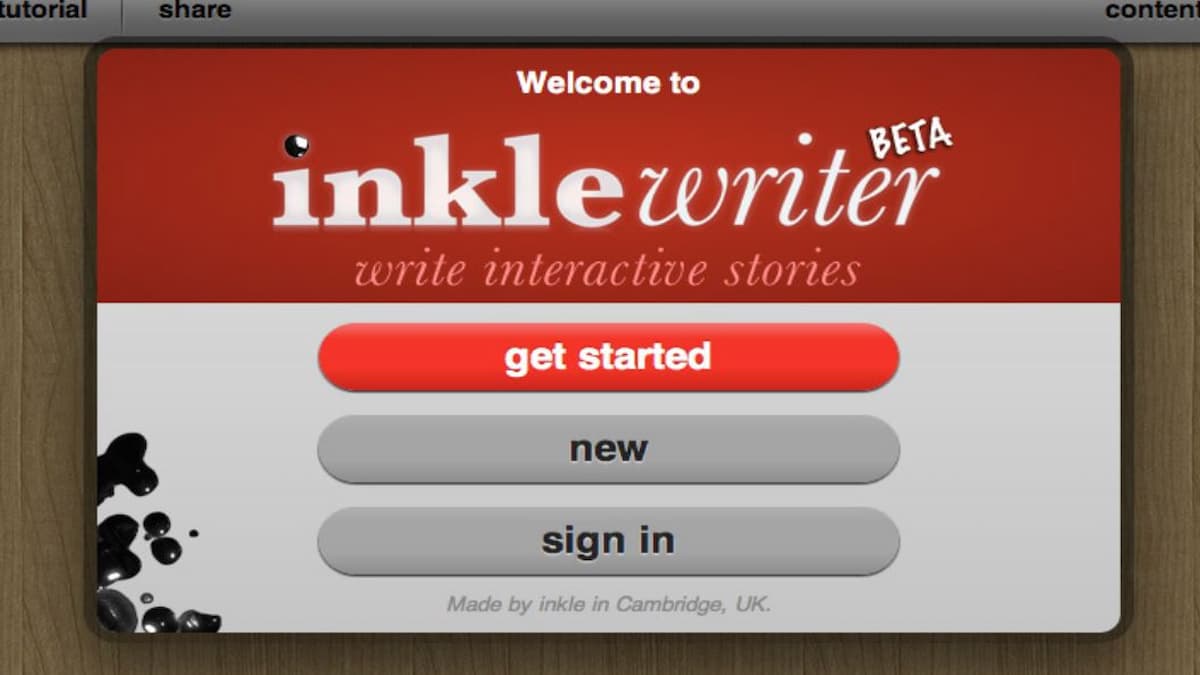
This is just a general idea of how Inklewriter lets you make interactive stories. With its more advanced features, you can set logic systems that track reader progress and alter the story depending on the decisions they’ve made. When you first visit the website, click Get Started to check out Inkle’s series of tutorials on the advanced features.
Creating interactive stories is a great way to both put a spin on traditional narratives and flex your personal creativity. If you’ve got that creative itch, let Inklewriter be your proverbial quill.
If you’re interested in more creative pursuits, check out our guide on creating your own Wordle game, as well as our list of Creative Minecraft base ideas. Visit our Facebook page as well for more guides and news.


Published: Jan 18, 2023 12:23 pm