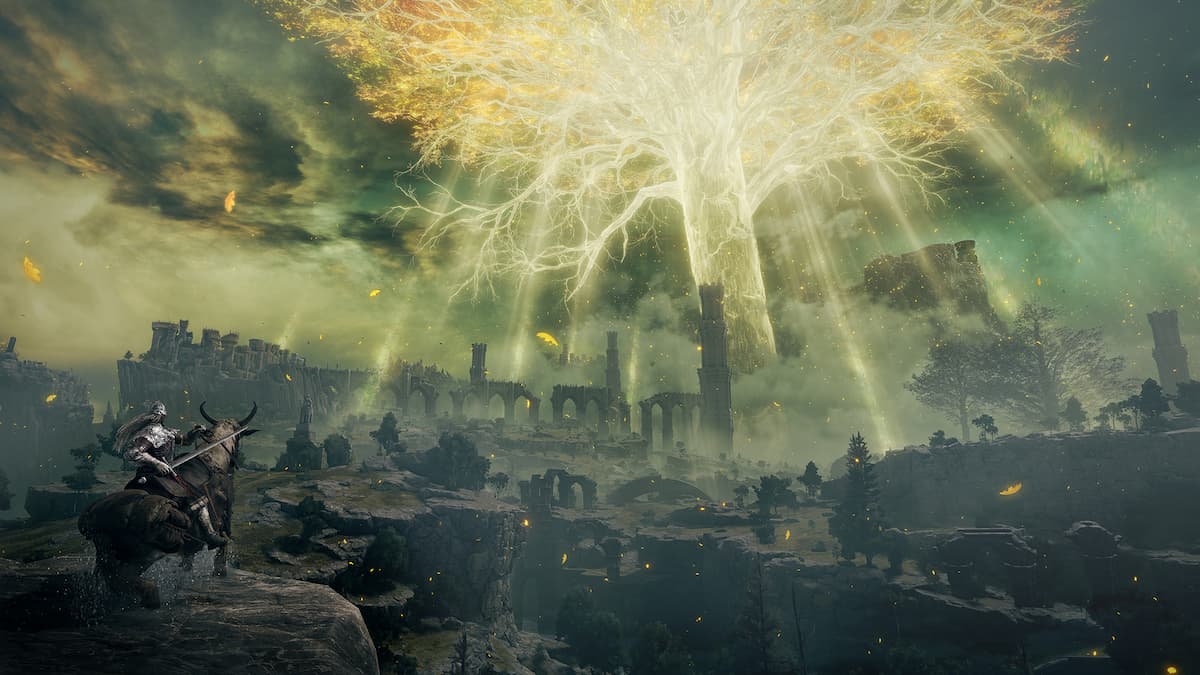
Elden Ring is an amazing game and part of the game’s excitement comes from its sheer difficulty. We expect nothing less from FromSoftware Inc. who are famous for some of the most brutal titles like Dark Souls and Sekiro.
Elden Ring is an open-world RPG offering free travel across various locations in the game. The colossal size of Elden Ring is no joke and even the experienced players can find it difficult to navigate through the different locations in the game. If you feel lost and don’t have a proper roadmap, this guide is just the charm you need to stand in the hostility of the Lands Between.
Easiest Elden Ring Progression Route

We have made a straightforward guide to help you travel and choose locations according to your level in the game. However, you don’t have to follow the guide to the book. It’s best to keep this as a reference and get a feel of things in the game. Here is the easiest progression route you can take:
- West Limgrave: Level one to 15, weapon upgrade 0 to +1
- East Limgrave: Level 10 to 20, weapon upgrade +1 to +2
- Weeping Peninsula: Level 20 to 30, weapon upgrade +3 to +4
- Roundtable Hold
- Stormveil Castle: Level 30 to 40, weapon upgrade +3 to +4. A big checkpoint in your game progression.
- South Liurnia of the Lakes: Level 40 to 50, weapon upgrade +3 to +4
- Raya Lucaria Academy: Level 50 to 60, weapon upgrade +4 to +6
- East Liurnia of the Lakes: Level 50 to 60, weapon upgrade +4 to +6
- Ainsel River: Level 50 to 60, weapon upgrade +4 to +6
- West Liurnia of the Lakes: Level 60 to 70, weapon upgrade +8 to +12
- Siofra River: Level 60+, weapon upgrade +8 to +12
- South Caelid: Level 60+, weapon upgrade +10 to +12
- Nokron, Eternal City: Level 70+, weapon upgrade +15 to +20
- Siofra Aqueduct: Level 70+, weapon upgrade +15 to +20
- Carian Study Hall: Level 70+, weapon upgrade +15 to +20
- Deeproot Depths: Level 70+, weapon upgrade +15 to +20
- Nokestella, Eternal City: Level 80+, weapon upgrade +15 to +20. Another huge checkpoint in the game.
- Lake of Rot: Level 80+, weapon upgrade +15 to +20
- Altus Plateau: Level 60+, weapon upgrade +10 to +14
- Mt Gelmir: Level 80+, weapon upgrade +15 to +20
- Leyndel, Royal Captial: Level 90 to 110, weapon upgrade +15 to +20
- Forbidden Lands: Level 90+, weapon upgrade +20 to +24
- Mountaintops of the Giants: Level 90+, weapon upgrade +20 to +24
- Consecrated Snowfield: Level 90+, weapon upgrade +20 to +24
- Mohgwyn Palace: Level 100+, weapon upgrade +20 to +24
- Miquella’s Haligtree: Level 120+, weapon upgrade +25
- Crumbling Farum Azula: Level 120+, weapon upgrade +25
- Leyndell, Ashen Captial: Level 150+, weapon upgrade +25
- Subterranean Shunning-Grounds: Level 150+, weapon upgrade +25
That’s all. You now have the easiest way to know where to be according to your level in the game. By following this guide you will never feel lost again in the vastness of Elden Ring.
Related: How Do You Fix a Connection Error Occurred in Elden Ring? Answered


Published: Jul 2, 2022 02:05 am