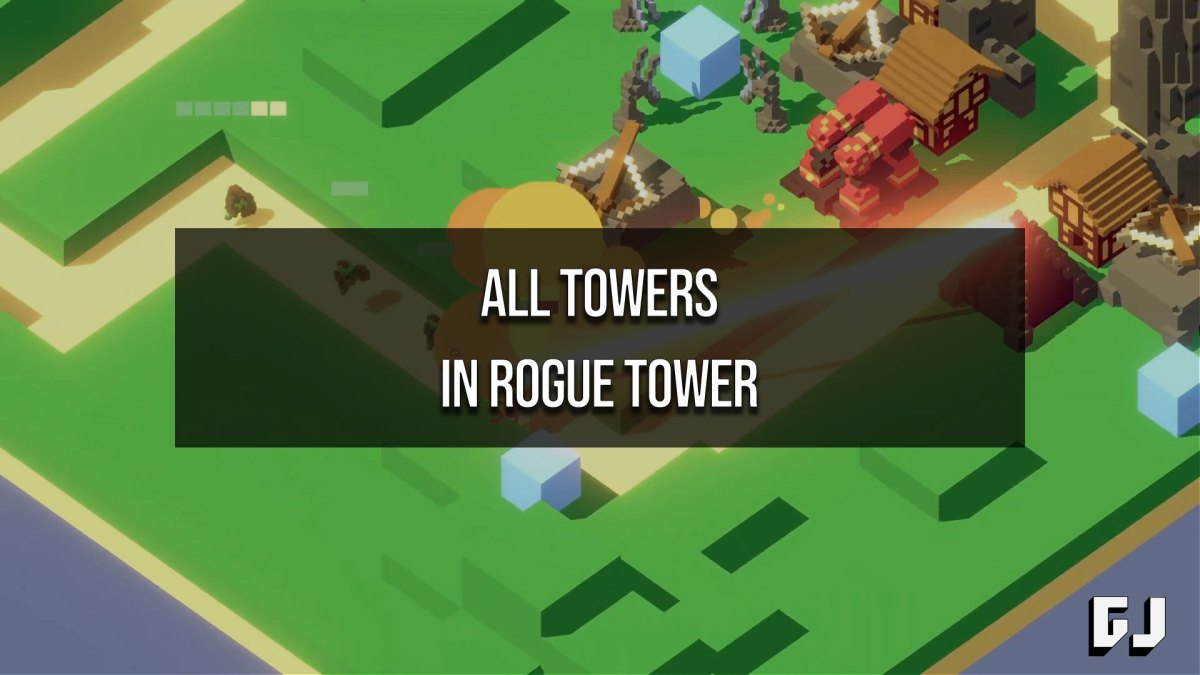
Rogue Tower is a roguelike tower defense game, a combination of genres we don’t see often. From indie developer Die of Death Games, Rogue Tower starts us off with the most basic of towers, the ballista, where we must expand the board and fight off incoming waves of enemies. As we clear levels, we accumulate money that can then be spent on towers, as well as XP to spend on permanent card upgrades. Before you decide where to distribute your XP for upgrades, you might be wondering what all the towers are in Rogue Tower so you can plan accordingly.
Below, we have a list of all towers in Rogue Tower, and a brief explanation of how they work. We’ll also provide some of the best upgrades you can use for each tower to get the most out of them without having to save up too much XP. Keep in mind that these are only the offensive tower buildings, and there are other structures available in the game that you can build like mines, mana siphons, and haunted houses, to name a few.
All Towers in Rogue Tower
- Ballista
- Mortar Tower
- Tesla Tower
- Frost Keep
- Flame Thrower
- Poison Sprayer
- Shredder
- Encampment
- Lookout Tower
- Obelisk
- Particle Cannon
- Radar
Ballista
Ballistas are the default starting towers in Rogue Tower. As such, they are the most basic, but you’ll be using these at the beginning of every run before you unlock additional tower cards. Ballista towers are naturally effective against health but tend to fall off against units with shields and armor.
For upgrades, focus on plus damage to each type to get a head start and make them more effective later on in the game. Slow is also a great upgrade to pick up for Ballistas, as that causes units to take more hits, and lots more damage, over time.
Mortar Tower
Mortar towers are another tower you have unlocked by default, but you will need to draw the Mortar Tower before placing them. These towers have a lot of area of effect damage and are great against big clumps of units. However, they are quite slow, as the mortar launches up in the air and takes a few seconds to fall. That means the attack could go to waste if the target unit dies before the shell hits.
Overall, Mortar towers are effective against units with armor and health and tend to be weaker against shields. You should opt for the explosion radius upgrade when the opportunity presents itself in order to boost the area damage.
Tesla Tower
The Tesla Tower can be a difficult tower to use, as it has limited range and consumes mana on each pulse. Positioning is important with these, and you should try to place them in an area where they’ll hit more than one path. The upside with these is that they are very effective against shields. On the flip side, they are decent against health and weak against armored units.
A viable strategy is leveling up the shield damage to capitalize on the strength. If your mana generation allows, you can beef up two of these towers in your build to turn them into huge damage dealers that can handle all of the shield units.
Frost Keep
The Frost Keep tower is your traditional slowing tower, but it does not do area damage. Instead, snowflakes spawn inside the tower’s radius that slow units. It’s another mana-consuming tower, so keep that in mind. Frost Keep is fairly weak against any armor and shield units, and moderately effective against pure health units.
Overall, it’s an okay debuff tower, but it depends entirely on the overall range. So, you will want to focus your upgrades around that if you plan to incorporate these towers into your defense.
Flame Thrower
Flame Thrower is one of three towers, alongside the Poison Sprayer and Shredder, that deal damage over time. The only difference between these towers is one is fire, one is poison, and the other is bleed damage. It is a mana-consuming tower, so you will need a lot of mana generation if you plan to have more than one simultaneously active. The Flame Thrower is good against all unit types and should be set up facing a straight path to be most effective and do more splash damage.
The tower benefits most from the upgrades that enhance the amount of fire damage applied over time. Aside from that, your upgrade points are better spent elsewhere.
Poison Sprayer
Like the Flame Thrower and Shredder, the Poison Sprayer hits enemies in a line, ticking damage on them over time. It is a mana-consuming tower, so you will need a lot of mana generation if you plan to have more than one simultaneously active. The Poison Sprayer is good against all unit types and should be set up facing a straight path to be most effective and splash damage on multiple enemies.
The tower benefits most from the upgrades that enhance the amount of poison damage applied over time. Aside from that, your upgrade points are better spent elsewhere. Remember to upgrade the tower with gold, depending on what its priorities are set to attack.
Shredder
Shredder towers are the physical damage over time defensive structure. It is a mana-consuming tower, so you will need a lot of mana generation if you plan to have more than one simultaneously active. The Shredder is good against all unit types and should be set up facing a straight path to be most effective and do more splash damage.
The tower benefits most from the upgrades that enhance the amount of bleed damage applied over time. Aside from that, your upgrade points are better spent elsewhere.
Encampment
Encampment towers place mines at random locations on the map inside their radius. The tower is radius-dependent like the Frost Keep, so your placement is very important. Try to cover as many path tiles as possible to make it effectively shoot faster. Encampments are good against armor but weak when it comes to units with shields.
Since this tower is limited by range, you will want to focus purely on range upgrades for it. That will help you get the most use of it when it comes to defending and being efficient with your income.
Lookout Tower
The Lookout Tower is a pure support tower. Lookout Tower has a passive ability that marks a unit, multiplying incoming damage on it depending on the Lookout Tower’s stats. To take advantage of this tower, you should use it to mark units in an area where it will take a lot of damage from surrounding towers.
The Lookout Tower benefits from manually upgrading its level with gold to get better multipliers. Spending XP on upgrade cards may not be worth it because there as much better cards for other towers that will help you more.
Obelisk
Obelisks are short-range mana-consuming towers that can be used to burn through low-health units. The tower shoots out a laser with pretty much no cooldown. Due to its range limitations, it can be a very position-dependent tower, so place it strategically.
Overall, the Obelisk is a good short-range situational tower, and you can take advantage of many different upgrades for it.
Particle Cannon
The Particle Cannon is a long-range single-unit tower that outputs lots of damage. It does not excel in big groups of enemies and is best placed around your keep. Don’t rely on its rate of fire, as it is meant to pick off individual targets with slow, high-damage shots. The tower excels at units with shields and pure health but is not all that effective against shields.
The best upgrade for the Particle Cannon is more range. It has a naturally high range, but it’s not as much as you’d think it would be for a sniper-like tower.
Radar
Radar towers send planes to attack enemies at range. The time to attack is a bit slow since the plane takes time to get to the enemy, but it does do a heavy amount of damage. Overall, this tower has very high range, but it does have a naturally slow rate of fire, so keep that in mind.
As for upgrades, there are more effective cards to choose from than wasting them on Radar upgrades. We recommend upgrading this tower with gold when you have some extra income and nowhere else to spend it.


Published: Feb 8, 2022 01:09 am